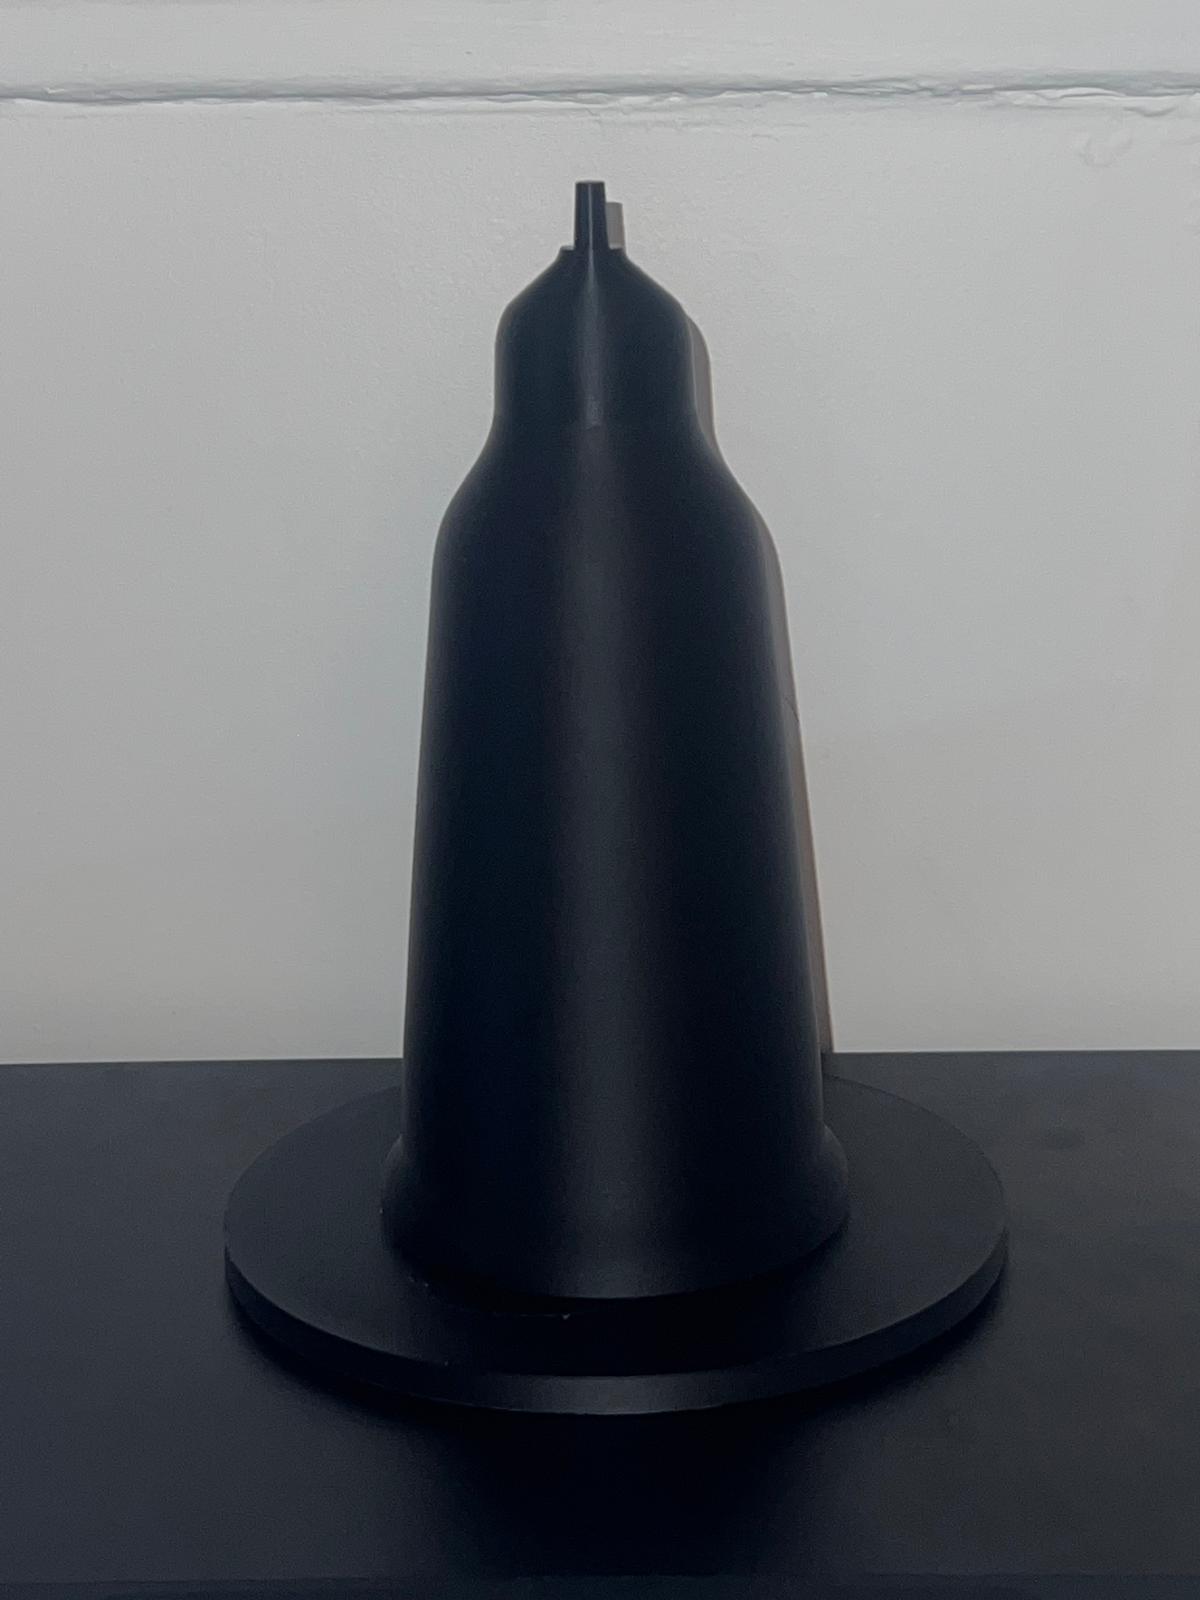
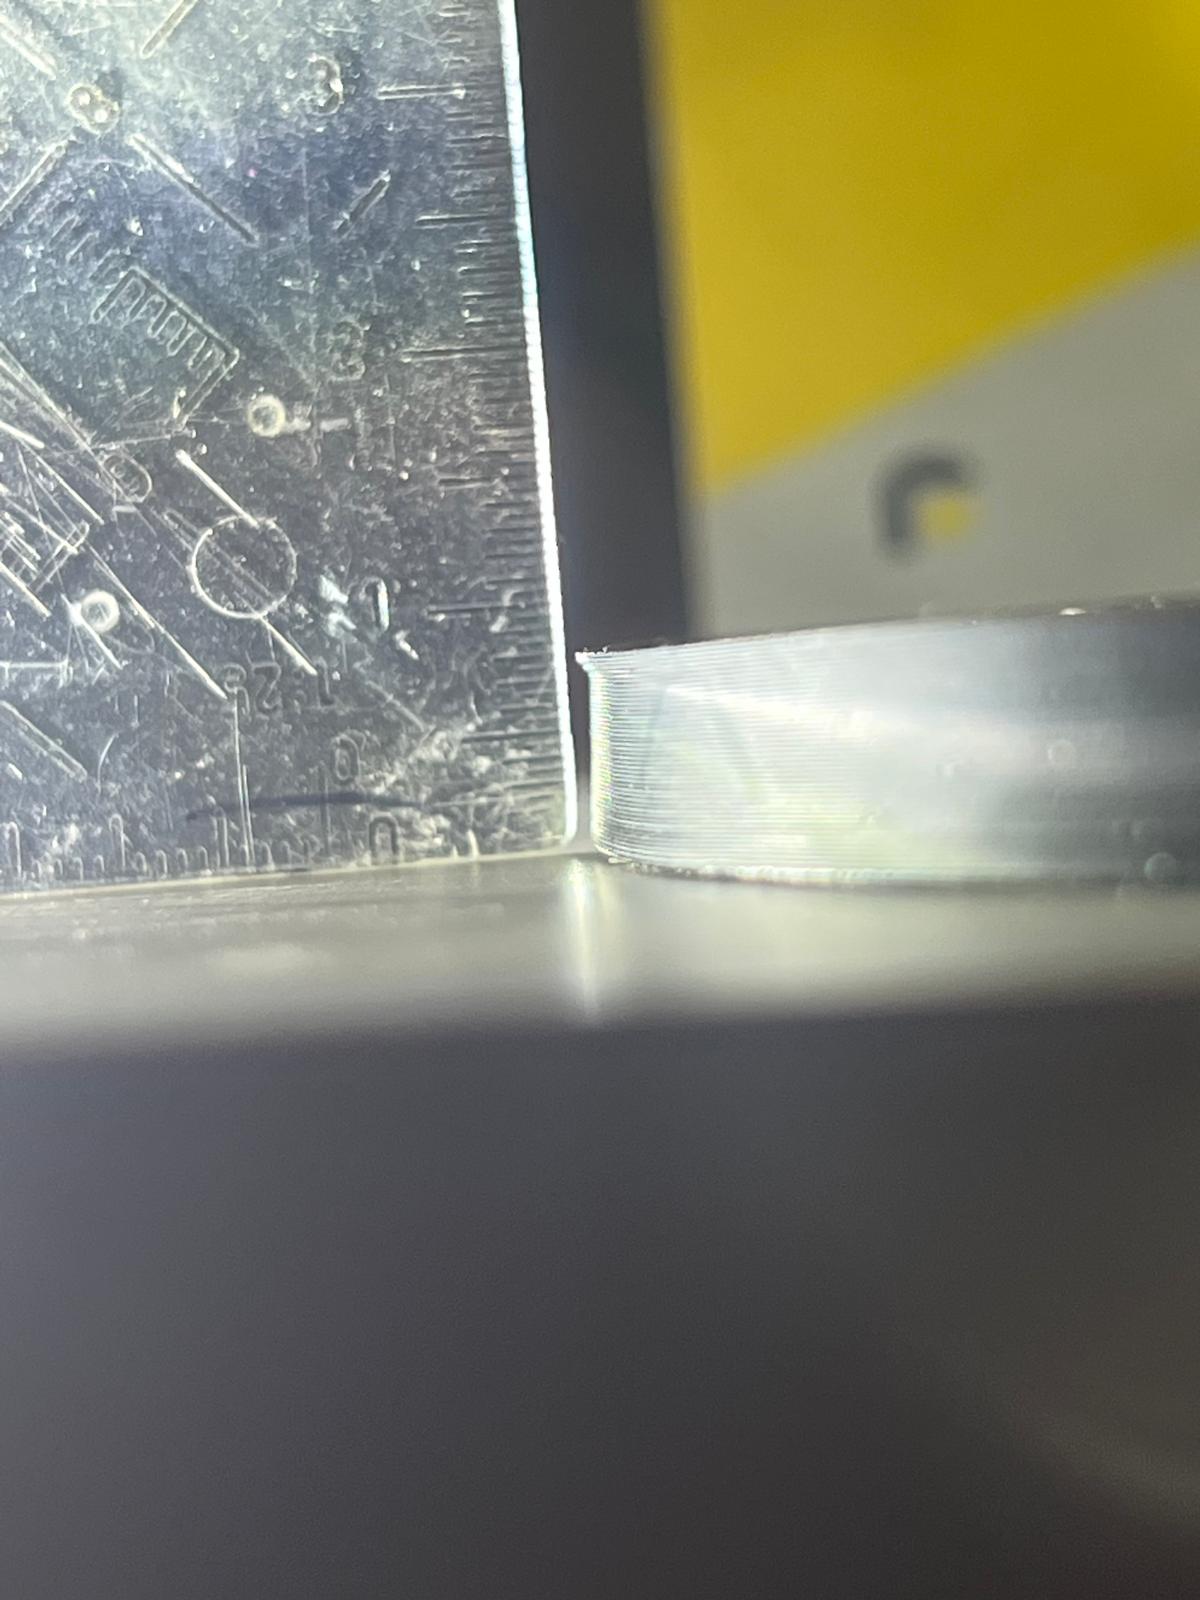
Hi everyone,
I’m having an issue on all my 3D prints with my Bambu Lab A1. Whenever a model has a vertical wall that ends with a flat horizontal surface, the walls tend to deform/lean instead of staying straight (see photos). i trying on teh Bamabu lab A1 of a friend and i have the same problem, but my setting seems ok and I use hairspray to agood adesion.
My current settings are:
Layer height: 0.16 mm
3 walls
10% Gyroid infill
Brim at the bottom
I use standard PLA (210–240°C) and i print it at 220 degrees
I can’t seem to get perfectly straight vertical walls. Has anyone experienced this issue or have any suggestions on what I should change?
Thanks in advance! 
Make sure the “print outer wall first” setting is set to outer. Should be in the Quality tab under walls and surfaces. It might help.
Vertical walls not staying is usually caused by one of these issues: mechanical alignment, slicer settings, cooling/shrinkage, or extrusion problems.
- Check mechanical alignment first
- make sure the X/Y/Z axes are square and the frame is rigid.
- check belt tension
- Inspect Z lead screws / rods for bends and ensure Z couplers are tight but not over-estimated.
- Review slicer settings
- reduce outer wall speed and overall print speed.
- enable/adjust pressure advance or linear advance if your firmware supports it
- check acceleration/jerk: too high can cause ringing too low can cause oozing at concerns.
- For materials like PETG/ABS try printing outer wall before inner wall and reduce top-infill overlap.
- Manage cooling and shrinkage
- for LPA use good part cooling for ABS/PETG, avoid too much direct cooling and consider a warmer ambinet/chamber.
- rapid or uneven cooling can make walls bow or lean, especially on tall vertical surfaces.
- Verify extrusion
- calibrate flow rate / extrusion multiplier
- make sure you’re not over-extruding, extra material at corners can push walls outward.
- use consistent, dry filament
If you can share printer model, material, layer height, wall speed, and a photo of a calibration cube. That usually make it much easier to pinpoint whether it’s mechanical, thermal, or slicer-related.