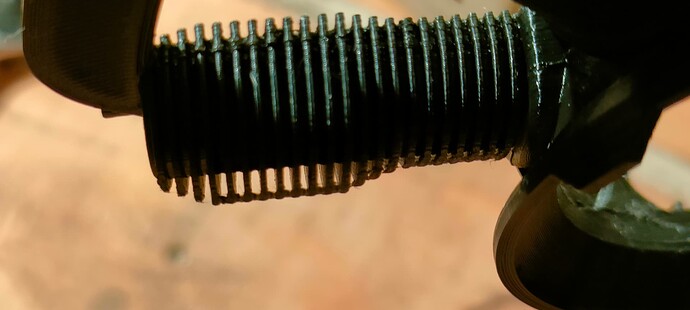
Hi. I’m a new Creality 3 Neo owner and have been happy with the results so far – until… I’m trying to print a vintage air-cooled rotary engine for an RC model aircraft. A friend has printed it for me previously with reasonable results on his (different brand) printer, though there were signs of the same issue. The cylinders are modelled in two parts split down the centreline plane so there is a front and a rear half which are then glued together. The issue is that most of it prints perfectly but there is a patch on each cylinder where a sort of bridging occurs between adjacent fins, starting from about the centreline, which is at the top when printing. The actual fins are printed properly - the bridging is only on the outside diameter. The cylinders barrel length is only 35mm, OD 16mm, fin thickness 0.6mm, gap between 0.9mm and fin depth 2.75mm at the deepest point. I’m using 1.75mm PLA filament. I started with a 0.4mm nozzle, tried all sorts of settings, then a 0.3mm nozzle which didn’t change much before getting the best results with a 0.2mm nozzle. The issue sort of showed up on the slicer preview for the larger nozzles but not on the preview for the 0.2mm nozzle so I wasn’t expecting to see it at all. Can anyone help please?
It looks like the position of the seam. Prusaslicer allows paint of seams it might be worth a try to paint it on somewhere less conspicuous.
Just a thought
Hello!
The seam position idea presented previously sounds like a good idea, you can also try switching the seam position to randomized in order to provide even more separation. One other thing you may want to try is to adjust the retraction settings if you haven’t already.
Thanks,
Matthew
I would agree with both @kitedemon and @Matthew, the only other thing I could think could affect it is the printing temp. Looks like you are getting good adhesion layer to layer, maybe try to print it 5 deg cooler and see if that makes a difference?
Thanks to all who replied. I’ll let you know how I get on in due course.
Sounds great!
If you have any other questions we are always here to help!
Thanks,
Matthew
Further to this thread, I’ve tried placing the seam elsewhere and using the random setting. I also looked at the temperature settings. In the end I made a better tool for removing the bridging and decided I was actually pretty happy with the result. It looks pretty good on the model too. Thanks again for the useful suggestions which have helped me learn a bit more about the process!
Very nice Jim, I like the project.
I am always pretty hardcore about temps on Filaments. Anything new or new batch I get in I always run a temp tower on it to confirm nothing has changed.
Most of the time I generally print Black 5 deg hotter than white. I found it by fluke one time when I was printing off a particular item for a customer that wanted it in a different colour and was getting different results.
Jason
Good feedback thanks Jason.
Thanks for the update!
I’m glad you were able to figure it out. The print looks spectacular!
Happy printing,
Matthew
That is a big improvement! nice job


