I changed the motor but skipping the cable configuration. That’s how I blew up my machine. Now I need to reinstall the software anyone can help guide me please.
Note it’s Creality 5 Plus with Micro Swiss extruder upgraded.
Thank you
Hello Chieu,
The Firmware is Available at:
https://www.creality.com/download/
On Left Side go to Ender Series, Then to Ender 5 Plus.
Choose:
28 Jan, 2021
Ender-5PlusBLTouch__V1.70.2 BL.hex
28 Jan, 2021
Ender-5 plus screen firmware DWIN_SET.zip
Once Firmware is on, Set:
M92 E0 140.00
M500
I’m not sure what that means. You changed which motor; the extruder? I just want to get clarification because the stepper motors use indexed connectors so you shouldn’t need to “configure” the cable and there shouldn’t be any way to damage the machine. I’m asking because it’s always important to make sure the root cause of the damages has been properly identified and fixed before replacing components and blowing it up again.
I Agree with Lego, Can you let us know a little more information about what happened originally to start the swapping parts problem?
Hi LEGO, Jason and Kieth,
I changed the extrude heavy original stepper motor by a pancake Bontech. My Ender 5 PLus has been upgraded with a Micro Swiss direct extruder earlier. I did not know that cables were a matter that they might not be the same configuration. Then the machine had strange noise at the new motor and getting hot. I was scared then changed it back. Now It go wrong with the motor gear back and forth.
Keith has helped me to config the cable by changing the order of 1346 to new order 1436, at the mean time to reinstall the firmware from Ender-5PlusBLTouch__V1.70.2 BL.hex and Pronterface M92 E0 140.00, M500
Please see the Pronterface report attached herewith:
I did exactly as guided but it is not fixed. Please give me an advise If I might have missed something. Right now the machine can heat up fine, calibration fine, everything is fine but extrude and retract modes are not functioning nor printing. Thank you very much.

Preformatted text
Bad News… 25mm motor will not be strong enough with out gear reduction as an extruder drive.
If you had a 3.7:1 Ratio gear set eg. E3D Titan or Older Bondtech then 25mm would be ok.
Minimum recommended is 34mm with out gear reduction.
Micro Swiss recommends 40mm for use with their dual gear set
Hi Keith,
I did change it back to the original motor with the same cables as it was 1346. Everything is the same as it was but it keeps going back and forth. I did reinstall the firmware Ender-5PlusBLTouch__V1.70.2 BL.hex. But then I did not succeed installing with the Touch Screen Ender-5 plus screen firmware DWIN_SET.zip as your guided. It didn’t work. What I did was I downloaded it as .zip, I extracted all to a formatted SD card. inserted it to the slot at the back of the touch Screen then started up the machine. There was no sign of installing but the machine starts up as normal. I guess the version I’m trying to install is not a newer (could be same as the current one) so it does not take. Please see the footage:
And here the proterface after reinstall firmware:
https://1drv.ms/t/s!AhgzYa94ashAngJpNSkHUdTxiZcb?e=W7LFjs
Hi There
Usually when the motor “chatters” as I describe it, its generally a bad extension cable. We see them here fairly often. We carry one in store as a replacement. You will still have to repin the cable but generally it fixes it.
HTH
Jason
1 Like
Yeah I will go that way. Thank you very much Jason
1 Like
no problem, glad I could help
Hi Jay, I did order the 43cm extend cable and replaced it but but it is still the same back and forth that you called “chatter”. I guess I did something wrong during the reinstall process. what I did was as follow:
I downloaded Ender-5PlusBLTouch__V1.70.2 BL.hex from Creality.com in zip.
I extracted All
Then used the Application Creality Sclicer to install it with the USB cable connected.
I downloaded Ender-5 plus screen firmware DWIN_SET.zip
I extracted All
I copied to SD card and loaded to the slot behind the screen board
switched the but on to flash it
BUT THERE WAS NO FLASH PROCESS HAPPENED. It appeared just as usual start up the machine, even though many attemps.
Please give an advice if you can. It’s been out of work for 2 weeks so dissappointed and worried for my work load.
Many thanks
Micro SD Chip need to be 4,8,16GB in size and FAT32, and 4096 Allocation table
You need to leave the DWIN_SET folder on the root of the SD chip during flashing
When it process the Top line will say “Processing! …”
When top line changes to "END! "it’s done
for 32bit Boards it’s similar:
Turn off printer.
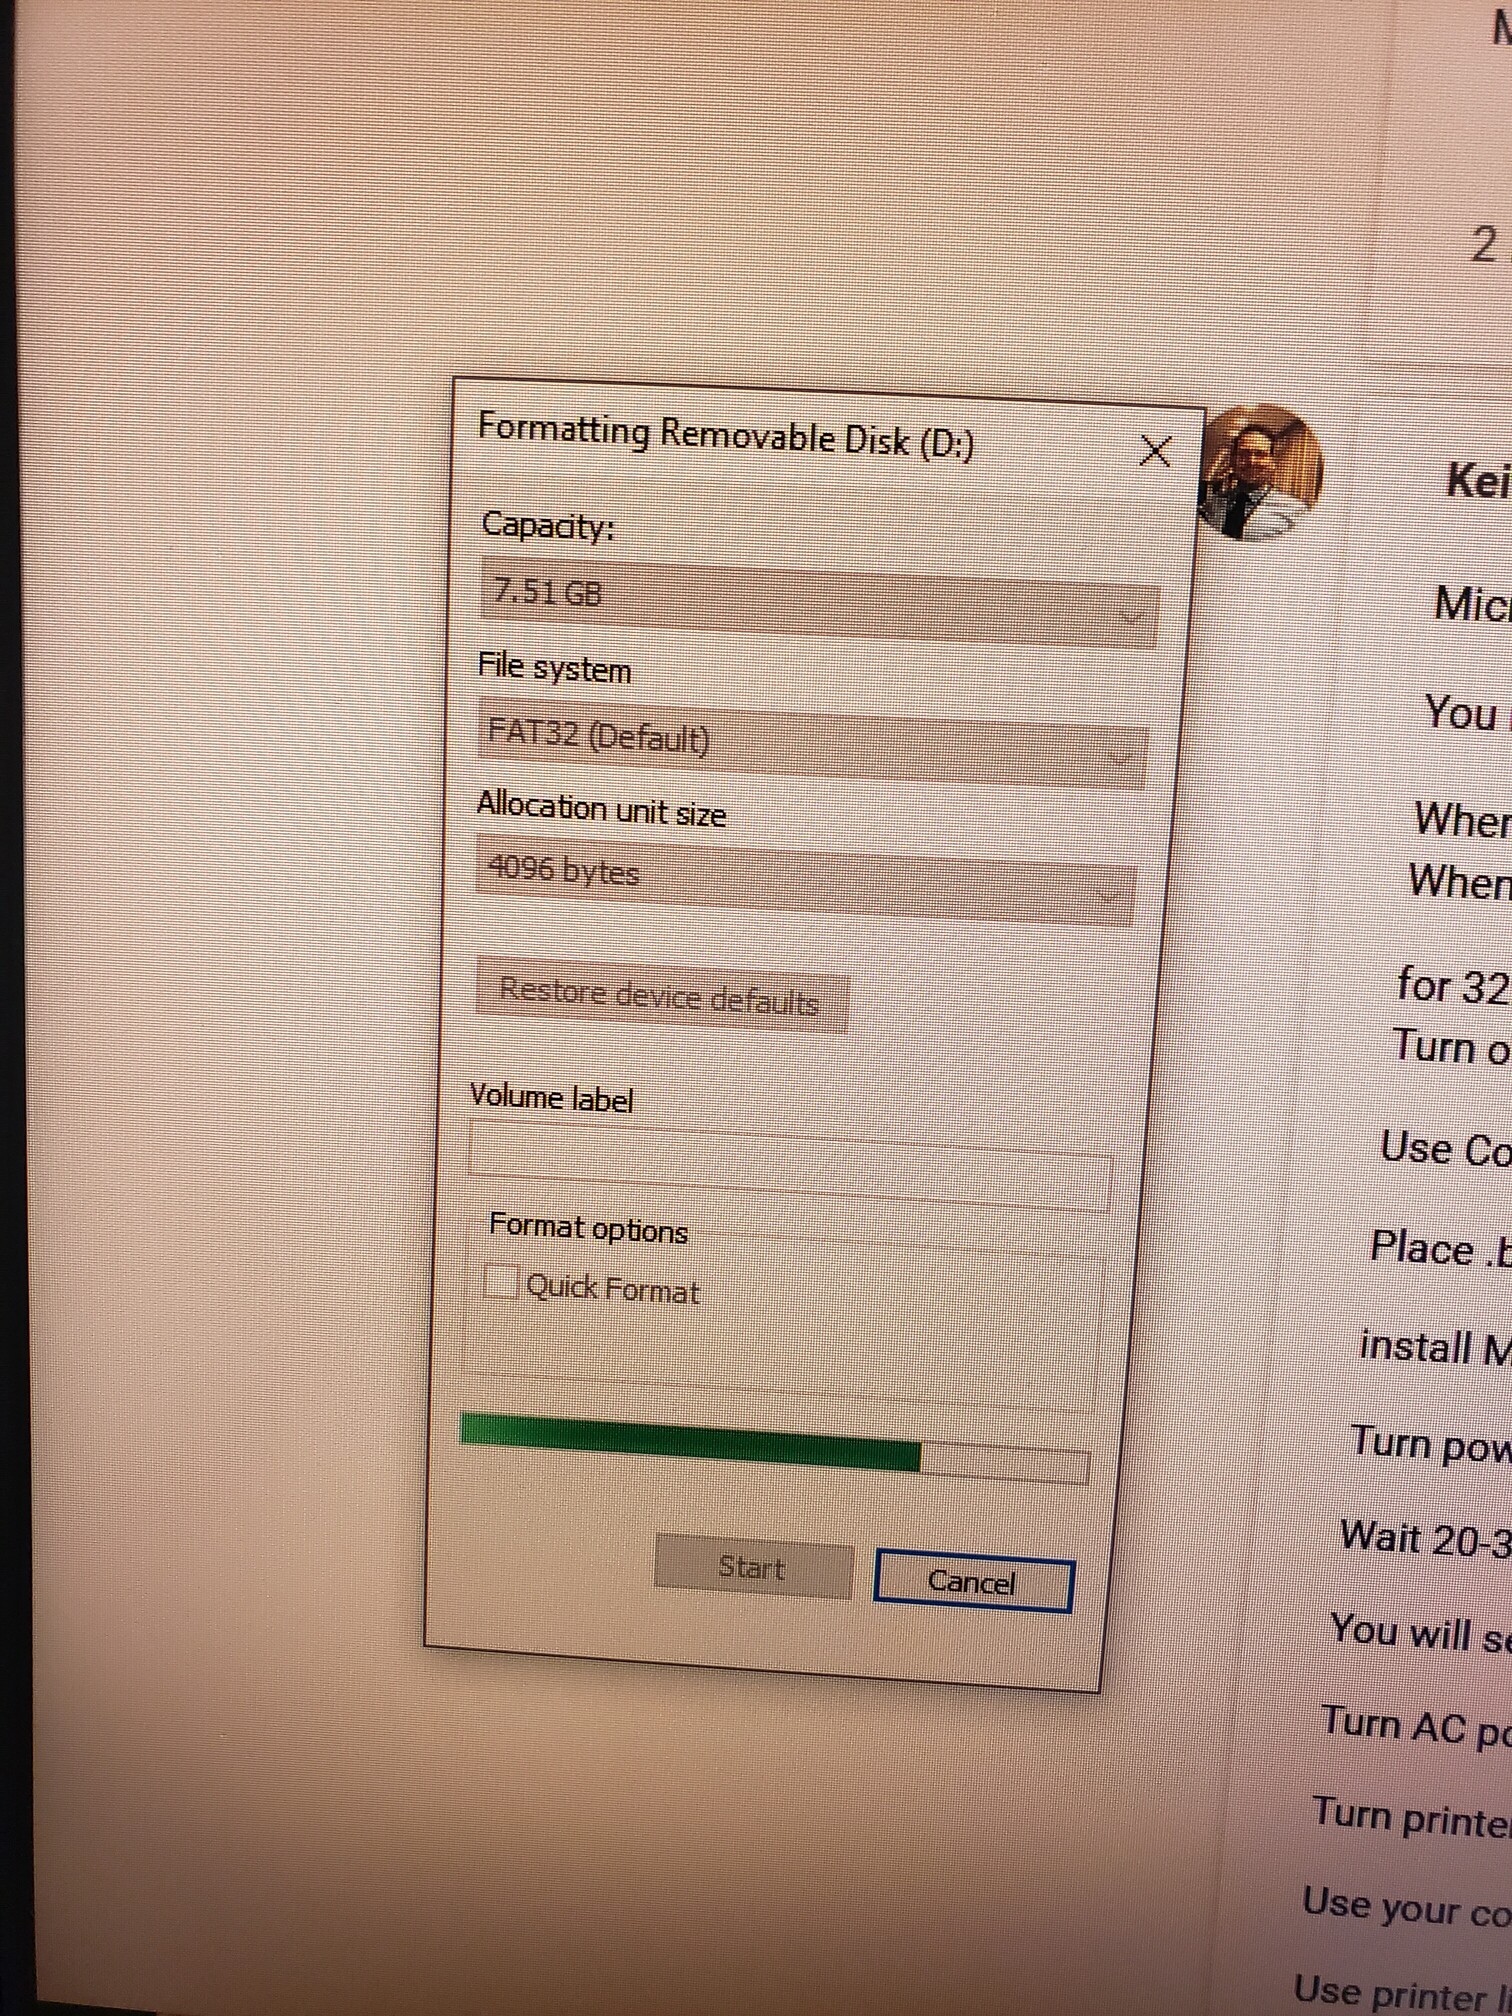
Use Computer and Format a 4, 8 or 16GB Micro SD chip: FAT32 4k Blocks (4096 bytes)
Place .bin file on Micro SD chip
install Micro SD chip in printer.
Turn power on.
Wait 20-30 seconds.
You will see loading screen and then home screen will come up.
Turn AC power off and remove Micro SD chip.
Turn printer on.
Use your computer to delete the .bin file from Micro SD chip, so it doesn’t keep installing!
Use printer like normal, Enjoy it!
Éteignez l’imprimante.
Utilisez l’ordinateur et formatez une puce Micro SD de 4, 8 ou 16 Go: blocs FAT32 4k (4096 octets)
Placez le fichier .bin sur la puce Micro SD
installez la puce Micro SD dans l’imprimante.
Mettez sous tension.
Attendez 20 à 30 secondes.
Vous verrez l’écran de chargement, puis l’écran d’accueil s’affichera.
Éteignez l’alimentation CA et retirez la puce Micro SD.
Mettez l’imprimante sous tension.
Utilisez votre ordinateur pour supprimer le fichier .bin de la puce Micro SD, afin qu’il ne continue pas à s’installer!
Utilisez l’imprimante comme d’habitude, profitez-en!
hi @Chieu
If it’s the same issue with the chatter, the 43cm cables are not pinned correctly for the Creality boards.
I usually start with removing the 2 unnecessary wires from the cable.
If you hold the end of the cable that goes into the stepper motor in one hand with a long side toward you, (doesn’t matter which side, I usually do the side with the plastic tabs on it)
Number in your head the wires 1-2-3-4-5-6
I remove the wires numbered 2 and 5, They are not needed for creality machines
Now your wiring is 1-3-4-6 with spaces where 2 and 5 were
Unpin wires 3 and 4 and reverse their positions in the connector (be careful here you don’t damage the plastic tabs or the clips on the wires, you will have to reuse these)
Now your wiring will be 1-4-3-6
reinstall the extension cable and you should be up and running.
1 Like
Here is a video that goes into a bit more of an explanation that’s going on.
at 5:10 in the video you will see him repining a connector to see how its done;
EDIT**
Ops, forgot to link the video, and its not even monday…

1 Like
Hello Kieth,
I really appreciate your very clear and detailed guide but the screen board won’t flash.
Here are pictures of the process


Hello Chieu
PLease rename Folder to “DWIN_SET”. Get rid of all that other junk in front of it, and place folder on root of the SD Chip
Hello Keith,
My Ender 5 is not working again after plenty of efforts. I changed e cables both extend 43cm and the one from the main board. I did change the main board as well included e stepper motor. But then it’s not working. It is able to spin the motor during command of extruding (but it is not extruding).
Now I need to walk back to the beginning when I first changed the e step motor without checking the cables configuration, that caused e step motor won’t work. Then I reinstalled the sofware Ender-5PlusBLTouch__V1.70.2 BL.hex by Creality.com using Creality Slicer. I guess it is wrong here even though I could see the version from the Ender 5 screen shows version 70.2.
Now I’m stuck so looking for you assistance again. Thank you guys