First off, it’s possible you’re trying to fix a problem that doesn’t exist. I say that because I haven’t seen anyone on any of the Facebook groups complain that their power supplies or motherboards were burning out. Nor have I seen any of the people who post pictures of their newly-built enclosures get inundated with warnings of overheating from more experienced users. That having been said, just because I haven’t seen it, doesn’t mean it’s not a problem, so…
Second; if we assume that keeping the power supply/motherboard cool is actually a necessity, I think you may be over-complicating things. What you really want is a source of cooler air, so I’d be inclined to do the following:
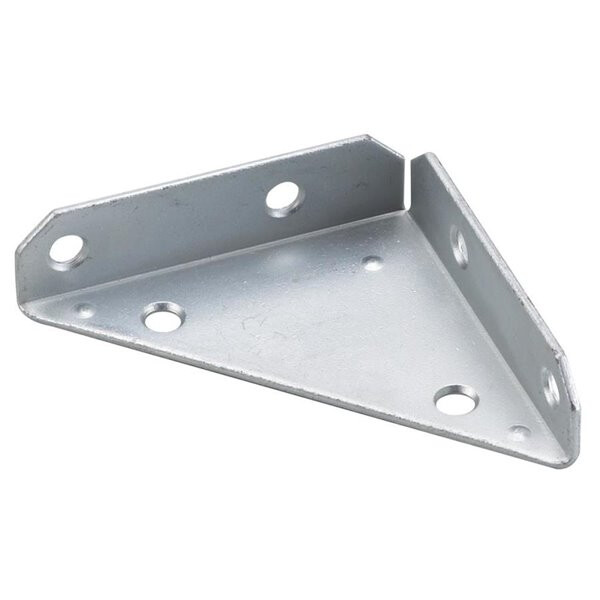
At the back of your enclosure, buy or print a couple of corner brackets and mount them such that they force you to position the E3V2 in exactly the same position each time.
Now that you’ll have the printer reliably in exactly the same place, cut out some holes in the enclosure bottom directly below the fan outlet and air intakes for power supply and/or controller board.
Line the outside of the cut-out holes with window insulation foam. Something thick enough (maybe multiple layers?) to fill the gap between the bottom of the printer and the bottom of the enclosure.

Of course this assumes the E3V2 only has air intakes and vents facing downward. If anything is horizontal, it’s fairly trivial to print a hood that directs the flow downward.
Unless I’m missing something, all you would need to do is slide the back of the printer against the corner brackets and lower it over the foam to separate cold airflow from below from the heat of the enclosure above. No special wiring harnesses, no separate power supply/controller trays. Just pull the printer in and out as needed and let the foam separate hot from cold.