Filament drag and levelling issues

Hey guys -
Hope everyone is doing well.

I’ve run into problems again with the Ender3V2- the issues seem pretty similar to before - inconsistent prints even after bed levelling. Here’s where I’m at:

-After frustrations with the seemingly consistent need to level the bed (I was fine for the first year), online advice all seemed to point to the stock springs being sub-par. As such, I upgraded the springs to the common yellow, flat profile springs.

  • Amazon had a bundle with a red anodized extruder and new Bowden tube and this read as a common ‘upgrade’ as well, so I installed that.

-I’ve followed 4-5 YT vids on bed levelling; loosen the z-axis mount, raise until the stepper switch just clicks and re-tighten; run auto-home, ensuring the nozzle doesn’t hit the bed; disable stepper then check each quadrant / adjust wheels until printer paper just starts to vibrate; repeat, ad nauseam.

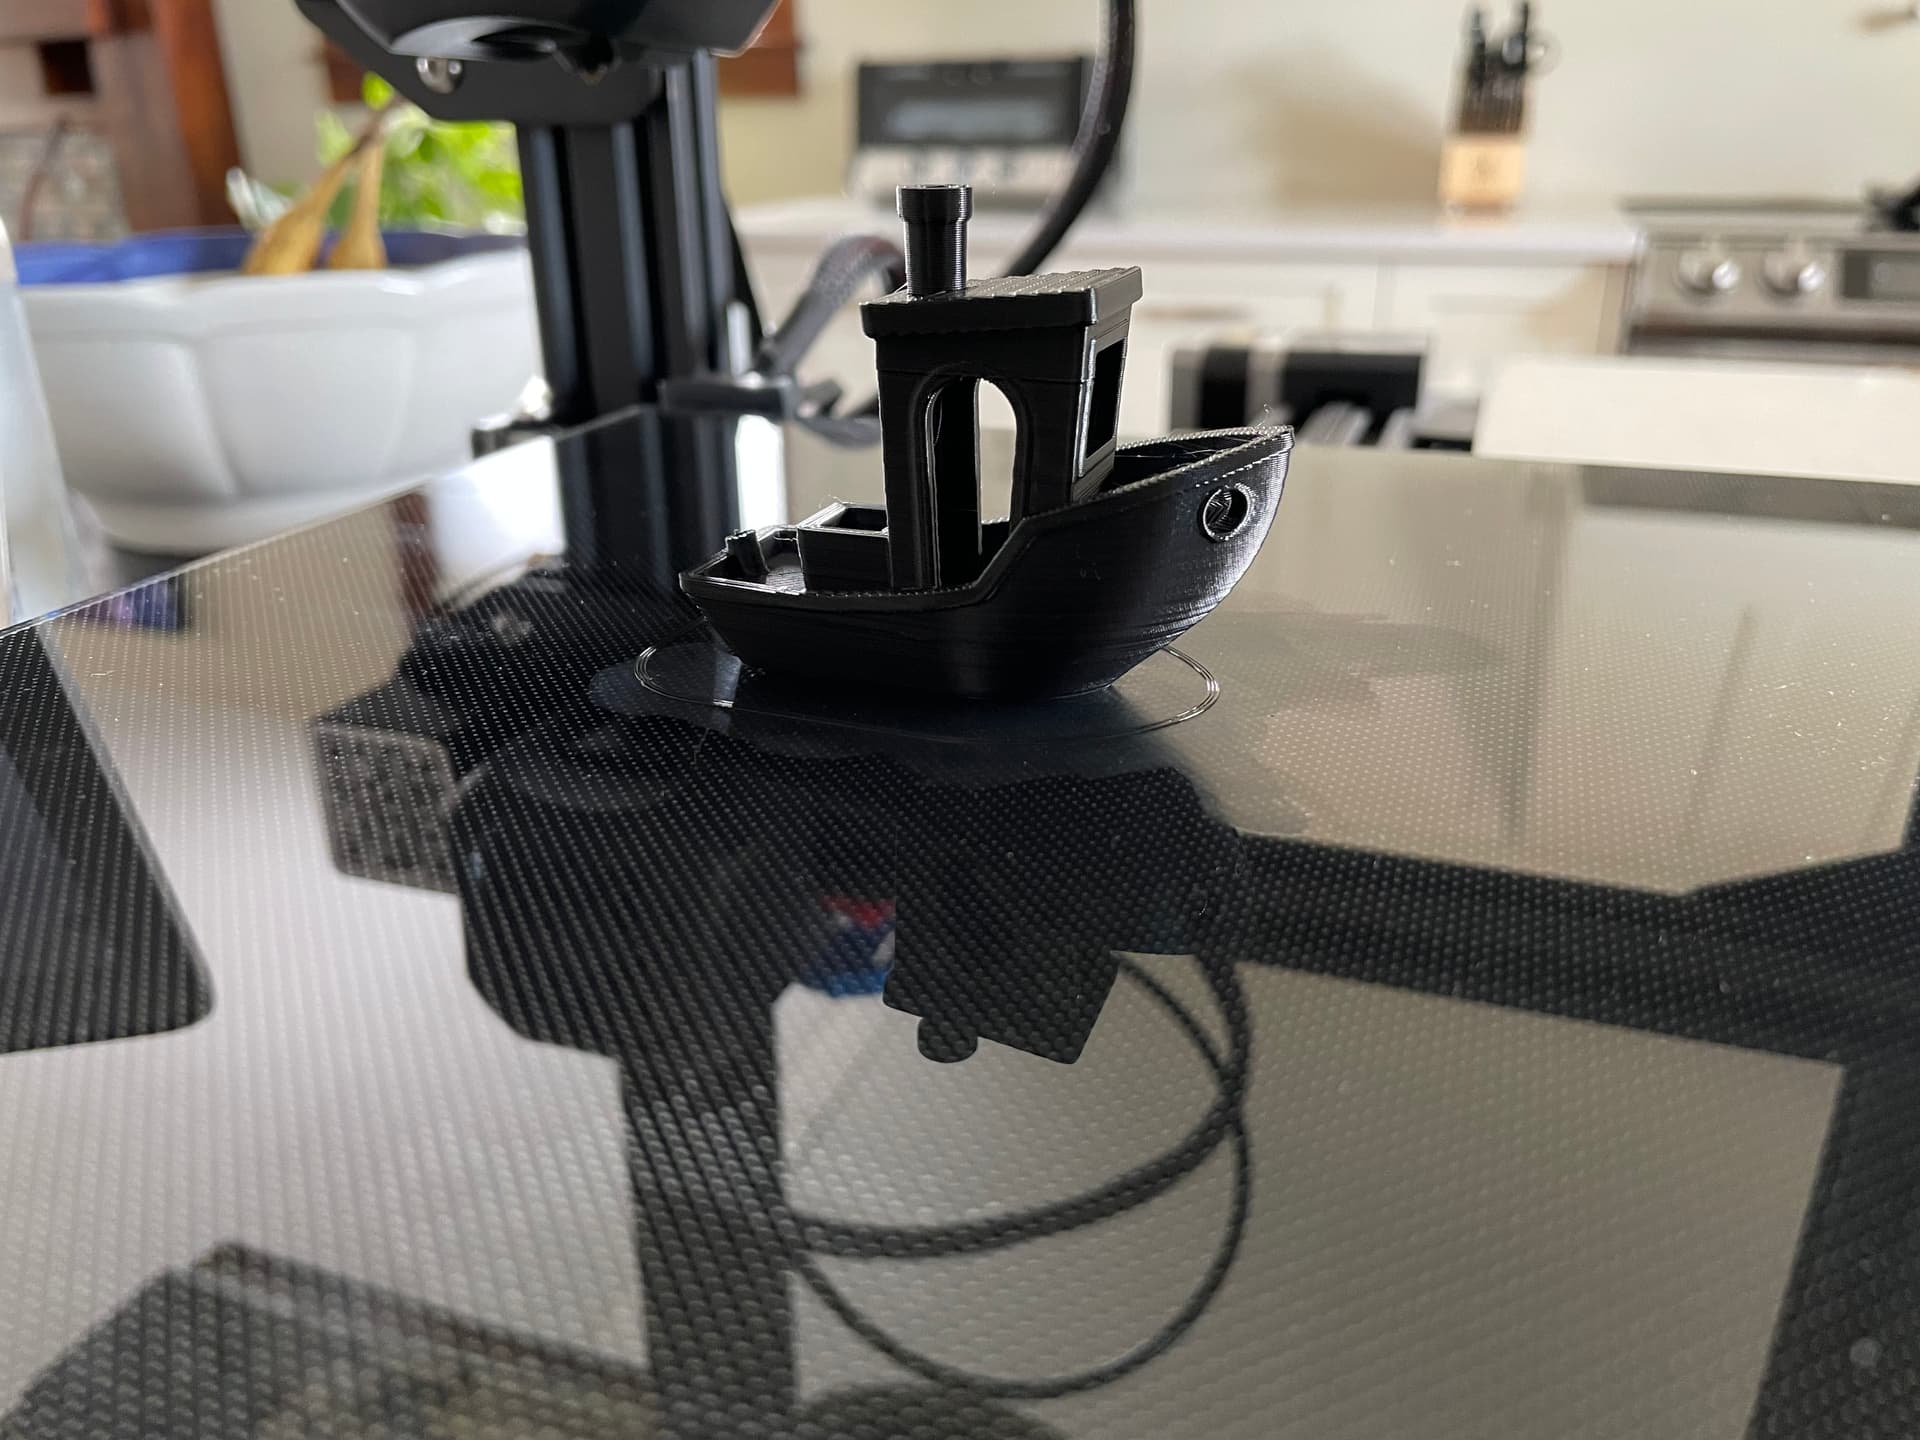
The issue seems pretty consistent. The nozzle lays the first run of filament along the left edge, then a small perimeter around the given part and when moving inside the perimeter to start a print, the filament just drags around.

I thought perhaps my setup w/ the paper was too tight (too much drag) resulting in the nozzle being too close to the bed so tried a lighter touch w/ the paper just vibrating (as mentioned above) - same issues.

Another video suggested removing the glass bed and cleaning w/ hot water / soap, drying and then cleaning with isopropyl (made sense - perhaps that’s why the filament wasn’t sticking), but no-go.

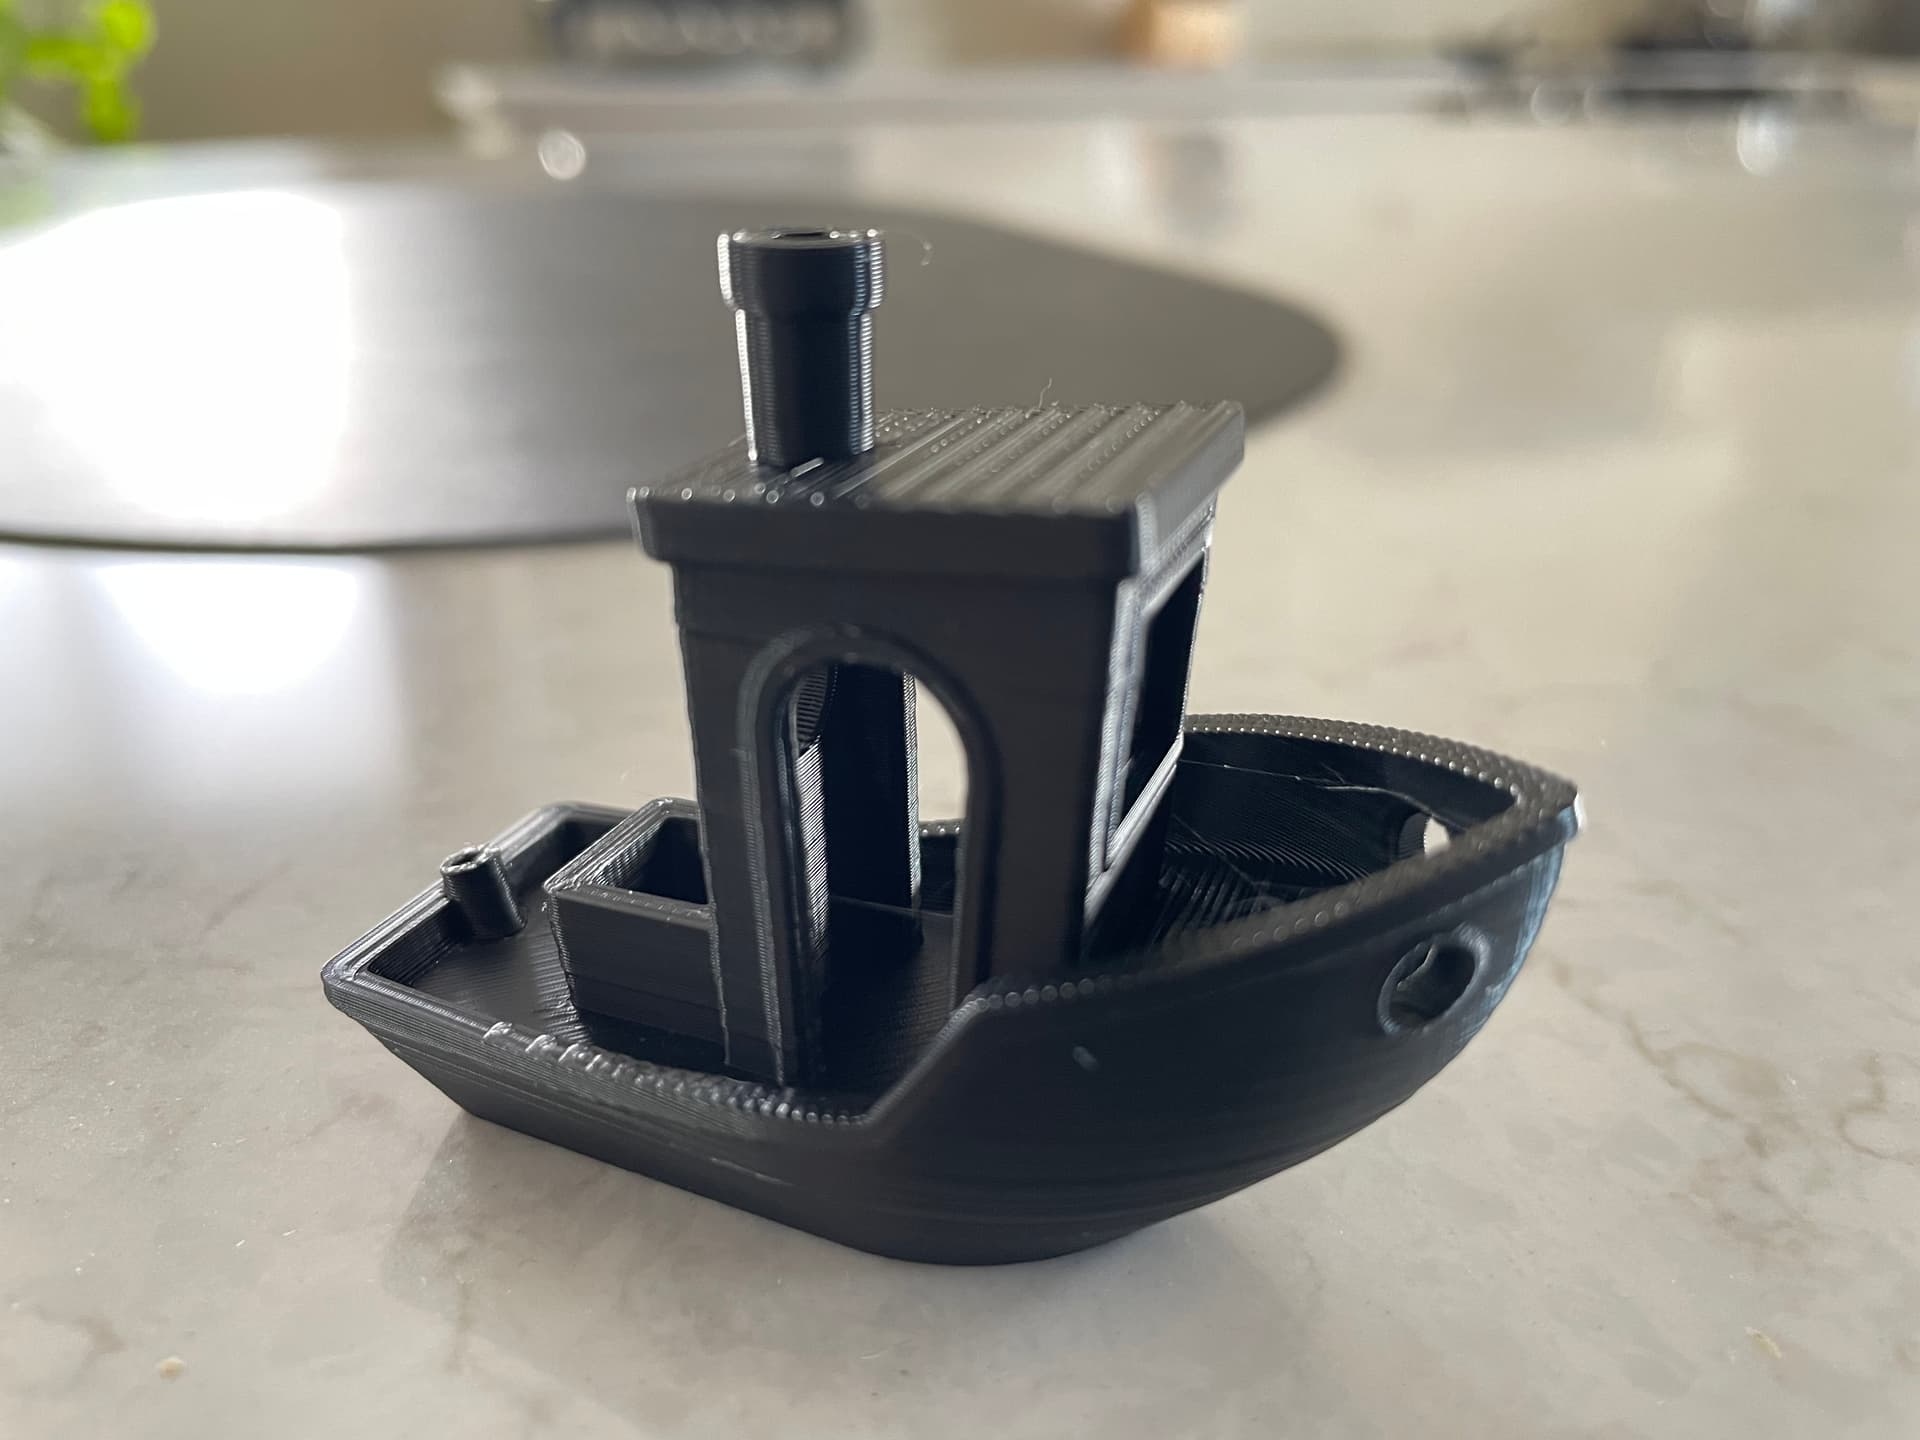
I’ve gone through the levelling process a dozen times and had one successful print but then the next one failed. I’m at a complete loss. The machine worked great for the first 2-3 dozen prints (misc. knobs and items for jigs etc. in my shop) and now (no doubt due to my own lack of experience), I can’t seem to make this ol’ girl print properly.

Hoping someone can shed some light! Here is a link to a short video to show the above issue (apologies for the barking dogs at the end):

https://drive.google.com/file/d/1rAJk6ZL4BRvWkssy2V4fsItRdrbbjVZU/view?usp=sharing

Thanks in advance,
Mike

The creality type beds need help. Have you tried using glue stick?

I would not use paper. A bussiness card or a 0.4 mm feeler gauge is what I use personally. It looks more like the bed needs adhesion than Z height. Hard to say really. Is the bed flat?

Try glue stick see it that helps. I use UHU but any pca will do.

On my Ender 3V2 glass print surface I turned the pebbly side down and also use glue on the glass which works great. If you installed the new springs the bed “should” be stabilized but the springs do shift over time and require levelling again. usually after a couple of months. This is a common situation for all brands of printers with the spring bed support. The one mod, two actually, I did that solved all my levelling problems was to add a CR-Touch to the printer with the Jyers UI firmware. With this you can level you bed using the probe and screen display, no paper under the nozzle. It basically does the same operations as a manual levelling but is way more accurate. You can also do mesh levelling. Another good mod is to install a dual Z axis, it really helps hold everything square. Not really necessary with the stock bed size but it helps you get better prints with less work. With these mods I now get great first layers and trouble free prints. As I said they are not really necessary but they do make life easier.

P.S. the cheap dollar store glue works well, “Selectum” brand. Others prefer Elmers.

1 Like

Thanks @Loosenut and @kitedemon - it sounds like a re-level with a business card and glue treatment are the way to go at this point. The Jyers and CR-Touch sound like a must as well to reduce the headaches.

What are your guys’ thoughts on the bed adhesion issues in view of it having worked fine up until this point? Is there a coating on the glass that wears off over time? From further reading on line, it seems that the adhesion issue is common for many users.

Last night I was looking up bed adhesion issues on this unit after reading @kitedemon’s post and a user mentioned to also change Cura settings (1. Change initial layer height to .35; increase in initial layer line width to 120%; slow the first layer print speed to 10mm/s or less).

Would you agree with these recommendations?

Thanks again.

Bed preference is quite personal. I have a few different printers with different bed solutions My X1 has a reality bed with the printed texture stuff. I found it worked great for a short while then needed glue stick. My Prusa and tiko both have a flex bed PEI, powder coated textured and satin. They also work well, glue is only used as a release agent. My mono price had a sticker thing that did not last at all, I replaced with a tempered glass and glue stick.

There is a common denominator glue stick. You can go to a lot of trouble and efforts and still use glue stick. My advise is just leave it. Don’t make a bunch of mods, just use it as is. When you have much more experience you will have a better idea of what changes you really need for YOU. A BL touch doesn’t eliminate the need for levelling it just assists. If your nozzle height is incorrect it will not help.

As in life there are no ‘magic bullets’ that will solve a problem completely with no downside. If there were if would be on every printer.

The new load cell levelling is toted as the solution to bed levelling. It is hard to say if it will be, to my knowledge only two printers have this from the factory and neither are on the market yet. soon. Will it solve this issue, maybe. It also may arrest the race to the bottom that is happening. The two entering the market are quite a bit more expensive than the average . we shall see what happens.

1 Like

Thanks for your additional insights - this all makes sense. I’m still unclear about the bed losing adhesion properties after a given time.

I have the probe in my cart but think I’ll wait on that and start with the basics - a business card approach and some glue. Changing too many variables at once is clearly not the best way to troubleshoot.

I’ll report back, should this assist other users.
Thanks again.

Most of the fancier bed surfaces (generally expensive too) fail over time, glass doesn’t unless you break it. An advantage to glue is that if you have a power failure or have to stop a print for an extended time the parts will frequently pop off of the bed, even the “special” coated surfaces. If you use glue it will usually hold parts well enough that you can continue with a print. You can usually get a few prints out of one application and then just use Windex to clean it of and reapply after heating up the bed.

Something else that might help, when you put the new springs on did you tighten then so there is a fair amount of compression on them. Loose springs can cause problems like the bed level shifting.

I set the initial line width to 125% to get some extra “squish” but my print speed is usually 25mm/sec for the first layer. That’s enough for PLA.

The Jyers firmware upgrade is free and adds a lot of functionality to the E3V2, it allows you to do things on the screen instead of having to use an interface program like Ponterface or add something to the start code. As kitedemon said try one thing at a time but a CR Touch is a great upgrade. I wouldn’t have a printer without some kind of ABL. They are not a cure for everything but it does make levelling a bed, in conjunction with the Jyers firmware, so much better and accurate.

Watch this for info and how too, there is a newer version since he made this video.

1 Like

P.S. if you are using a metal based surface you have more choices in the type of ABL you can use, like an induction sensor, your not limited to a touch based ABL like you are on glass. Do they work better. Hard to say. Cost difference???

Hey gents -
Well, I stopped at the dollar store and grabbed a glue-stick (they only had Elmers).

I first levelled the bed using a business card as suggested (one change at a time), and the same issue occurred.

Next, I flipped the glass bed plate over and applied a smear of glue). BAM (see attached) - just running the ‘boat’ test print).

I was just shaking my head… crazy simple fix. I don’t want to break out the bubbly yet but that’s a huge step forward from the previous dozen or more failed prints. I was ready to just give up on this thing.


Thanks a ton for the tips!

I’ve also ordered the touch-probe as suggested and will consider it an aid versus a magic pill. Thanks for keeping me in check with that.

OK - - off to test a few more prints. Thinking about the cable ‘chain’ project to tidy things up. Wish me luck.

P.S. - Do you guys clean the glue off w/ Windex after each print or is the application good for a few.

Cheers again.
Mike

1 Like

Sorry - I just re-read your post, @Loosenut :slight_smile:

I just use water to ‘clean’ it off really it just re hydrates and smears around evenly again.

The coating creality uses comes off and looses adhesion, race to the bottom, the cheapest solution and leave the end user to fix it. The flexible bed and induction sensor system of the Prusa is reliable. I put a hardened nozzle on it, in the winter before December I think. I have not done anything to it since. New nozzle new z offset. Nothing at all past that. No issues of any kind. I almost never wait for a print to start I just send it and get it when it is finished.

1 Like

For some people the pebbly surface works great and not so much for others. I believe that it was actually designed to make it easier to get the prints off the bed easier and not to hold them down better, not positive about that. That carbide finish was suppose to be the next big thing but it failed. It didn’t work for me so i flipped and started with the glue, little problem since. Water works for cleaning the glue of the bed, after you soak it use a scrapper to get the bulk off then wipe it down with paper towel but Windex sort of dissolves it and is easier unless your doing what mwhitney said.

If the glue peals off the bed after a print, usually because it really stuck and you had to pry it off then scrap off all the loose bits of glue, wait until the bed is preheated for the next print and apply glue in the bad spot. By the time the bed gets up to print temp the glue will have “melted” and spread out to a smooth-ish finish. As an example my machine preheats PLA to 190 then I apply the glue, I have it set to 220 for the first layer and by the time it prints it is a smooth surface. You can also use Auqanet hair spray instead of the glue stick for a more even layer, they are both PVA glue but it is real messy so you would need to spray the glass out doors. That is a real old school method but it work very well. I usually get 6 to 8 prints out of a coating, more even if you don’t care if the bottom side is a bit rough but it is best to go with fresh glue after a while. Don’t forget if the parts you print are small you can move them around the surface and print on unused areas to extend the time between cleaning the glue off.

You can switch to a “modern” bed like a flexible PEI sheet or one of the others types. They have certain advantaged. Basically easy to remove the print if it stuck at all (prints don’t always stick to them either) and some people sweat by them but they are not cheap and they also have a limited lifespan. The finish fails and it will have to be replaced. How long for that depends on how much you print. If you don’t break it glass and glue will last forever.

1 Like

Thanks again, guys. For now, the glue and bed flip is working. No doubt, you’ve been down this road so you know what a relief it is to be printing reliably again after many failed attempts.

I may be back for some tips once the bed probe arrives and I dive into the Jyers mod.

Keep well and thanks for helping me sort this out.

1 Like

Hi @Loosenut - hope you’re doing well.
My printer has largely sat since my last post (issues again) so I purchased the CR Touch and just getting around to dive in to the Jyers install.

The CR Touch is now installed and I’m working through the YT video you shared. However, I’m not sure which Jyers bin file to download. I’m running V4.2.2 but I’m not clear on the 3x3, 5x5, 10x10 etc. or ‘manual mesh’ vs UBL: Releases · Jyers/Marlin · GitHub

Could you make a recommendation here?

Thanks in advance!

First off you need to chose which version you want IE: do you want the latest. I think I am still using the 1.3.5B version , if it works don’t fix it but you may wish to get the latest. Don’t know why you wouldn’t but I haven’t been paying attention to the different release’s.

Second pick the version you want. You will need one of the ones that has 4.2.2 at the end of the title, the 4.2.7 won’t work on you MB. Manual mesh is for machines without a BL/CR Touch so ignore that one. The 3x3 (9 spots), 5x5(25 spots)etc. is the number of points it probes when levelling. For a 220 MM square bed 3x3 is usually good enough, faster then going to a 5x5 or more but you can use the bigger grids if you want, it will give you a better bed level resolution. Just takes longer to probe.

The ones with HS in the name means it is a high speed probe grid. The probe doesn’t do the “two step”, one fast and one slow and it also doesn’t retract up as far before moving. It is faster but according to some You Tube talking heads it’s possible the probe might drag or hit something on the edges. I don’t know if this actually a problem or not.

The ones with the UBL (universal bed level I think. Someone correct me) is a more advanced bed levelling technique. I have not tried this so I won’t say anything about it. Maybe other have. There are some vids on YouTube about this.

The “safe” bet would be the third one from the top E3V2-BLTouch-3x3-v4.2.2-v2.0.1.bin You can pick what ever one you want, I’m sure they all work fine and if you don’t like the one you install you can always replace it with a different version. Don’t forget to install the new display screen firmware too.

Hope that helps.

P.S. if you want the printer to probe the bed before each print, not a bad idea but not absolutely necessary, you will need to put a G29 command in the machine settings right after the G28 line. That is for Cura, Prusa slicer should have something similar.

1 Like

Just an update to the last post on the UBL based firmware. I have limited knowledge of this so maybe someone with experience can add on to or correct me.

I believe that the UBL is a levelling method that does a very in depth probing of the bed creating a mesh of the print surface which is stored in memory. It is possibly 10x10 or 15 x 15 (225 probe points). After this is done the pre-print probing only does three points and compares this to the stored mesh and adjusts the print to match the mesh. This will give the most accurate first layer possible as long as the print bed is not moved to far out alignment from the original mesh. The bed must be manually levelled before the UBL can be done, just with the use of any ABL system. The springs used to level the bed will over time shift or if the bed is jostled to much may also shift which would make the stored mesh useless and require the bed mesh to be redone. Is it better then a basic 3 x 3 pre-print bed probe. Who knows. I only use the basic 3x3 and my first layers are fine. Your mileage may vary.

1 Like

Thanks for all the details @Loosenut. This all likely seems way more challenging than it is. I’ll have to dedicate a morning or afternoon to tackling this. My printer has sat with the CR Touch installed but no action for quite a while now but it’s time to get her back in working order.

I’ll report back to share how things went should it help someone else down the road.

Just follow the videos, BVTV (CRTouch) and CHEP (Z axis offset) and they will show you most of what you need to know about installing and setting up.