Quick answer
Elephant’s foot is when the bottom layers of a print bulge out wider than the rest of the model. It’s almost always caused by too much heat or pressure on the first layer, so the quickest fixes are to lower your bed temperature by 5-10 °C, raise your Z-offset by 0.05-0.1 mm, and turn on your slicer’s “elephant foot compensation” (try 0.1-0.2 mm). Do those three things and the bulge usually disappears.
Why elephant’s foot happens
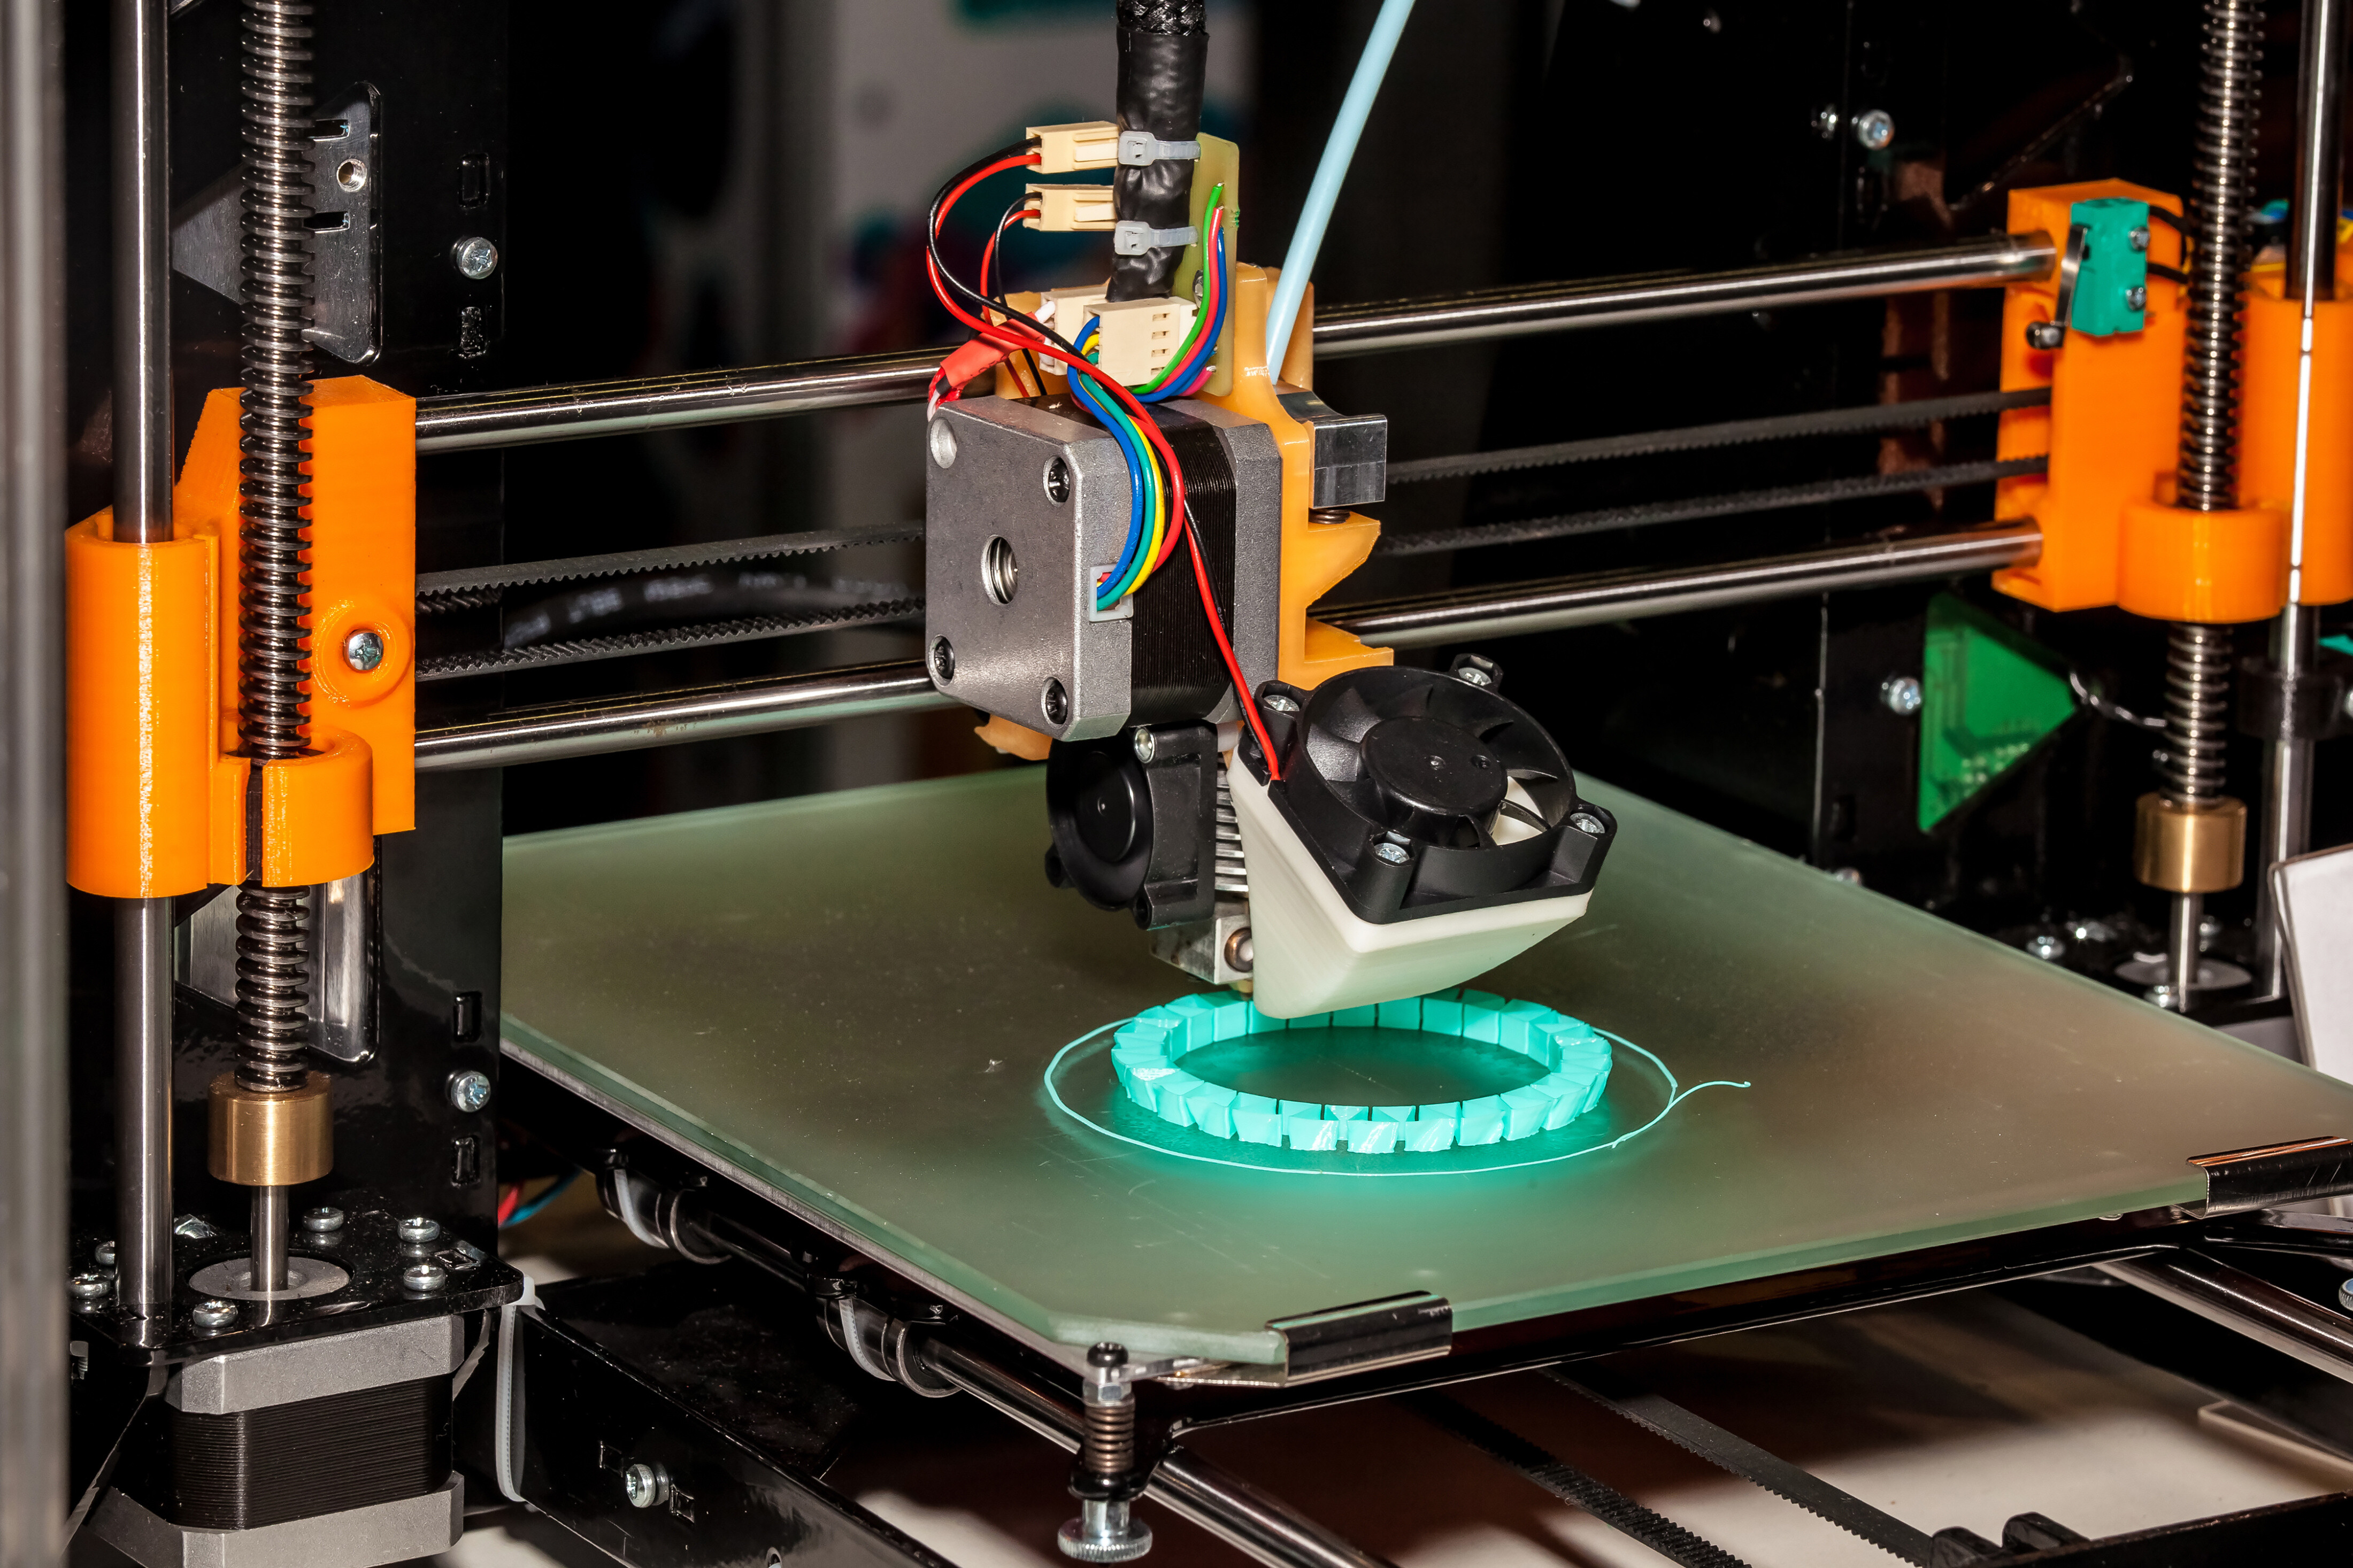
The first layers of a print are squished hard against a hot bed and haven’t fully cooled or solidified. As the weight of the upper layers presses down, those still-soft bottom layers spread outward, leaving a flared lip around the base — a 20 mm cube might measure 20.5 mm at the bottom. The usual culprits are a bed that’s too hot, a nozzle sitting too close to the plate (over-squish), over-extrusion, or an uneven/poorly trammed bed. It’s a cosmetic and dimensional problem, not a structural one, but it ruins press-fits and flat mating surfaces.
1. Raise your Z-offset and re-level the bed
If your nozzle is too close on the first layer, it over-squishes the plastic outward. Raise the Z-offset in small steps of 0.05-0.1 mm until the first layer looks like clean, lightly-joined lines rather than a flattened smear. On Bambu Lab machines, run the automatic bed-leveling and check the Z-offset in print settings; on a manual printer, re-tram all corners first so the squish is even across the plate.
2. Lower the bed temperature
A bed that runs too hot keeps the bottom layers semi-molten so they slump under the weight above. Drop the bed temp in 5 °C increments from your filament’s default. As a starting range, PLA prints well at roughly 50-60 °C and ABS/ASA around 90-100 °C; PETG sits in between near 70-80 °C. Lowering the bed often shrinks the bulge dramatically on its own.
3. Turn on elephant foot compensation in your slicer
Most slicers can shave a set amount off the outer edge of the first few layers so the printed base lines up with the rest of the model. In Bambu Studio and Orca Slicer it’s under Process → Quality → Elephant foot compensation; in Cura it’s Print settings → Advanced → “Initial Layer Horizontal Expansion” (use a small negative value); and in PrusaSlicer it lives in Print Settings → Advanced. Start around 0.1-0.2 mm and increase gradually — too much will undercut the base.
4. Check for over-extrusion
If too much plastic is coming out, the squeezed-out excess shows up as a fat first layer. Calibrate your extruder flow/flow ratio and confirm your filament diameter is set correctly (1.75 mm for most machines). On Bambu Lab printers, run the flow-rate calibration; reducing first-layer flow slightly can also help.
5. Add a chamfer to the model’s base
If you can edit the model, putting a small 45° chamfer (around 0.5-1 mm) on the bottom edge gives the bulge somewhere to go without ruining your dimensions. This is the most reliable trick for parts that absolutely must have a crisp, square base.
6. Improve cooling on the lower layers
If your part-cooling fan stays off for too many initial layers, the base never firms up before the next layers press down. Once you have solid first-layer adhesion, ramping the fan in sooner on the layers just above the base helps them set before they can spread.
7. Use a raft as a last resort
If nothing else works, printing on a raft transfers the elephant’s foot to the sacrificial raft instead of your actual part. You lose a little bottom-surface quality and waste some filament, but the model itself keeps clean edges.
Frequently asked questions
Is elephant’s foot a slicer problem or a hardware problem?
It’s usually both: heat and over-squish (hardware/leveling) create it, and slicer compensation hides what’s left. Fix the bed temperature and Z-offset first, then use compensation to clean up the remainder.
What elephant foot compensation value should I use?
Start at 0.1-0.2 mm and adjust from there. Too little does nothing; too much carves a visible notch into the base of the print.
Why does my Bambu Lab A1/P1S still get elephant’s foot with auto-leveling?
Auto-leveling sets the mesh, but a slightly low global Z-offset or a hot default bed temperature can still over-squish the first layer. Nudge the Z-offset up and enable elephant foot compensation in Bambu Studio.
Will lowering bed temperature hurt adhesion?
Only if you drop it too far. Lower it 5 °C at a time and watch the first layer — if corners start lifting, you’ve gone one step too far and should bump it back up.