I just picked up a Creality LD-002H and am new to resin printing. I’m having the same repeated issues on my first 3 prints and haven’t been able to find any direction to start trouble shooting after trolling reddit etc for several hours.
Basically what is happening is that after each print the entire FEP film has a thin (though probably a few layers thick) layer of cured resin on it. It covers basically corner to corner on the FEP but with some gaps where the print had been printing. It looks somewhat like THIS without the failed print stuck to it. So far things have been sticking to the build plate with no issue.
At first I had assumed that the culprit may have just been too much exposure on the initial layers but then my print this morning came out with multiple sheets of cured resin attached to the model at different heights, covering the same XY area as well as having a solid layer attached to the FEP. It seems that the layer on the FEP built up, then managed to adhere to the model and lift off of the FEP then repeat the process again.
I am using Monocure Rapid Resin - Gunmetal Grey. The settings are within the range recommended from Monocure for this printer.
Bottom Layers: 4
Bottom Exposure Time: 25
Exposure Time: 2.8
Bottom Lift Distance: 7
Lift Distance: 5
Sliced in Chitubox
The resin I ordered does appear to be old stock with a manufacture date of May 2018 so I have some suspicion that maybe this has something to do with my problems but I have no baseline to compare to.
The living room that I’m printing in isn’t tropical warm, it’s around 22-23*C. There is definitely not strong daylight coming into the room and the photo above was printed entirely at night.
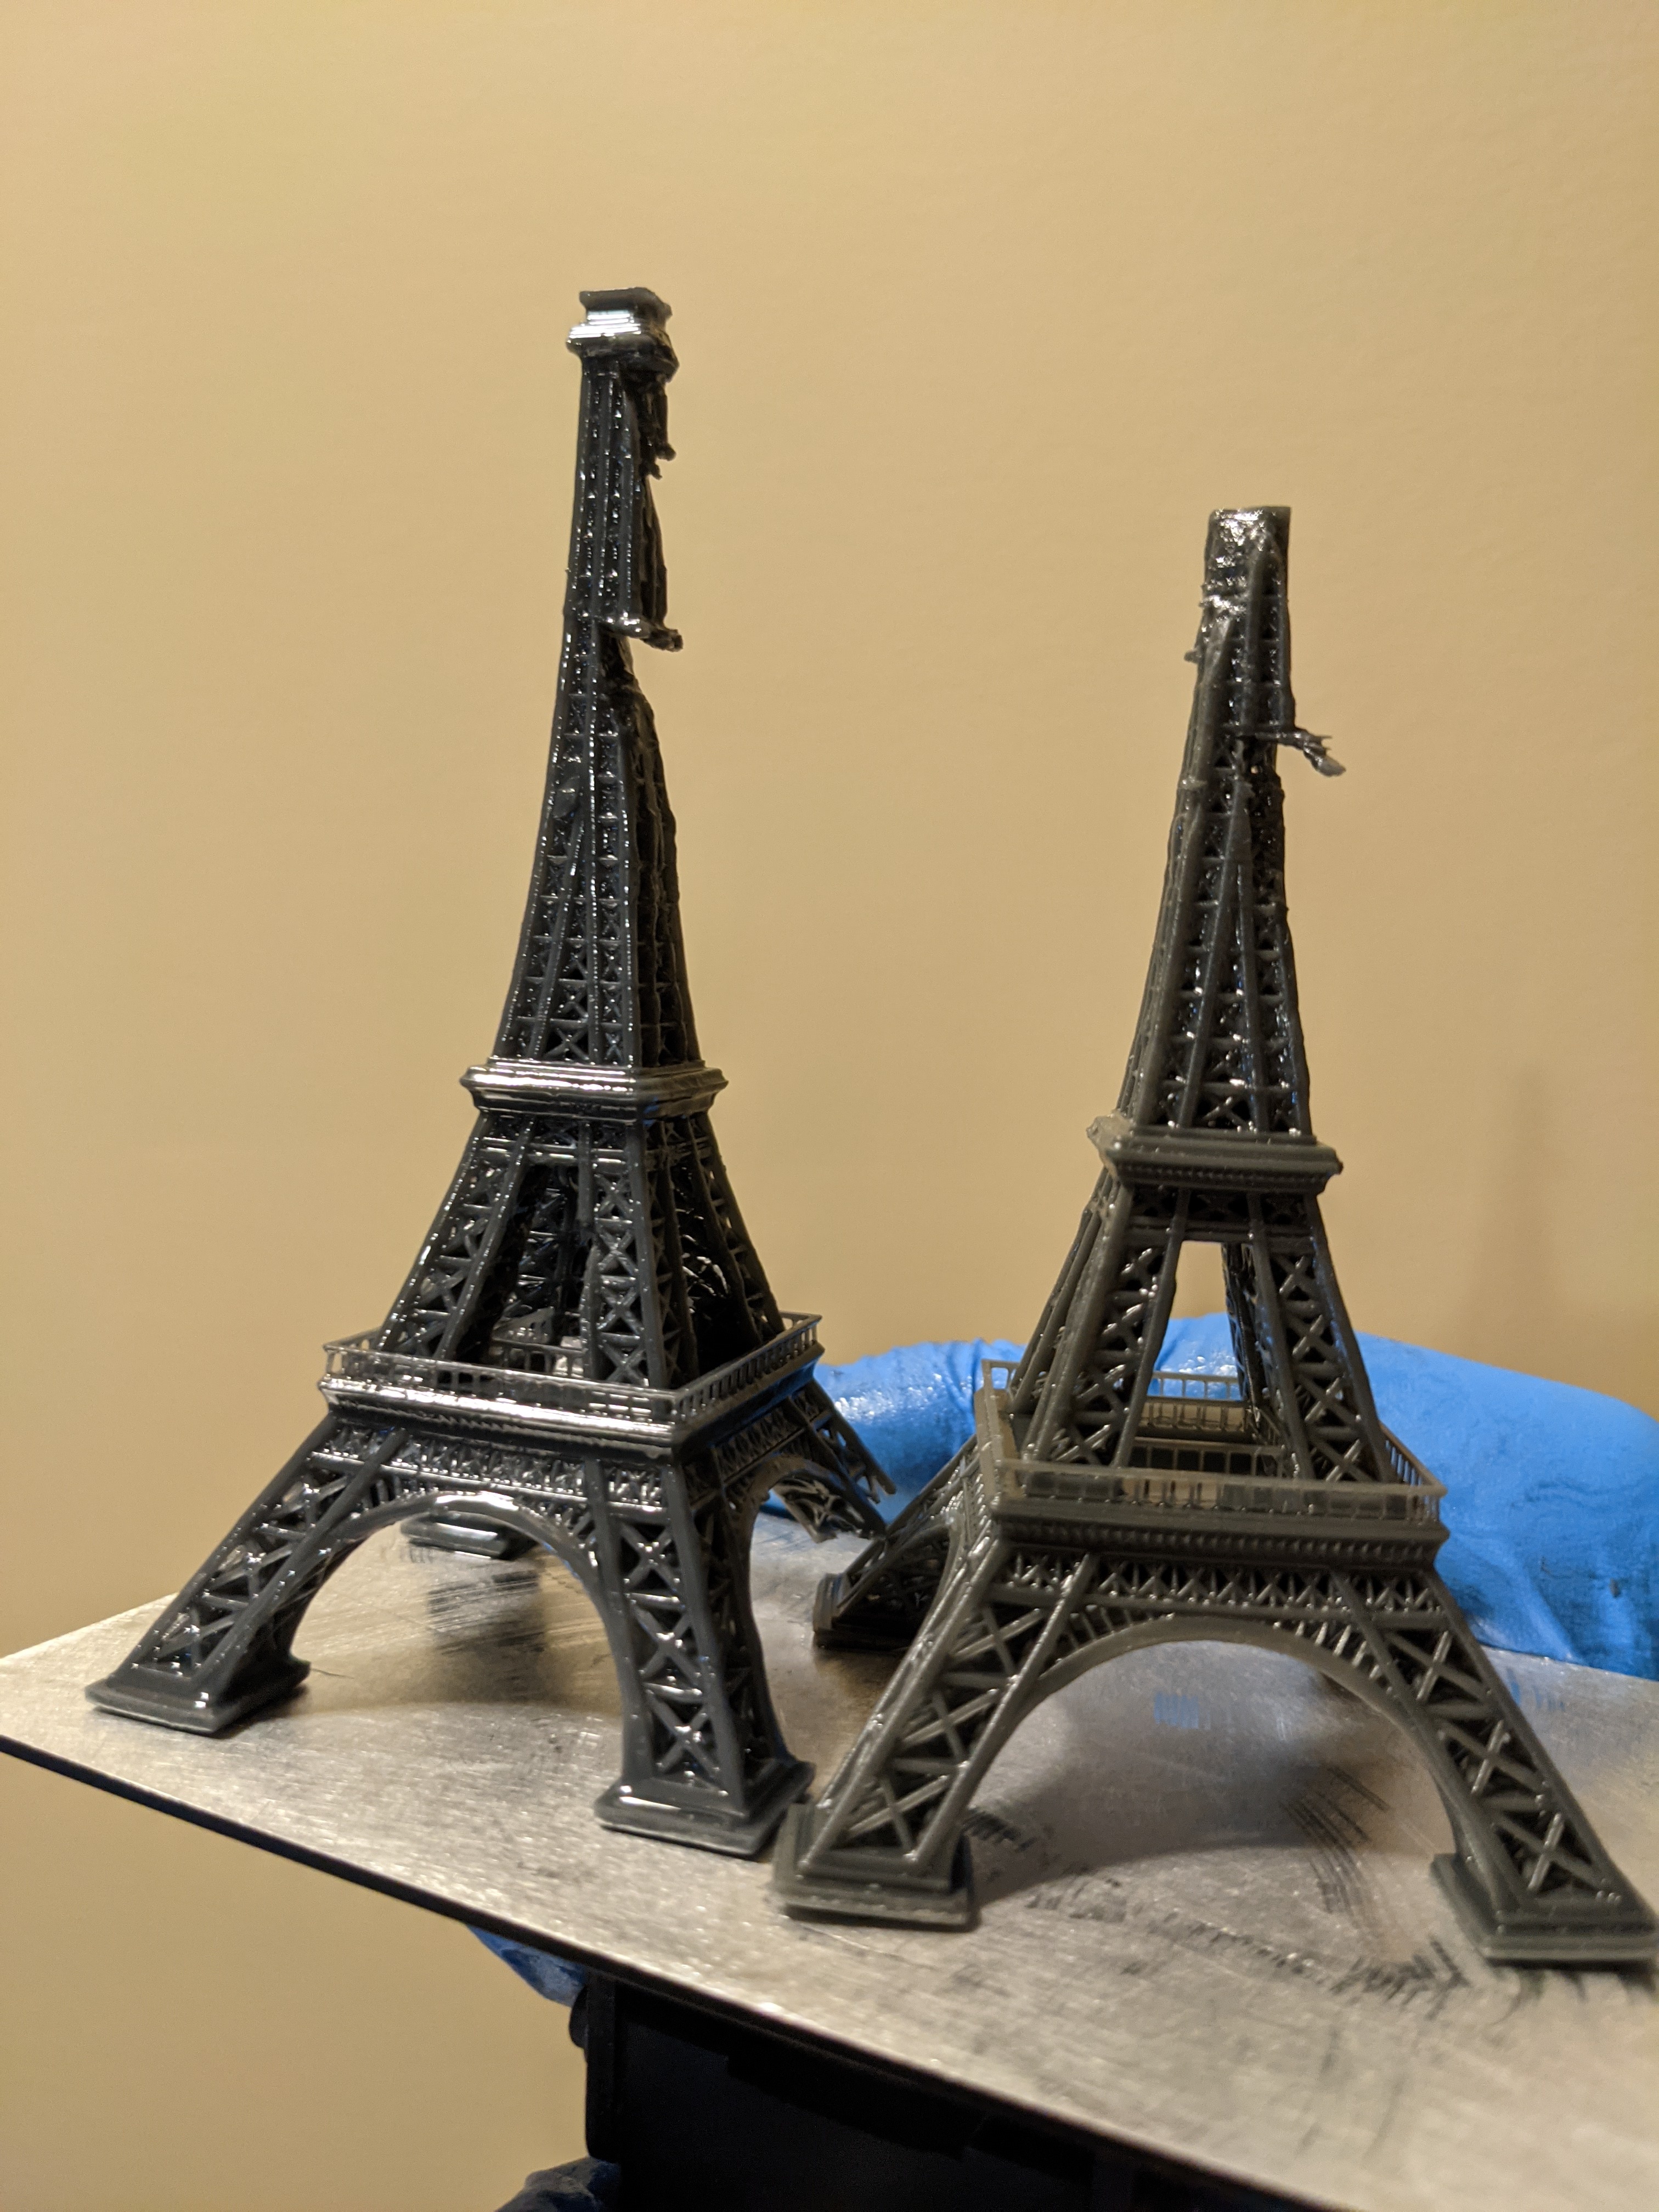
Each print was from different files, but all were sliced with Chitubox except for the Eiffel tower model that was preloaded on the usb stick.
Oddly though I printed the test Eiffel tower as well as downloaded a different model of it and sliced that, both failed in the same way at the same spot. Not sure if that’s a separate problem or because of a build up of goo where it shouldn’t be.
I had the same (I call them klingons) issue with using Blueprint resin. On a regular resin print the settings were 80s bottom and 12s layer. I cut the time in half for the mono screen and had klingons all over the print and in the vat. After experimenting I ended up at 16s bottom and 1.5s layer and no more klingons.
Your resin is a little out of date. Monocure states that their resin has 2 year life.
I’m curious how much the age of the resin effects things. If it actually is important then it is kind of lame for a retailer to be selling stuff that is that far past its shelf life.
Try run the calibrate function for about 12 seconds. You should be left with a nice rectangle with a rectangular hole in the middle. Watch it while it does it. You should see a very distinct pattern. If not, something is wrong.
Dropped the exposure down to 16s bottom layers with 1.8s for the rest. I still ended up with a bunch of cured resin at the bottom of the vat.
I printed one of the Monocure calibration prints with each round of tests and by 1.6s layers it was starting for feel a little gooey when it came out, though even at 1.6s the holes in the test were still undersized (4.7mm instead of 5mm).
This is the vat after draining it after an 8 hour print. Ignore the bigger globs in the middle, those are from me with the spatula. The layer was fairly thin, with some crispier spots, lots of very malleable snotty areas, and some spots that were still clear.
I might still try some more prints at 1.6s or lower just to see what happens.
Im a bit late to the party, but I think i know the cause of your issue. Take off the build plate, and remove the VAT. Run a small test print (Link below) using the settings you have. Once the print is done, feel the screen. If its warm or hot i know the cause. It sounds like you LIGHT OFF DELAY is not set up correctly.
If my lift distances are set to 7mm each I would put my delay at 16s for example. With lower exposure times and your light delay set, that should solve the issue