I got my first printer for xmas but just the other day printed my first benchy. I had changed out the nozzle and wanted to see how it was and also realized I should probably learn how to properly calibrate my printer while I am at it. I have been quite lucky with it so far - definitely some failed prints but I would say most prints come out quiet well.
I have also recently upgraded the bed springs on my ender 3 (not v2) to the yellow creality bed springs. I have to admit I was hoping I wouldn’t have to level the bed every time I print now but that doesn’t seem to be the case - every time I go to start a print I do the paper test and it isn’t level, even with the upgraded springs.
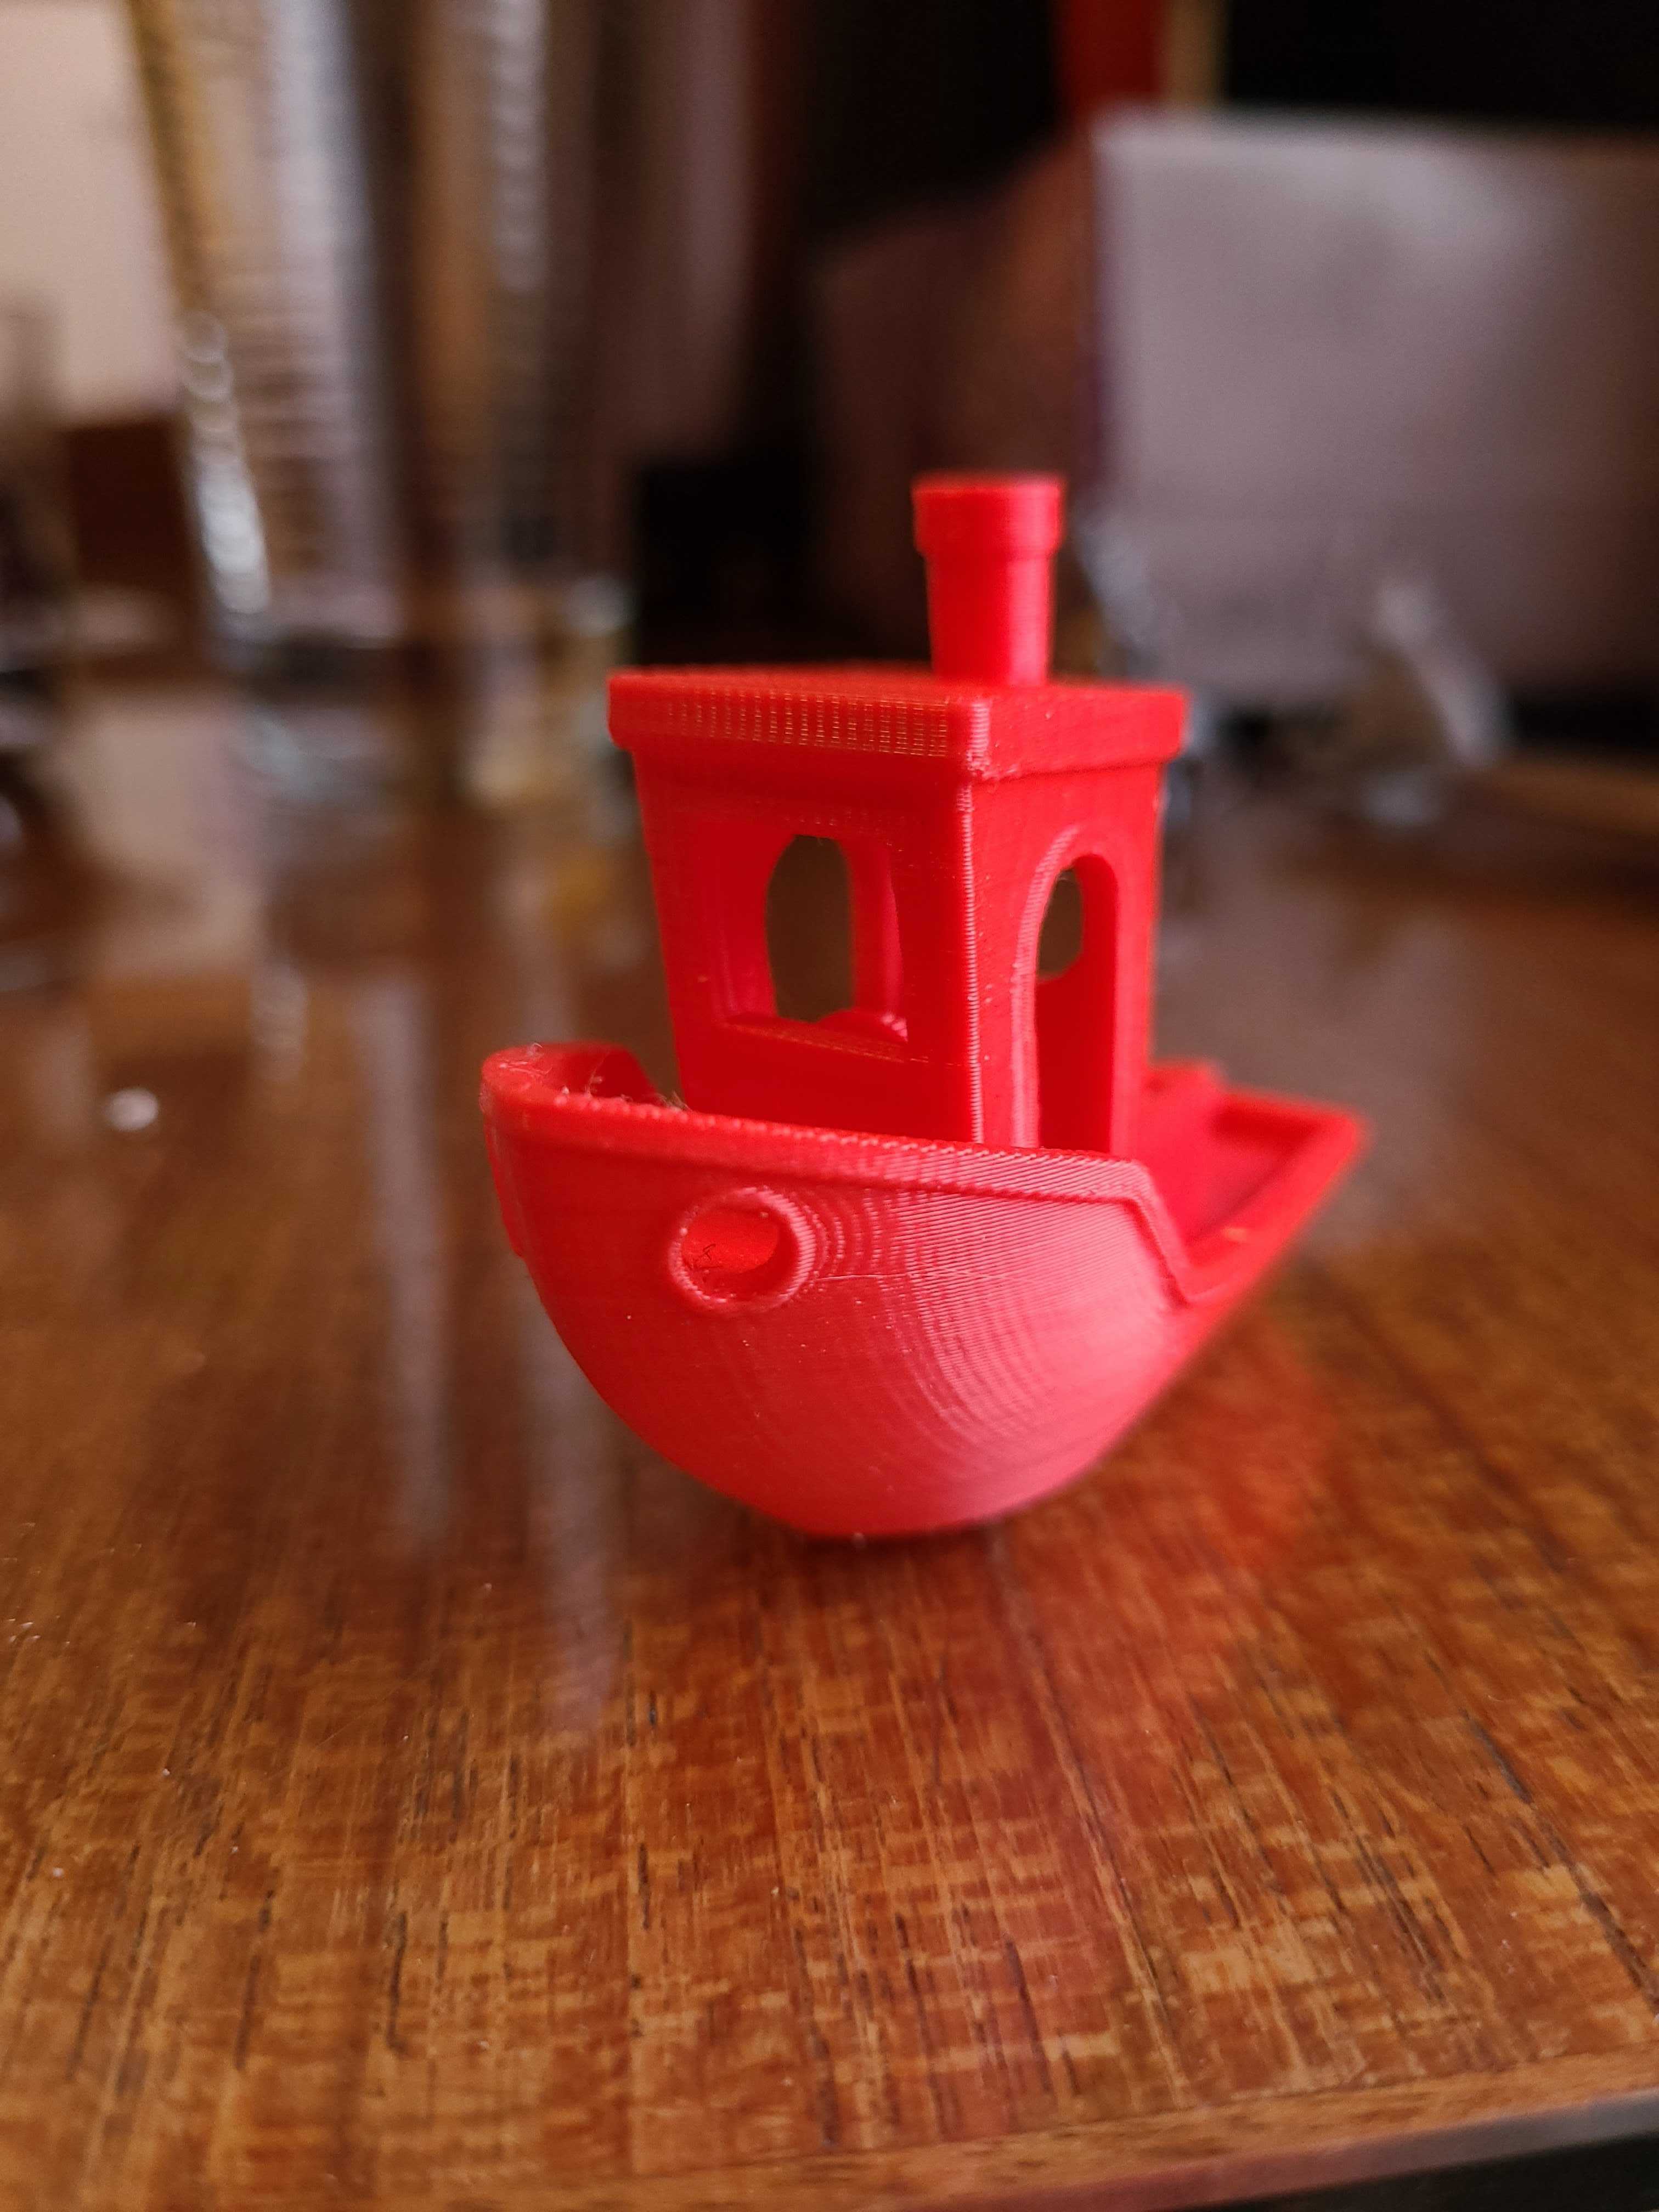
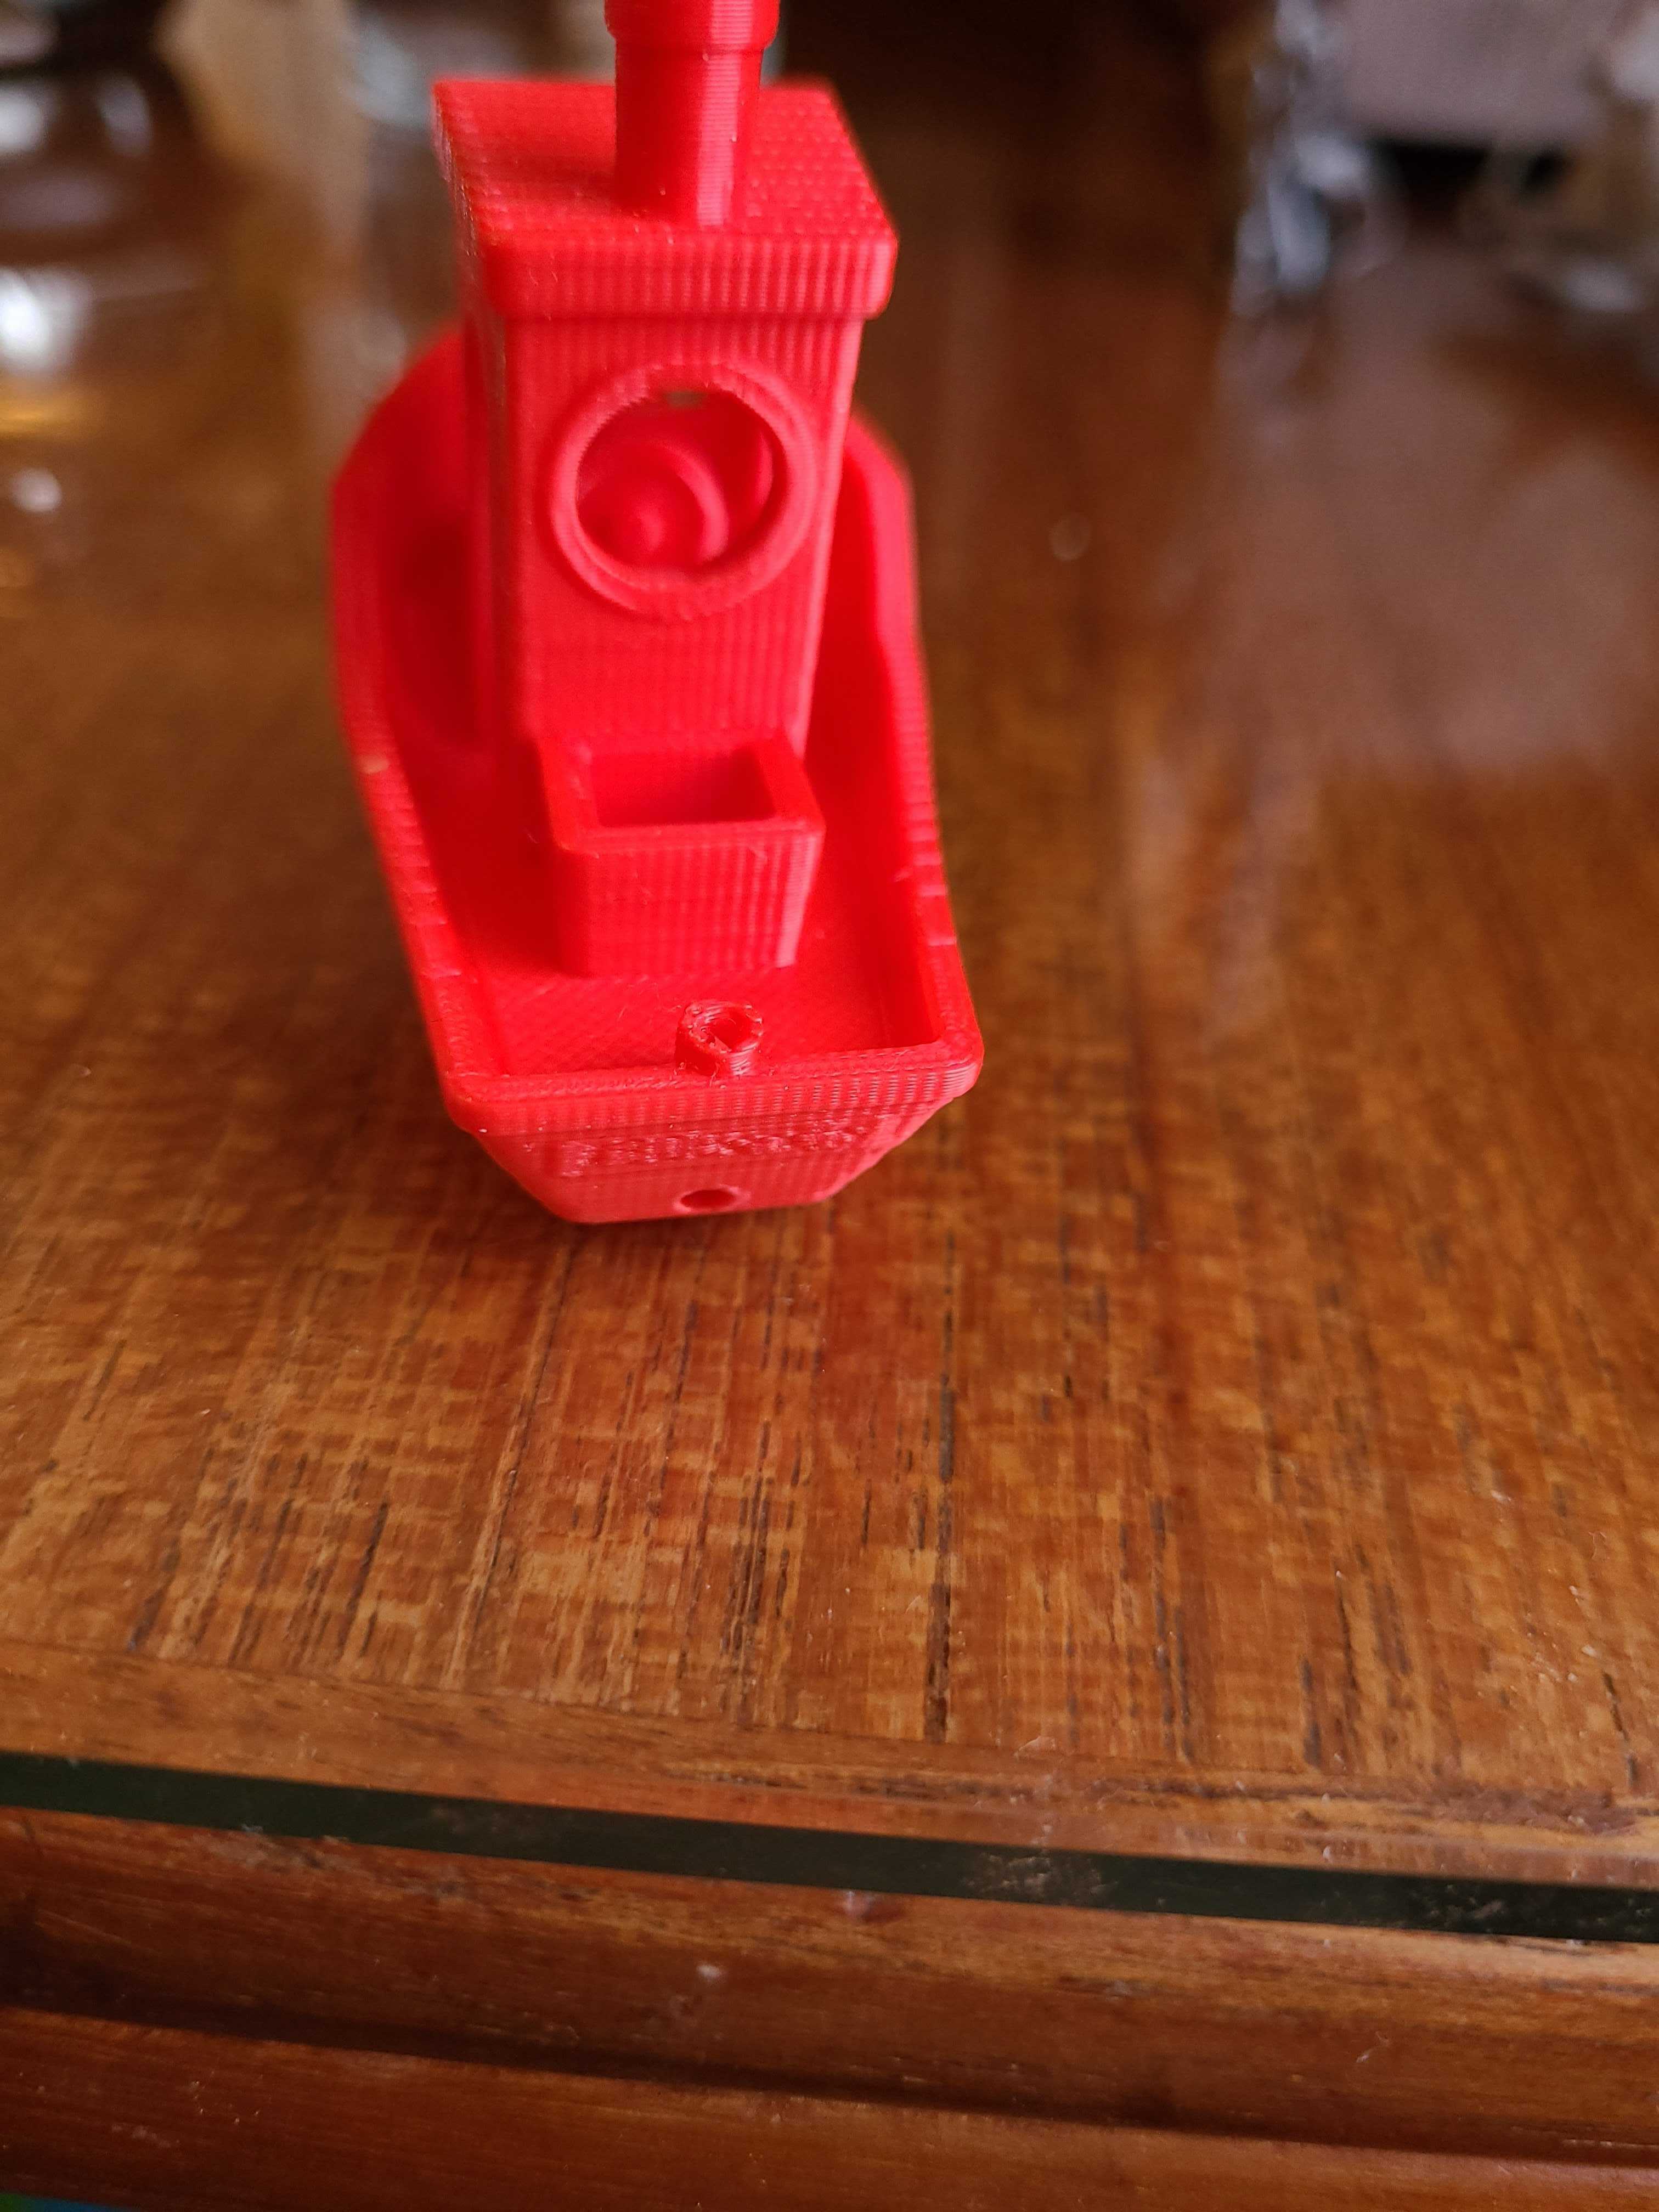
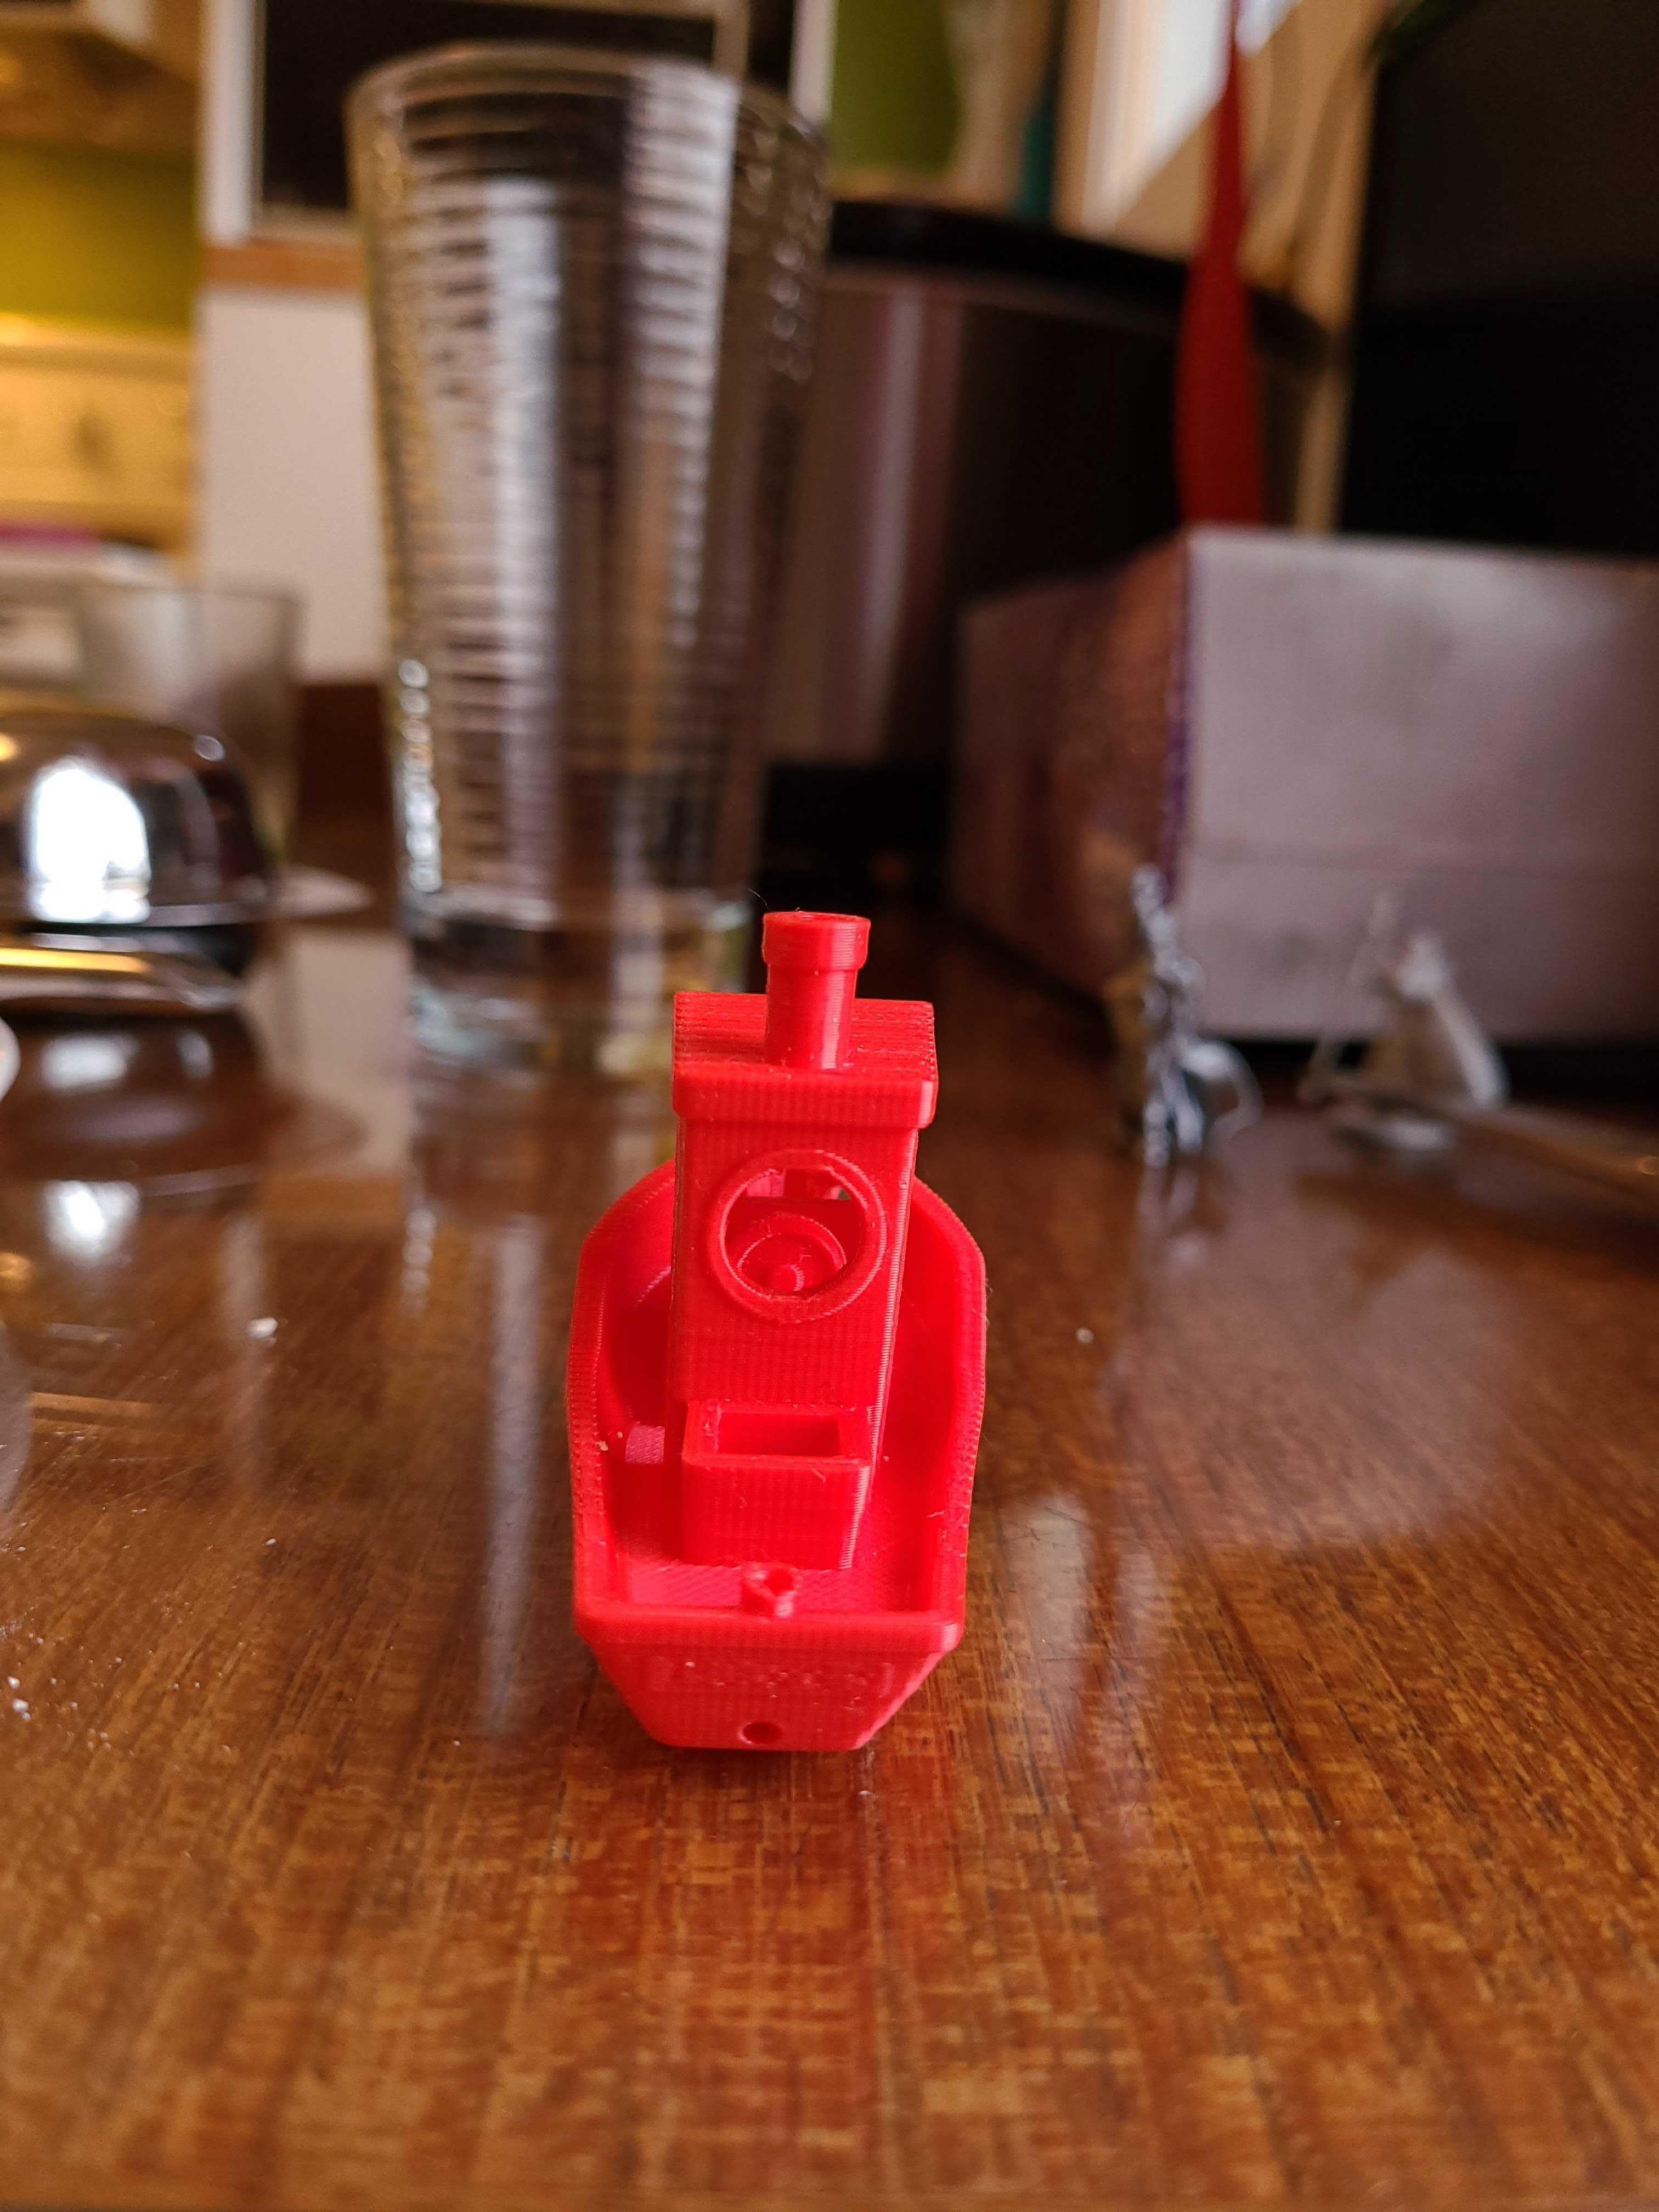
For the benchy - it looked pretty good at first but in the light of day I realized it has a lean to one side, some ghosting around the portholes and the little pipe at the back of the boat was a bit rough on the top. The lean is the biggest worry to me.
The printer seems to be sitting pretty square but I will be checking other things to see if something is off square somewhere. I am a bit worried I may have done something while i changed out the nozzle. I tried to hold the heating block with a wrench while I changed the nozzle but it was hard to get a good grip on it.
Any thoughts would be appreciated!
Oh! the other issue was the weird sort of striations on the sides of the cabin.
Total noob here so I can’t say for sure but it almost looks like your x-axis gantry isn’t square to the frame. That might be why it seems to be leaning. Just a thought…
Actually, if the X-axis gantry was out of level, the first layer would be good on one side of the bed but not the other. On the other hand, if the vertical supports were both leaning, the X-Axis gantry can still be level with the bed but the models will lean.
Do you have a carpenter’s square, the larger the better? Check that the uprights are in fact perpendicular to the bed.
Do you have a caliper? If so, print a XYZ test cube. Normally one measures the X, Y, and Z widths to confirm they are 2cm, but you can also use it to verify that the axes are perpendicular to each other by measuring the distance between opposite edges. They should all be the same. If it’s truly leaning, One pair of opposite edges will be greater than 2.828cm while the other will be less that 2.828cm.
3 Likes
I was actually just poking around on amazon at calipers. I haven’t settled on any yet but it does seem like a needed tool for this hobby.
I should have a carpenters square or something similar kicking around. I will take a closer look this weekend.
Thanks for the tips!
Make sure all your steps per millimetre are set correctly also are your belt loose at all or rubbing against something
1 Like
Canadian Tire has calipers. I’ve been using it for years. It’s been quite reliable.
1 Like
I will add this to the list! Thanks
1 Like
Oh great! It’s good to have a recommendation. I don’t entirely trust amazon reviews.
@momewrath you ar wise not to trust amazon reviews. I got a card from the seller I bought a 3d printer from offering a 20$ credit with his store if I gave them a 5 star review…
I have can tire ones I discovered that it was not typical for them to not produce consistent results Can tire returned them the new set is way better.
I had a similar experience at Christmas. I brought some well reviewed headphones only to discover a bribe card in the box when they arrived.
I will check can tire this weekend.
At very least, no matter where you get it from, you want a METAL caliper, not the plastic crap.
2 Likes
I have my calipers now. All the sides seem to measure in around 20mm. Ranging from 19.89 to 20.1. Not sure if that is a bit enough variance to be concerned with. It does appear that the sides are generally parallel to each other but there is definitely a skew to one side. You can see the skew in the pic of the Y side of the cube. From what I can tell the frame is square to the bed as well. I haven’tbeen able to find any wobbles. I went through the first part of Teaching Tech’s calibration page as well. Plan to continue with the rest when time presents itself.
You definitely have a Y issue but the bench actually looks pretty good. I can’t remember the url but there are some excellent step by step calibration instructions on the Prusa wiki. It actually covers all types of printers and isn’t part of Prusa. If someone with a better memory doest give the name you should find it by searching for “3d fdm calibration process”. If you measure the benchy you should see if y is over or under extruded. The printer should be calibrated for a few things that end up with a exact amount or length being extruded. Likely the number of steps required is off. The calibrations test for that is printing a set length line and adjusting the steps up or down so that it measures out to the desired length.10% short yo simply add 10% steps in your slicer setup as example.
It’s hard to see from the pictures, however, it looks good from what I can see! If you could show us a better picture, that would be great.
If you look at the picture posted of the cube with the Y facing the camera, it clearly has a lean. Other than that the frame isn’t straight, I’m completely out of ideas.
Ive had a set of mastercraft digital calipers for like 8 years, used for work. Ive changed the batteries a few times and did clean the internals once. I found it frustrating to use with my 3d prints, so i got a guage block and yupp. It was dead accurate so my frustration was just user error.
Personally i prefer dial calipers but cant argue with a guage block.
Just curious, how did you orient your xyz cube? Could you take a picture of how the printer printed it?
Also check out this site to walk through calibrating your printer. 
https://teachingtechyt.github.io/calibration.html
I finally had some time to get back to this today. I checked the frame again compared with a (yet again) levelled bed. Relative to the bed, the z axis does have a lean forward toward the front of the printer. It’s hard to see in the pic but the base of the ruler is against the z extrusion edge, while the top overlaps about 1/8 of an inch. When I checked the z axis extrusion against the base extrusion that runs parallel to the y axis it seems to be square. This makes me think that it’s the y axis that is off maybe - causing the bed to not be level. So as the print head moves up on the z axis, the print starts to lean. I am not immediately sure how to fix that… but hoping that when i take the bed off the solution will present itself…
I see what you are thinking. I would suggest stay away from the square bed to frame. The bed is made to be adjusted. Check the gantry to frame the bed if it is off can be corrected. The frame to gantry is important!!! It does need to be square!