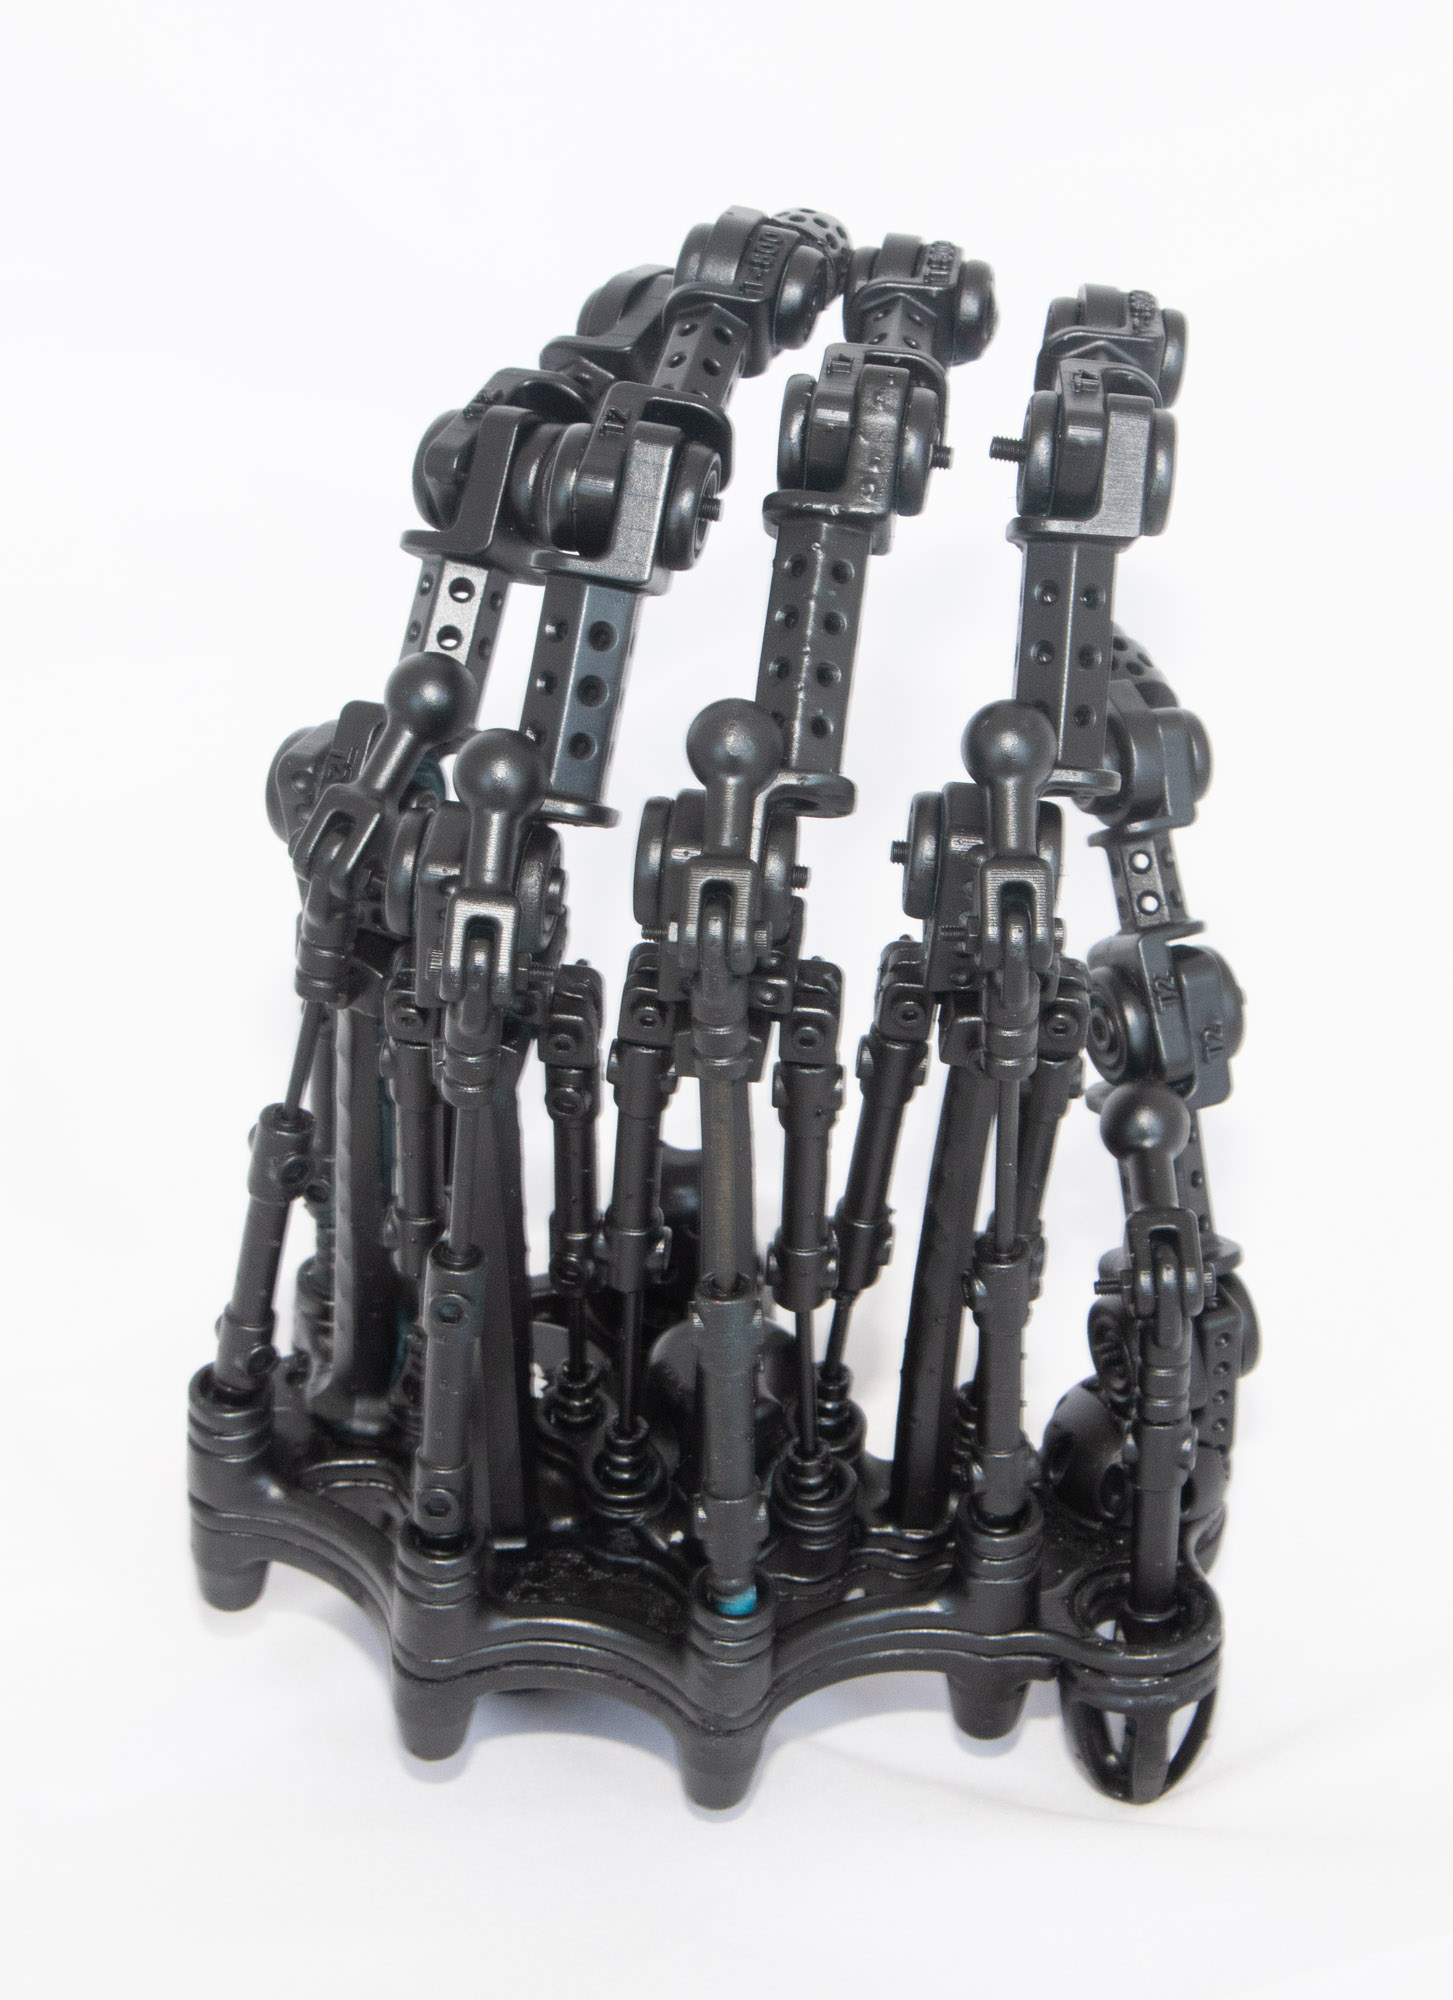
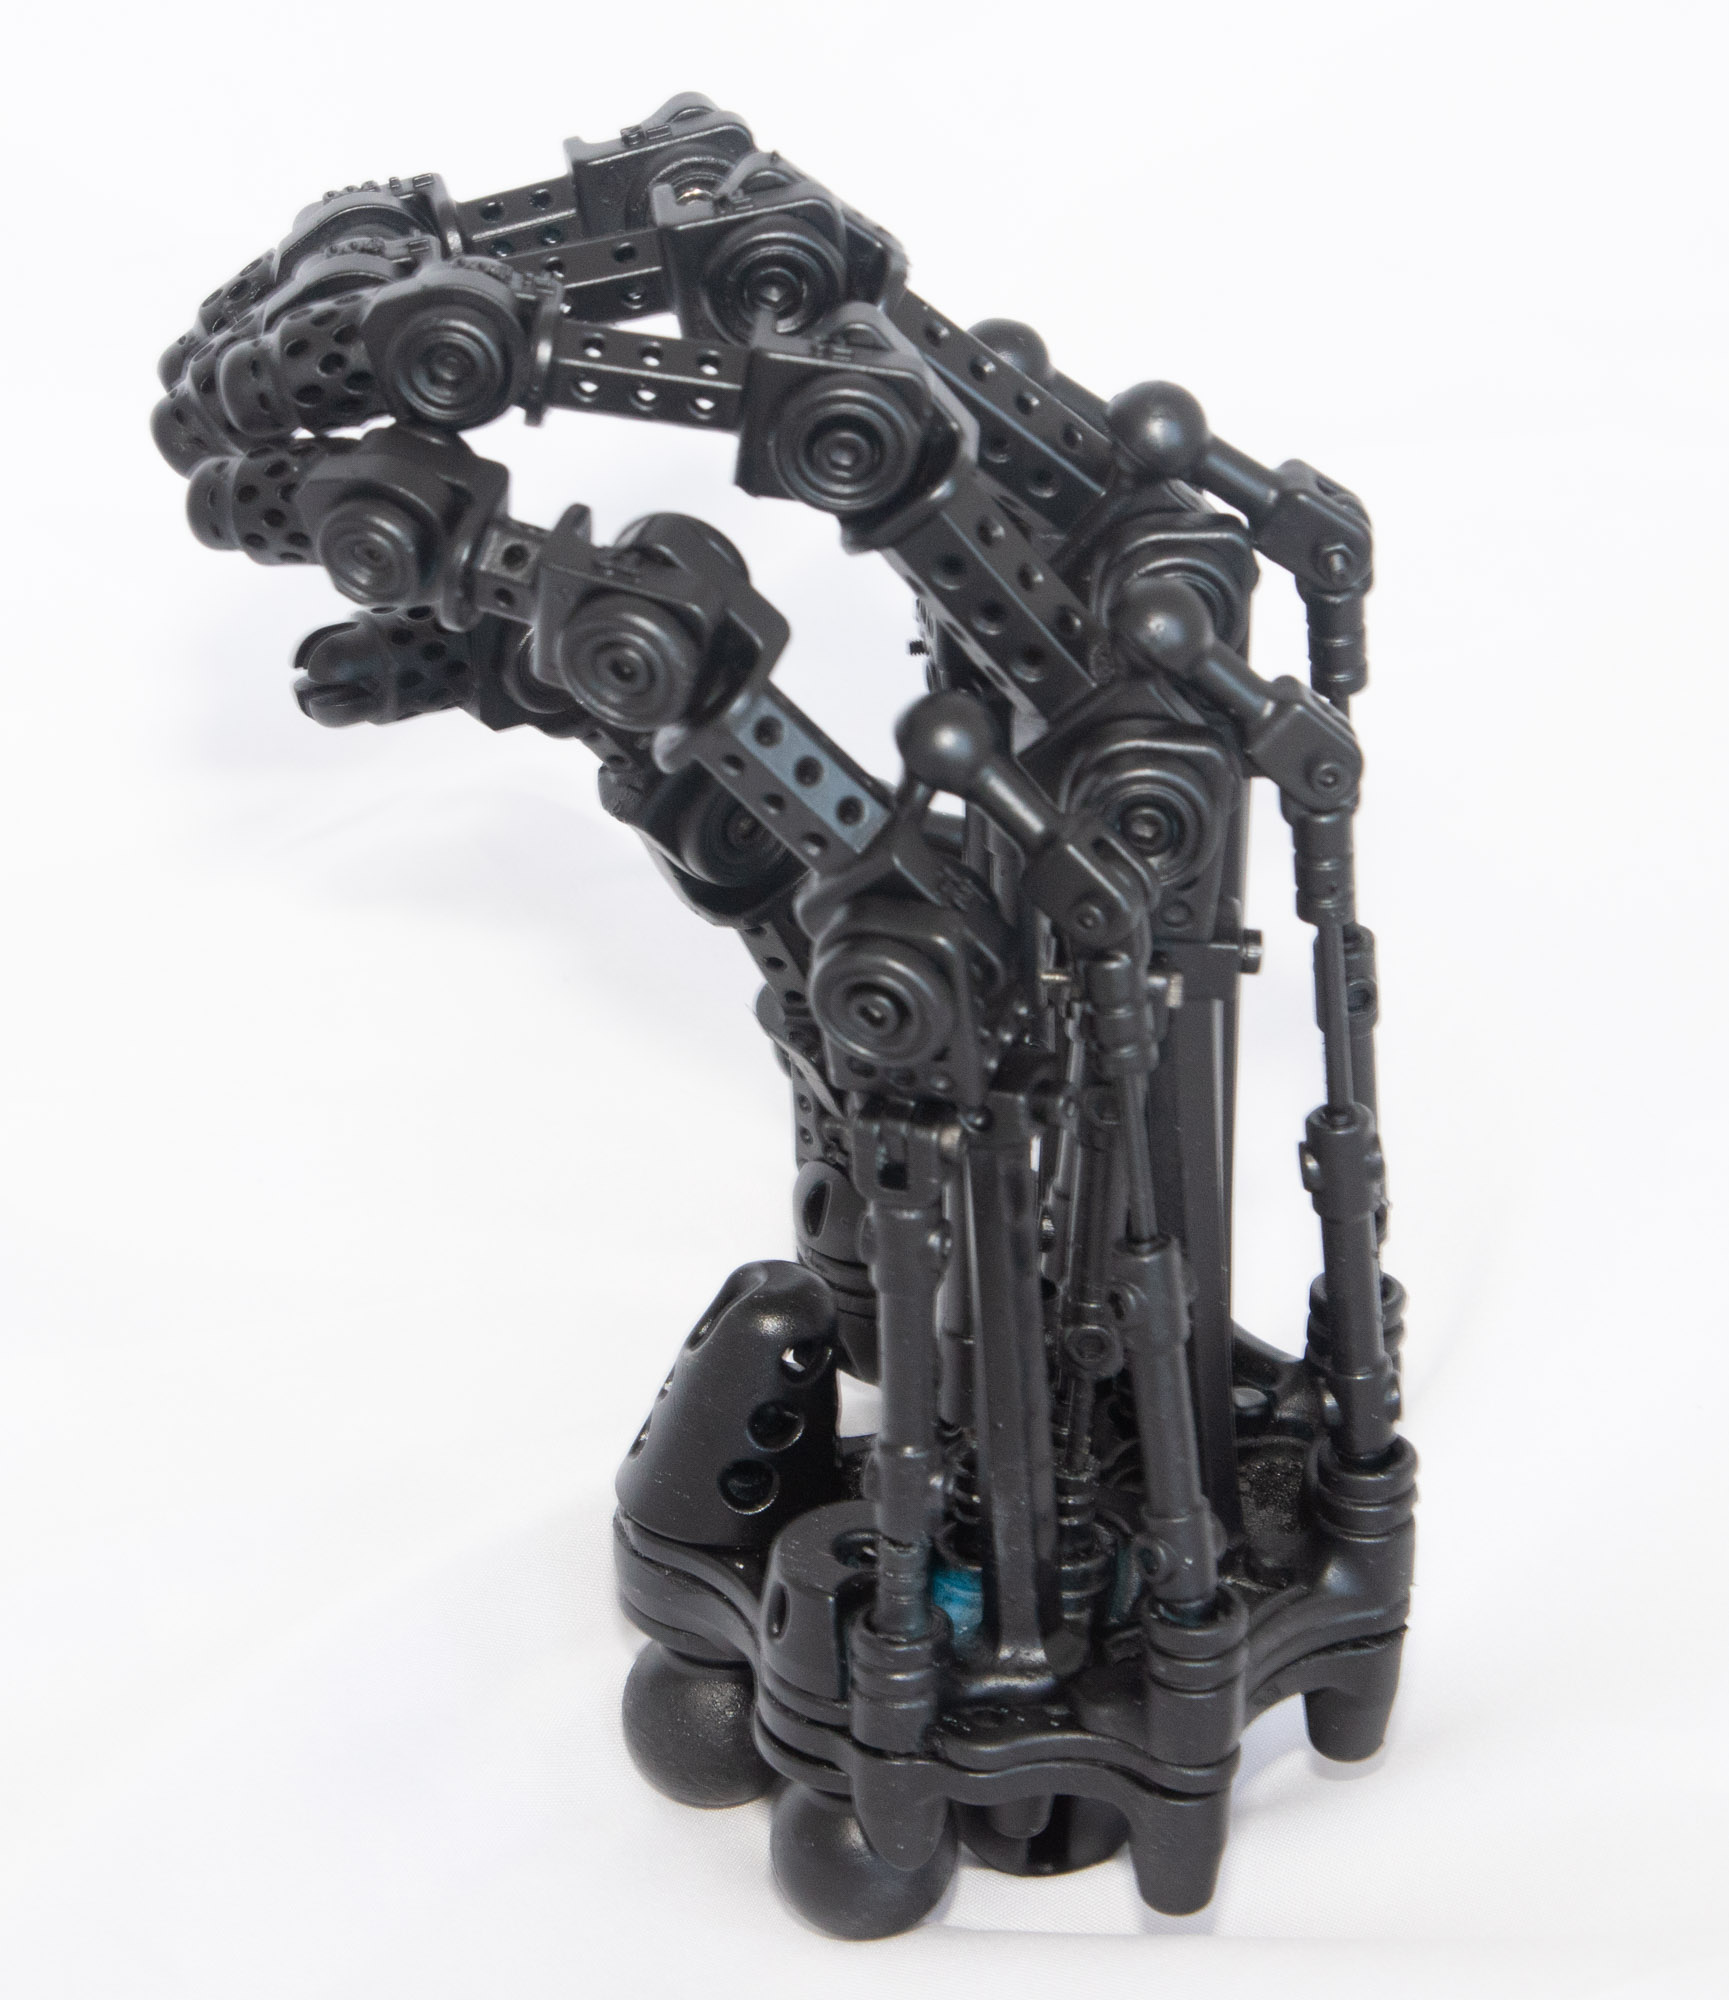
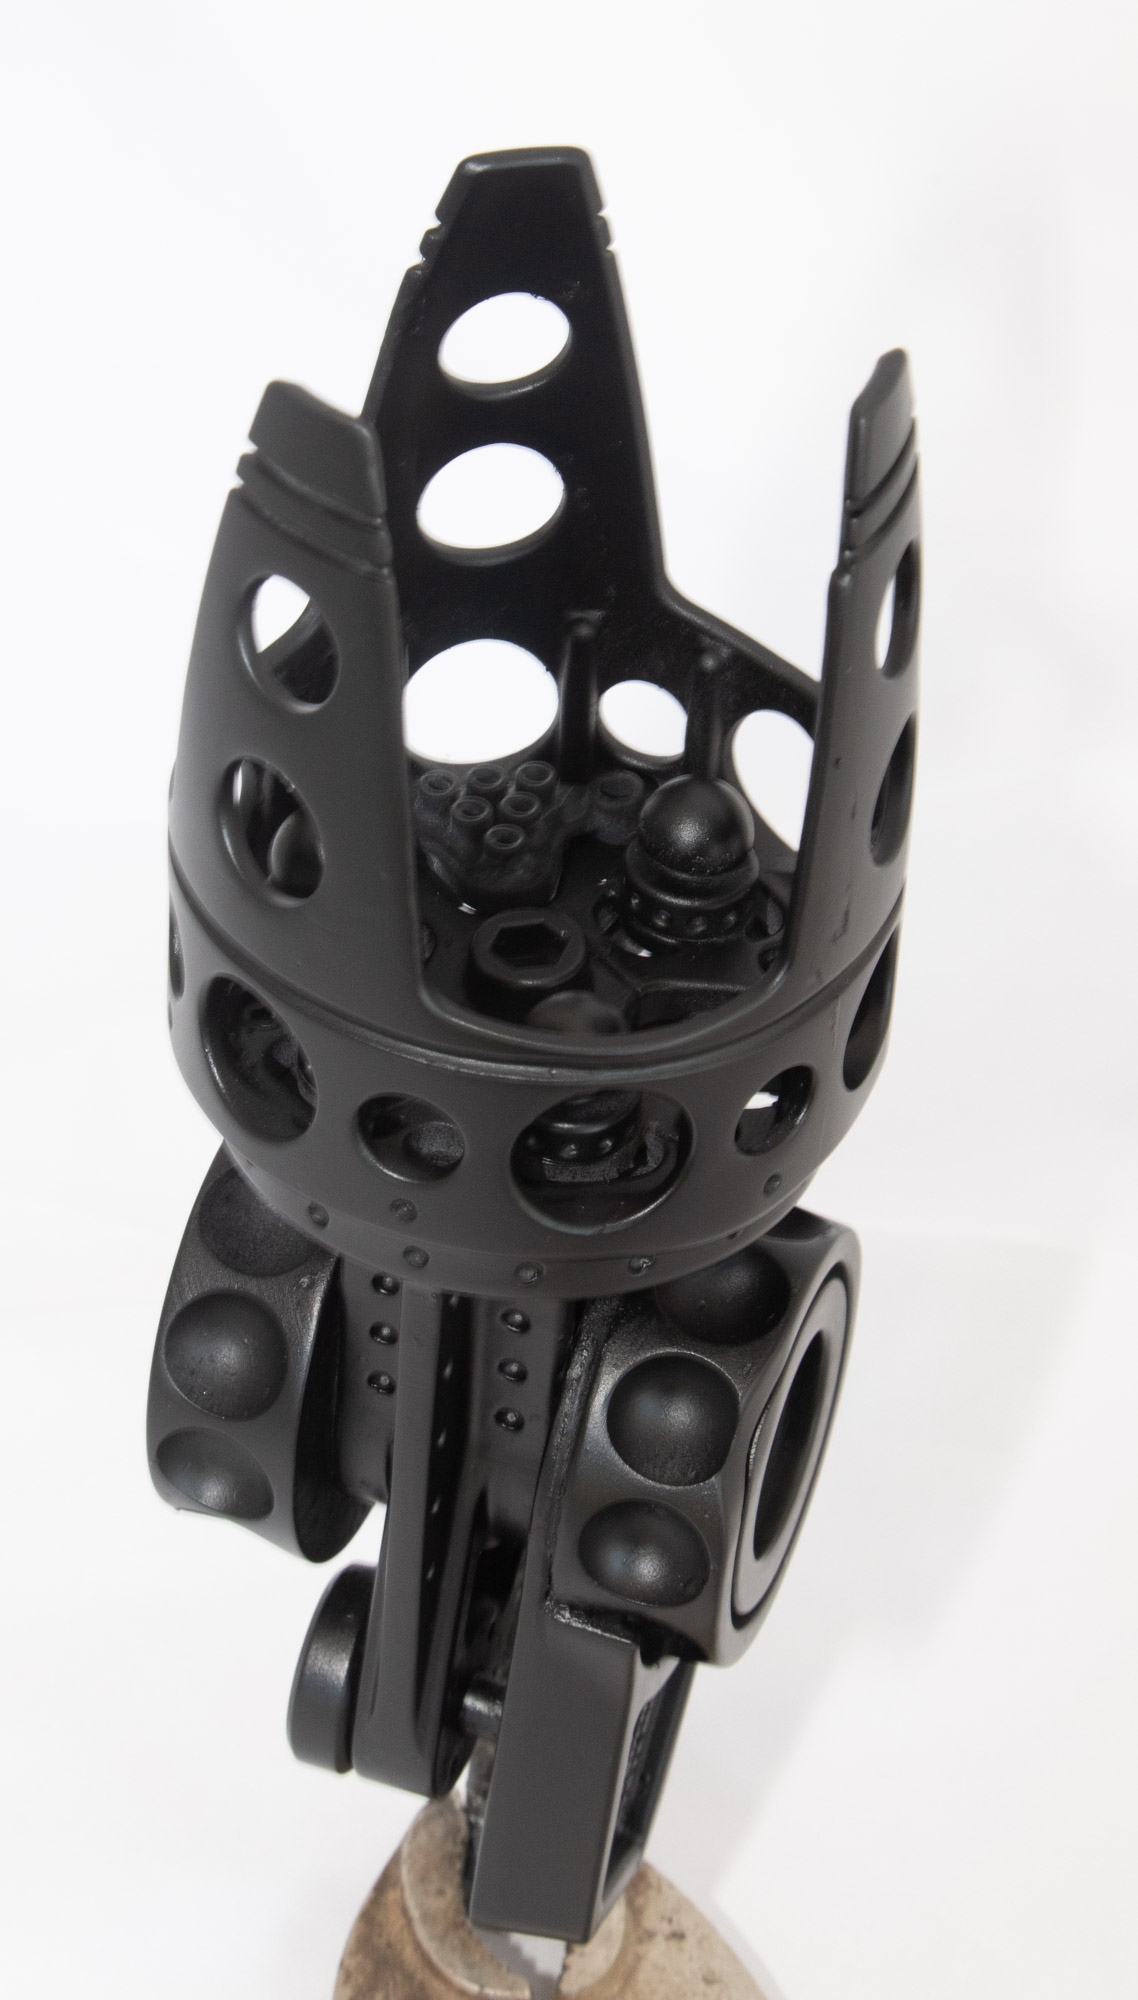
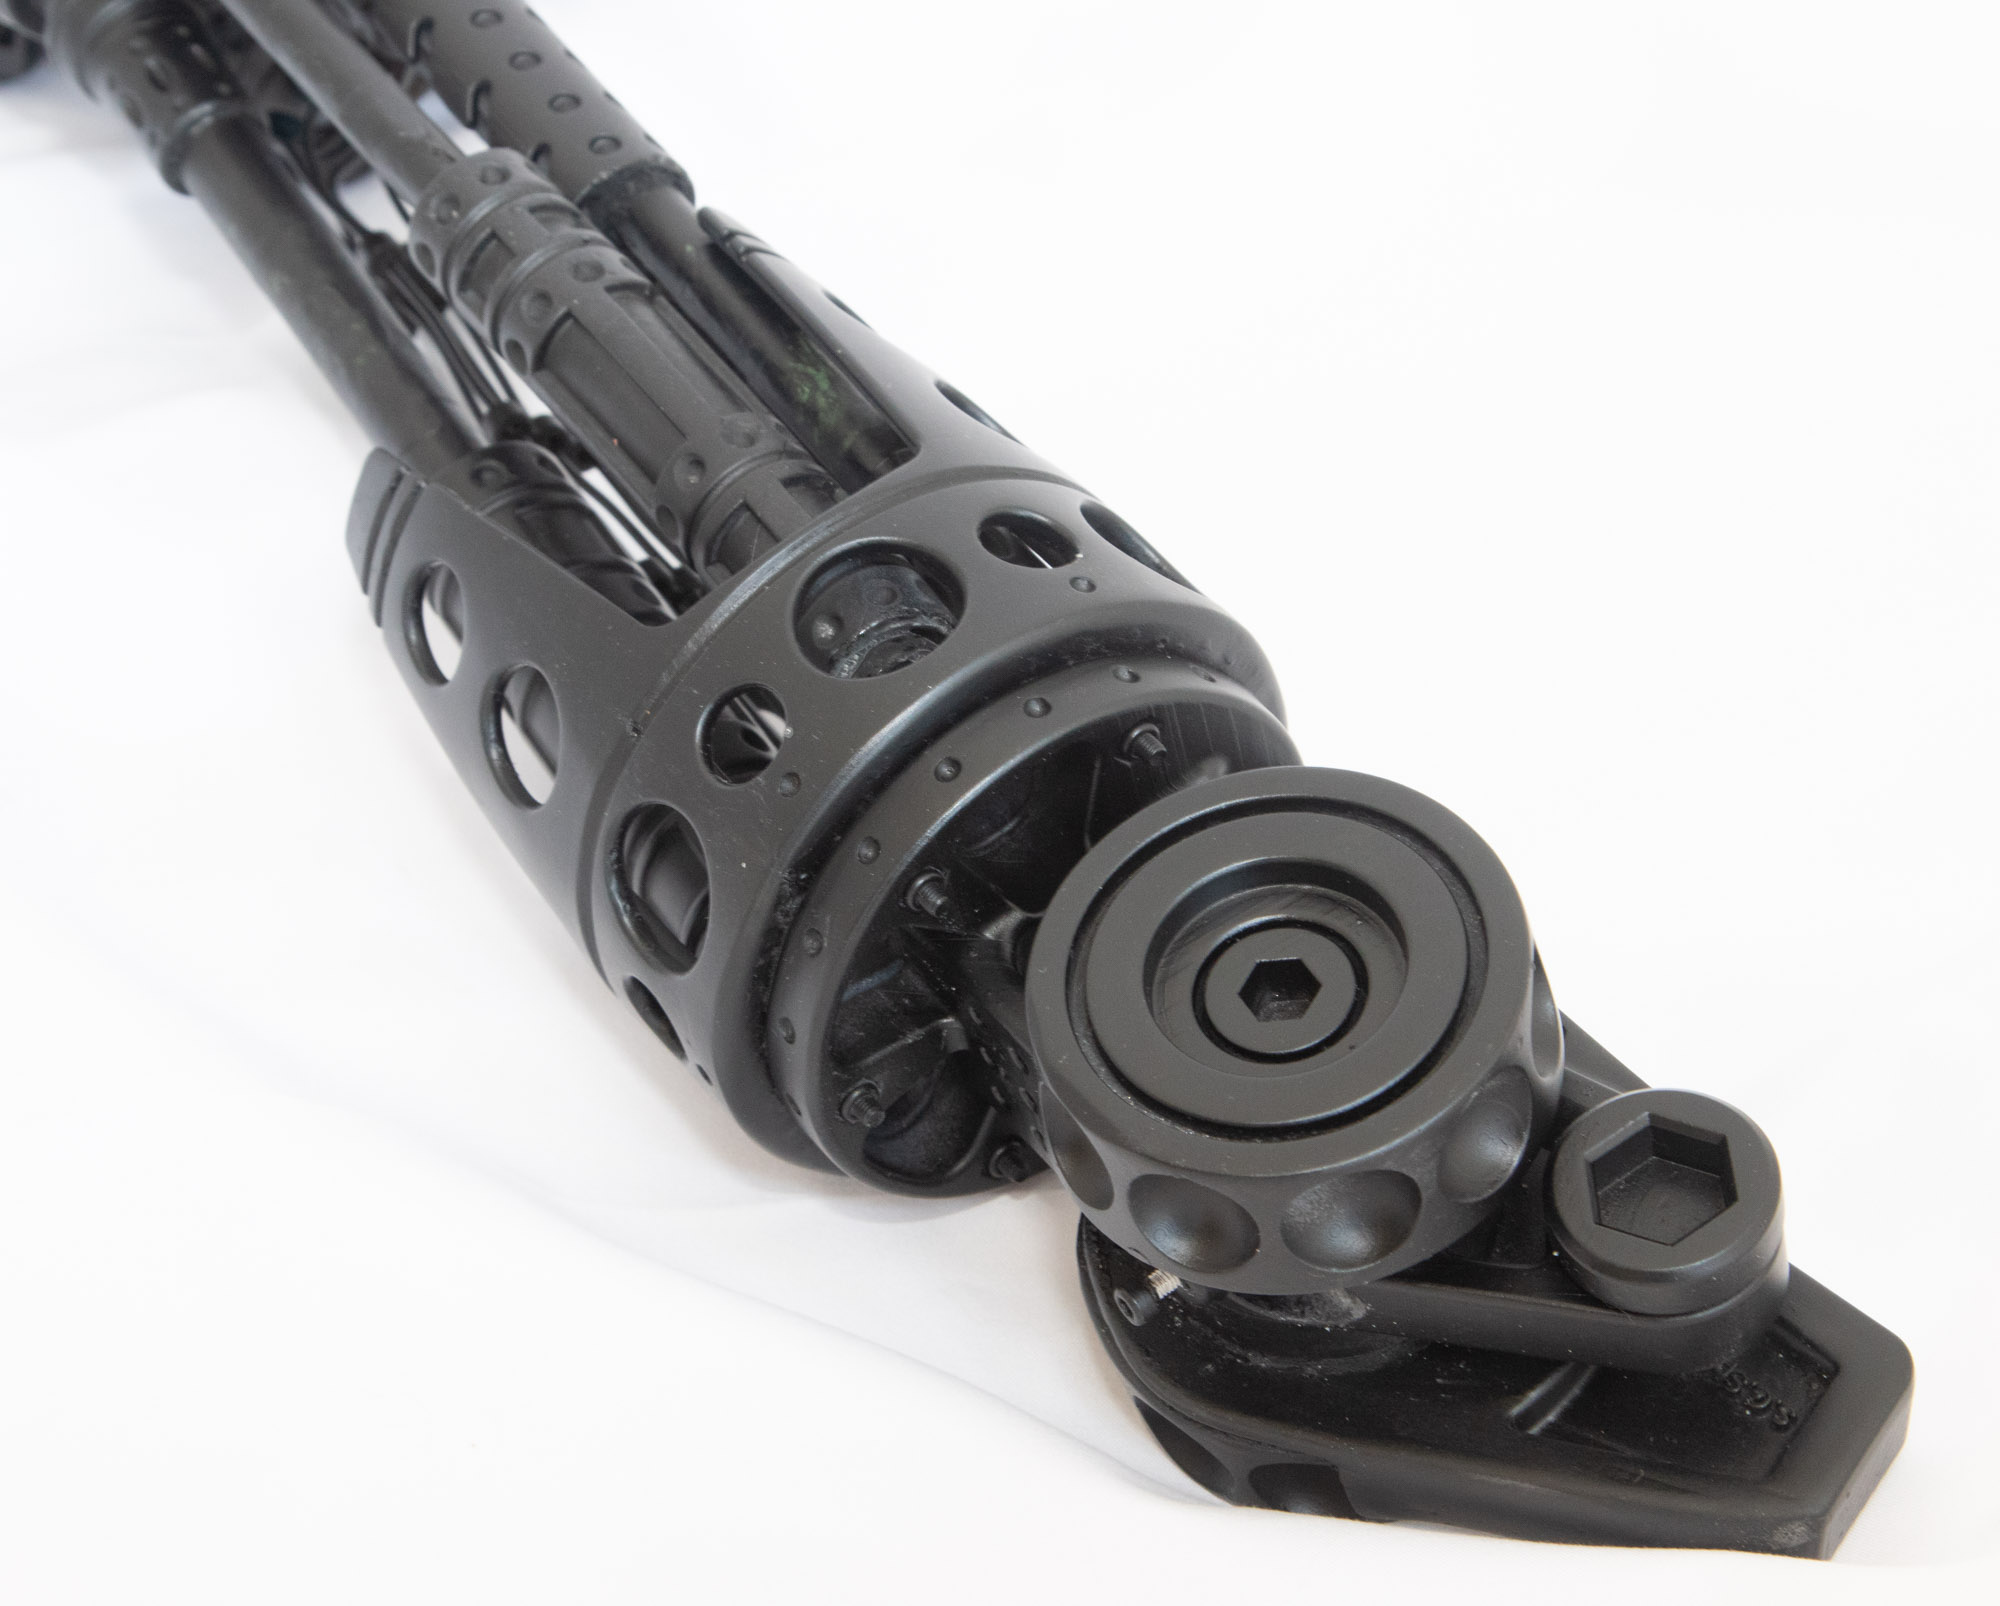
First coat of black primer. Next work on the base again.


3 Likes
That’s looking sweet!
1 Like
that looks great. I wonder if you had some kind of graphite or copper infused paint if you could nickel plate it? They can chrome plastic … but not at home heh
1 Like
I have been looking at how you can DIY copper & nickel plate parts. Which was interesting but too much work for this project. So will start out on a smaller model.
More progress pictures tomorrow the elbow part is not primed. I have the metal for the pistons so should get them turned tomorrow. Then it will be time to experiment with chrome finish.
I have a fish tank full of Nickel acetate I made and regularly plate the steel parts I make. it’s really not hard but you’ll want to be able to polish it for something like that. it’s not just getting the Nickel to stick. my finishes are purely to keep stuff from rusting. polishing it is an art and time-consuming.
1 Like
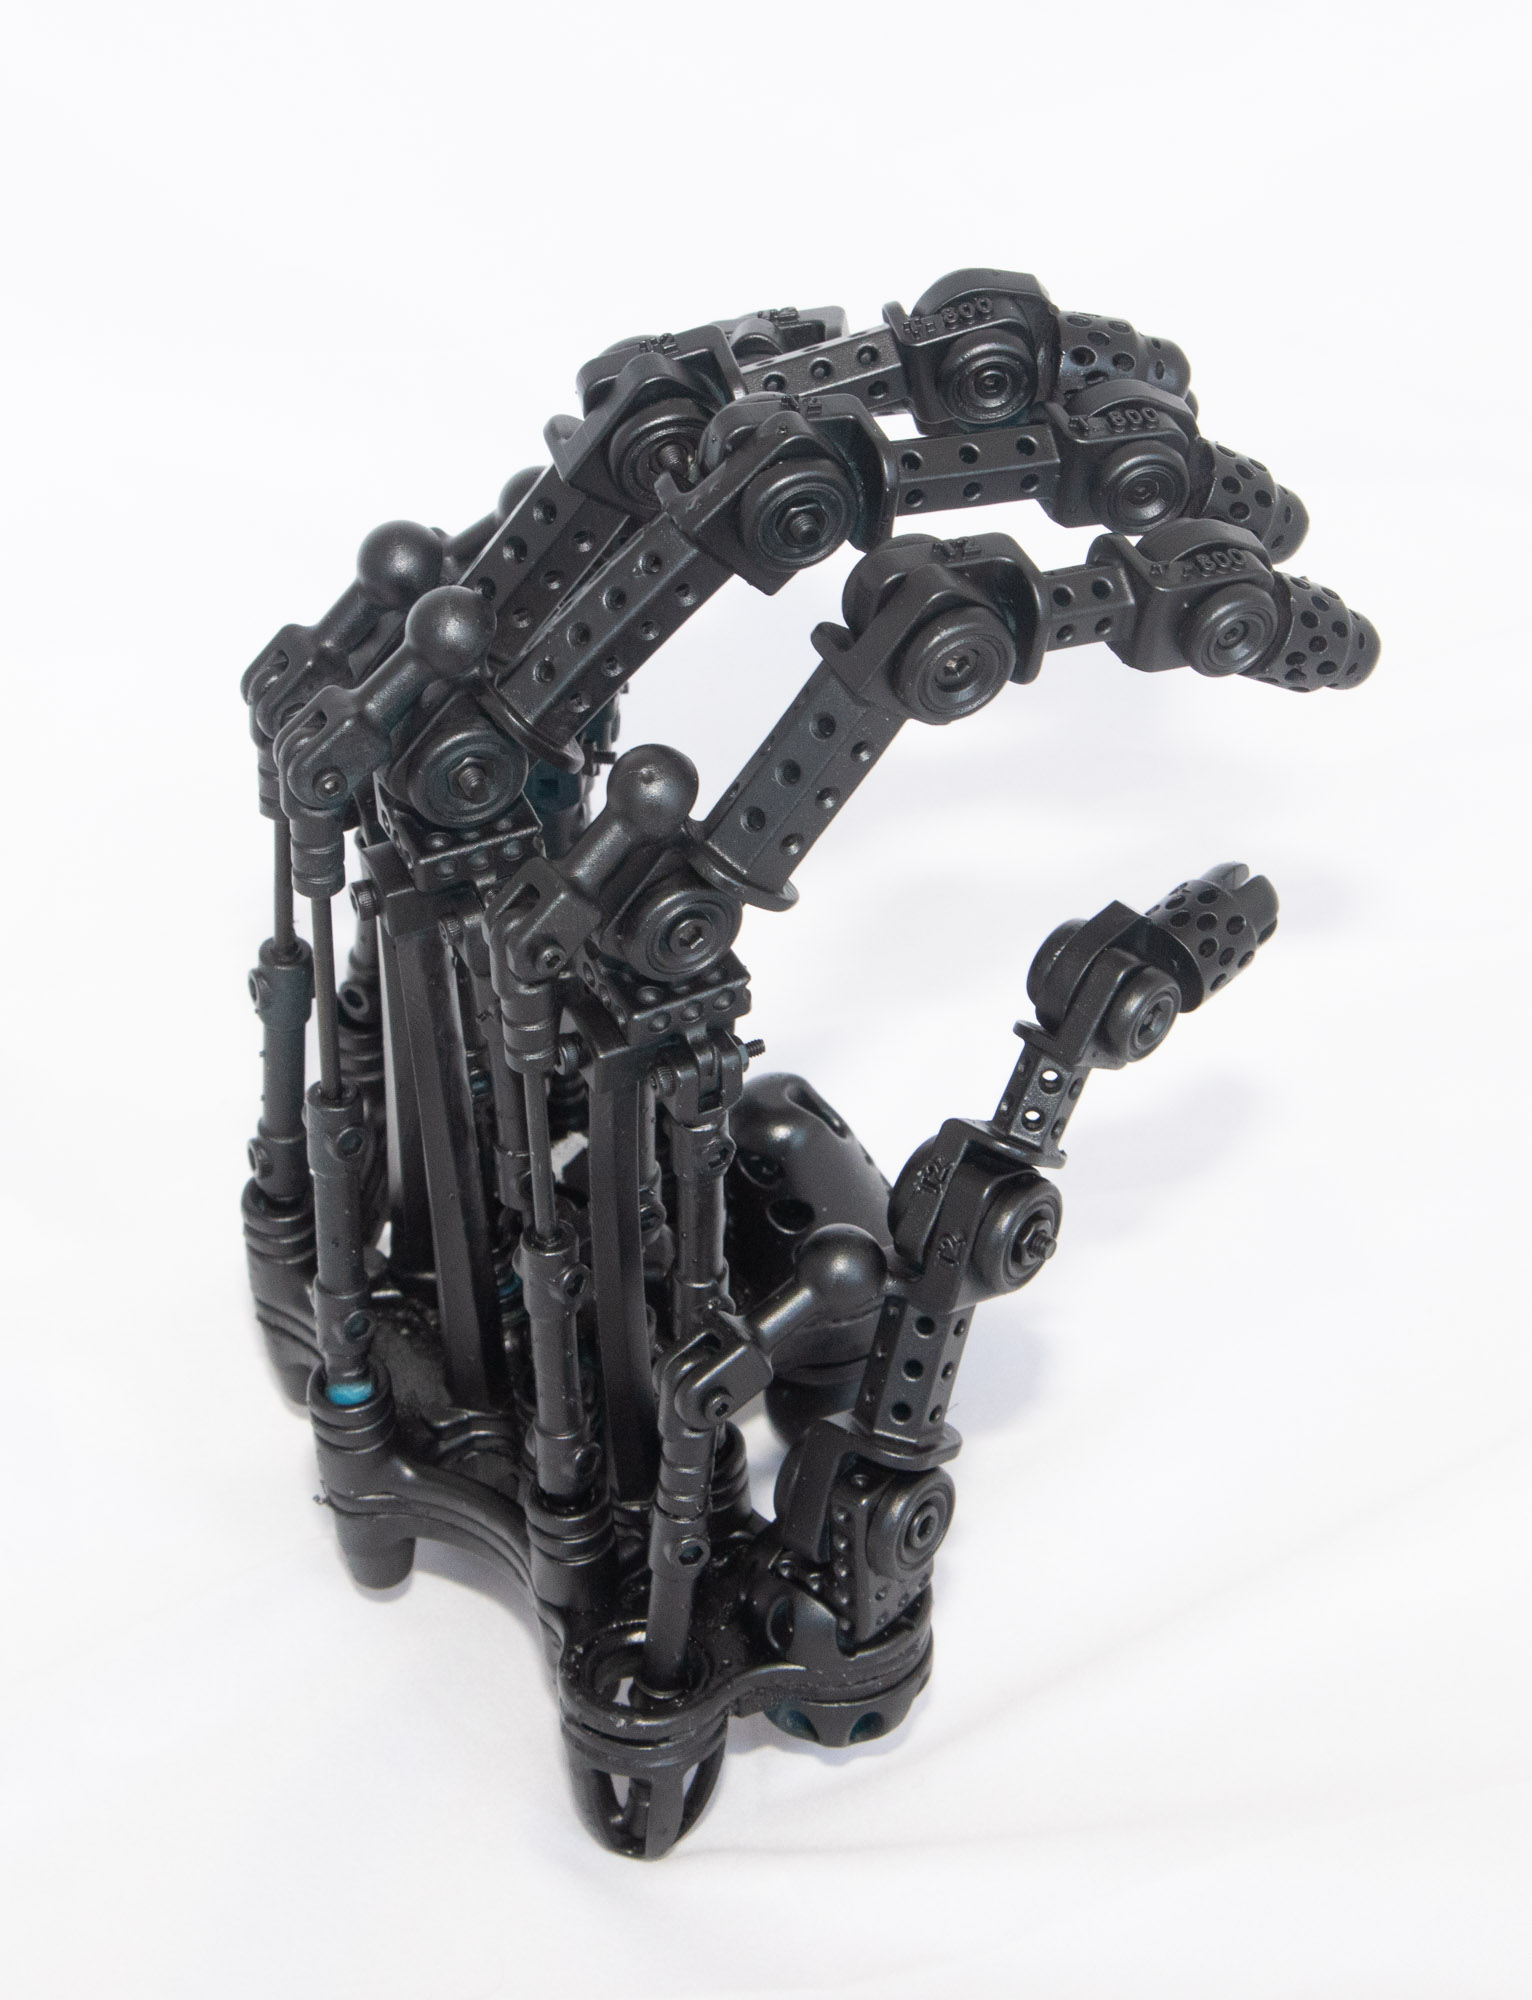
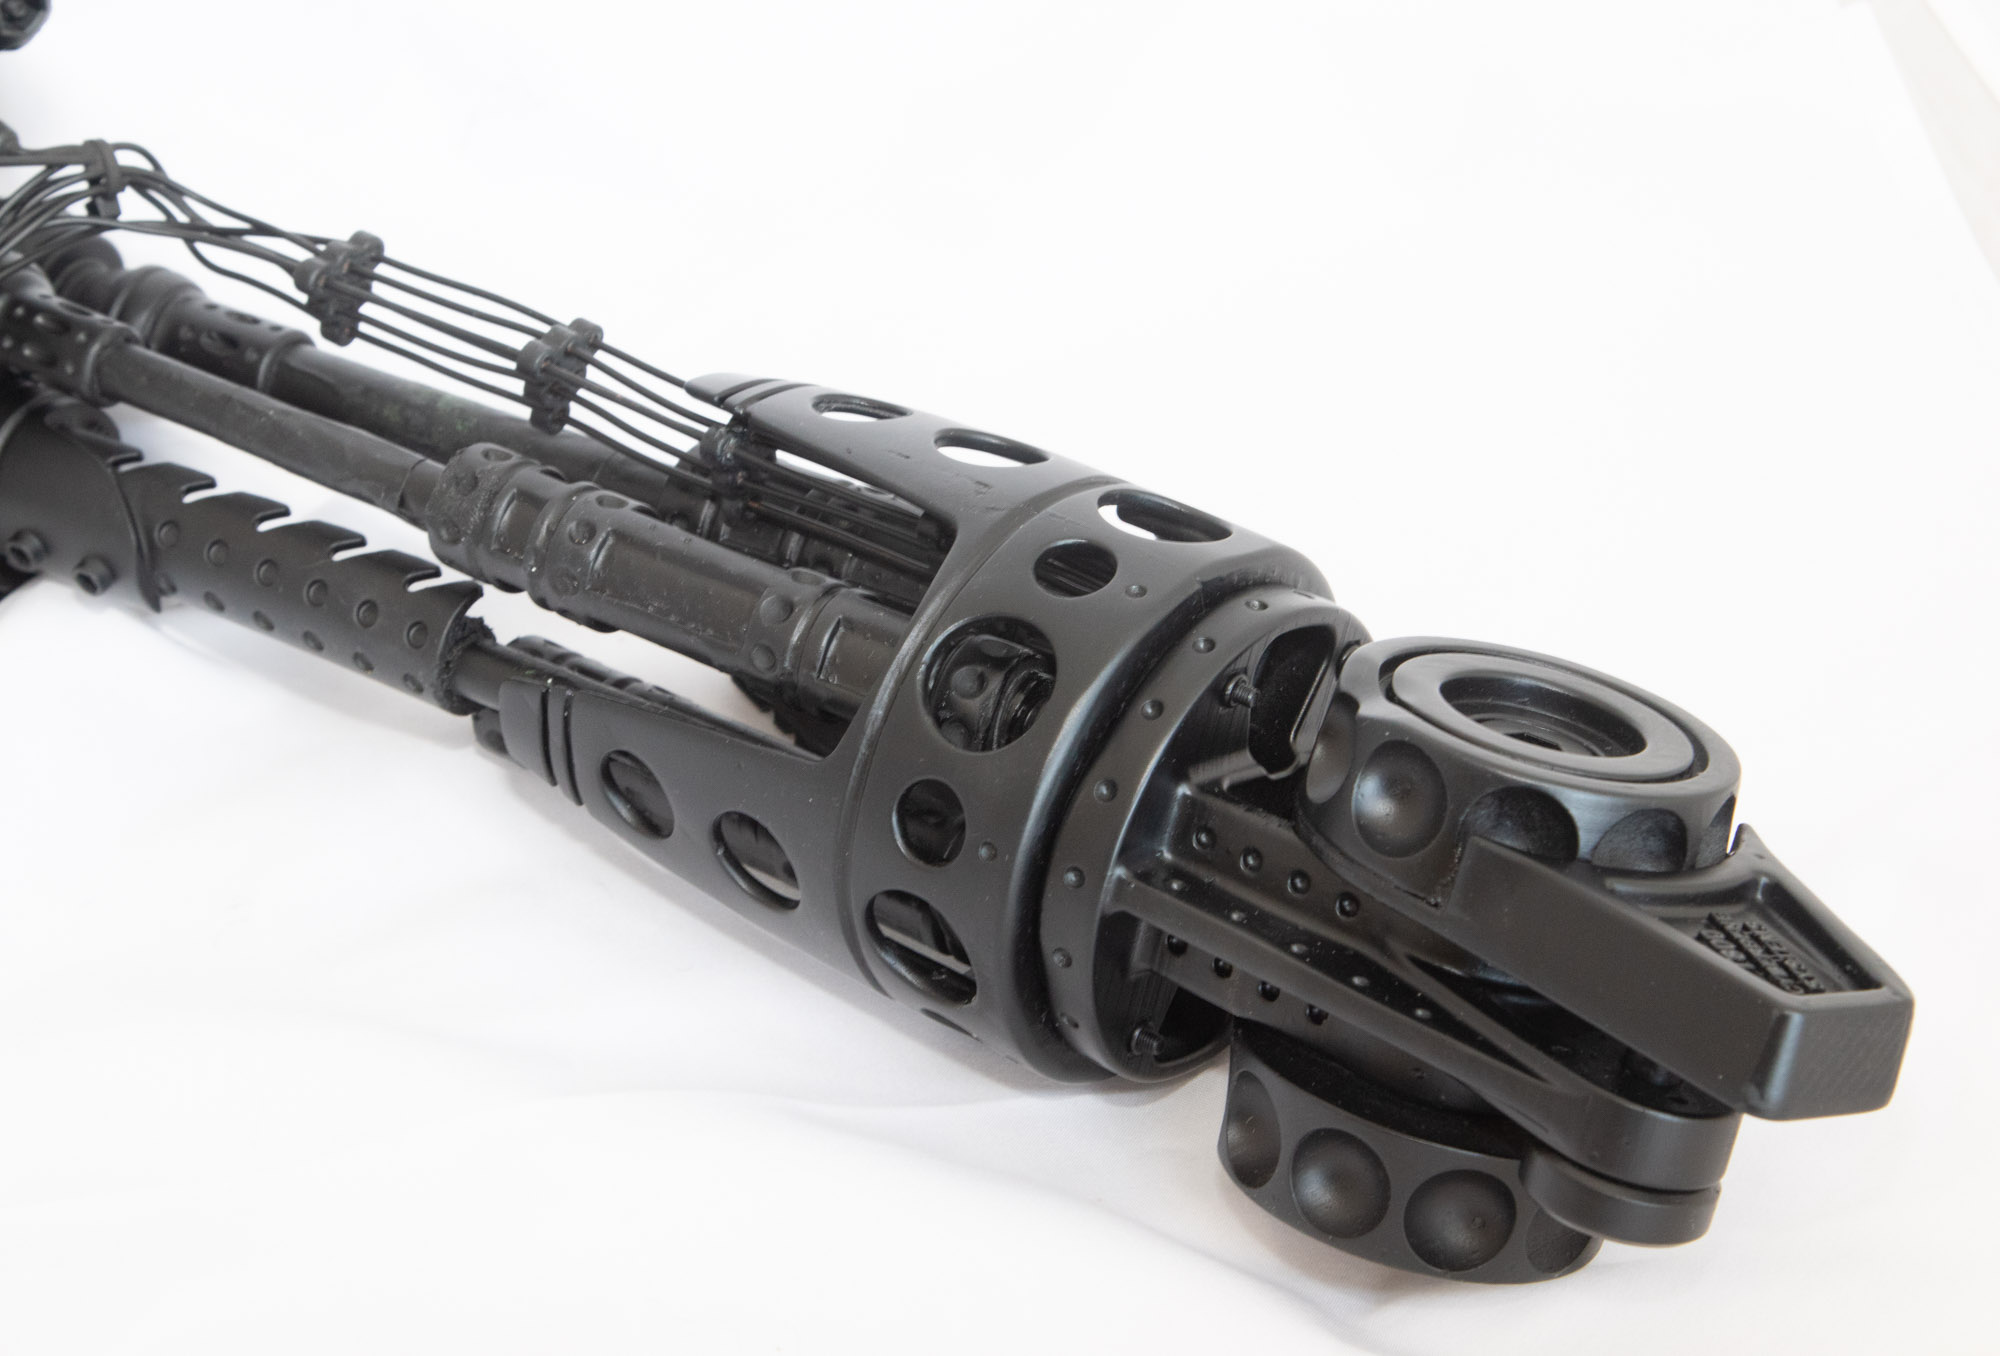
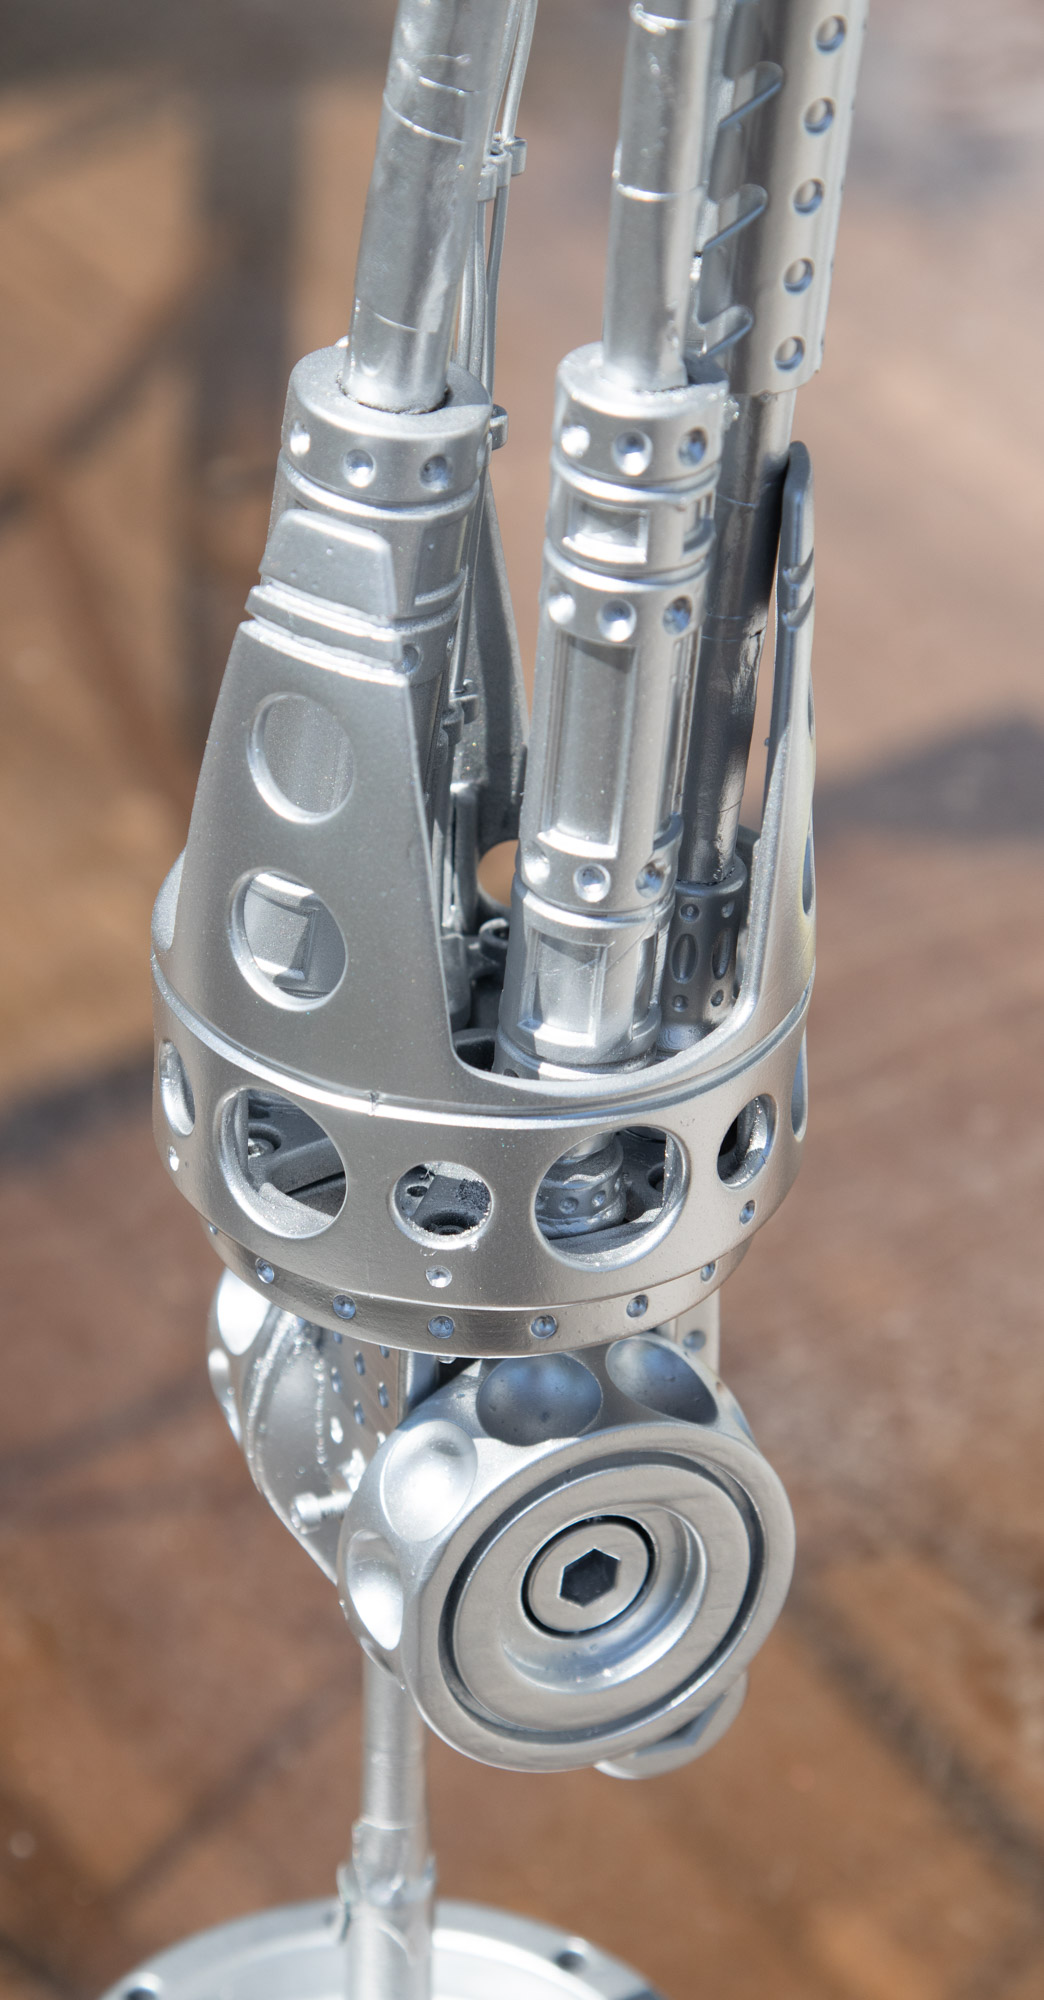
The elbow base is now assembled and primed black. Next the arm pistons.
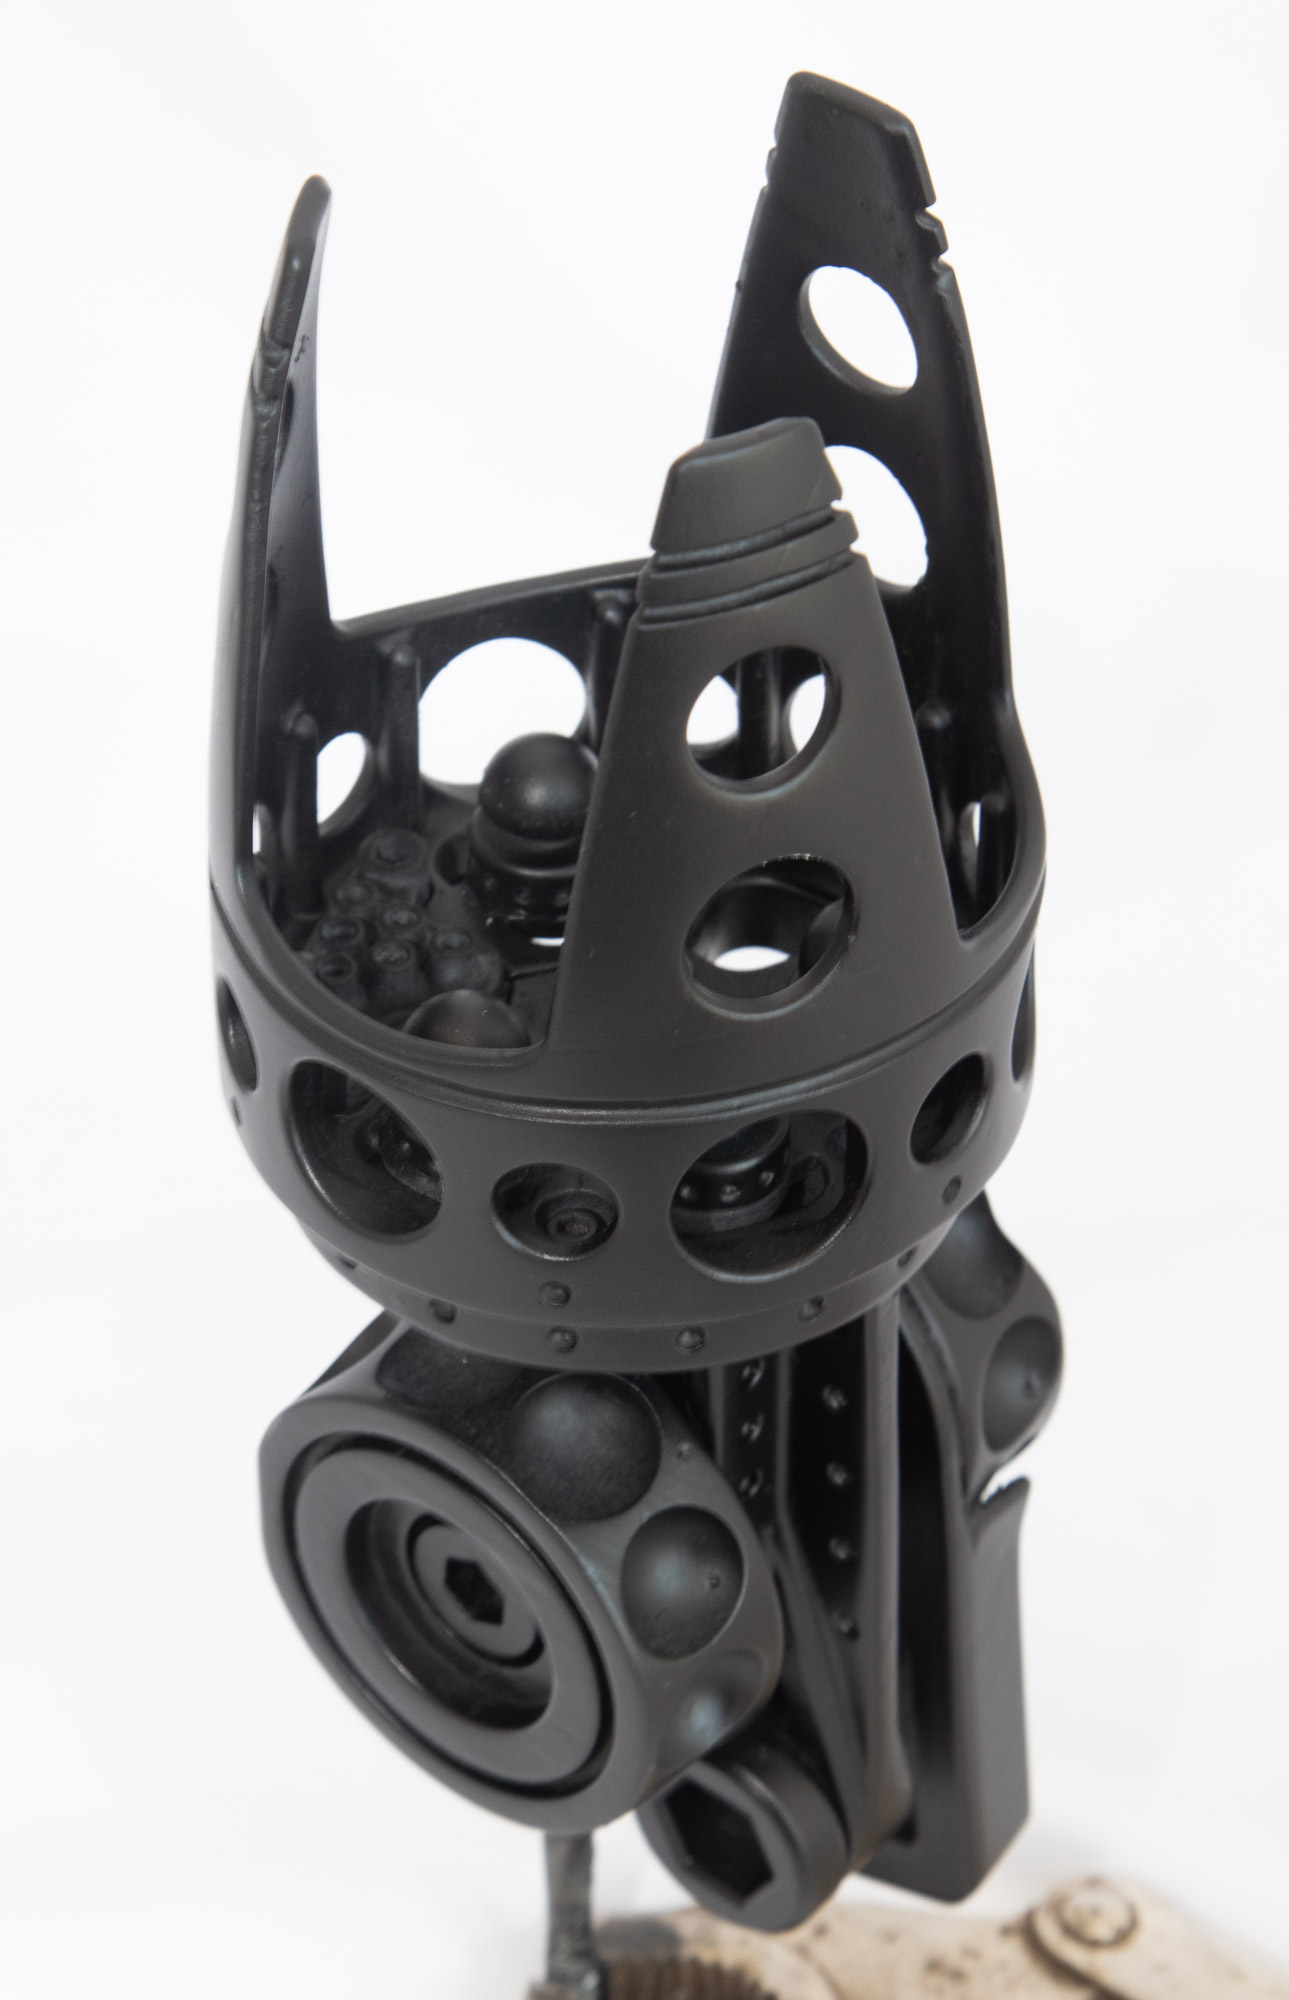
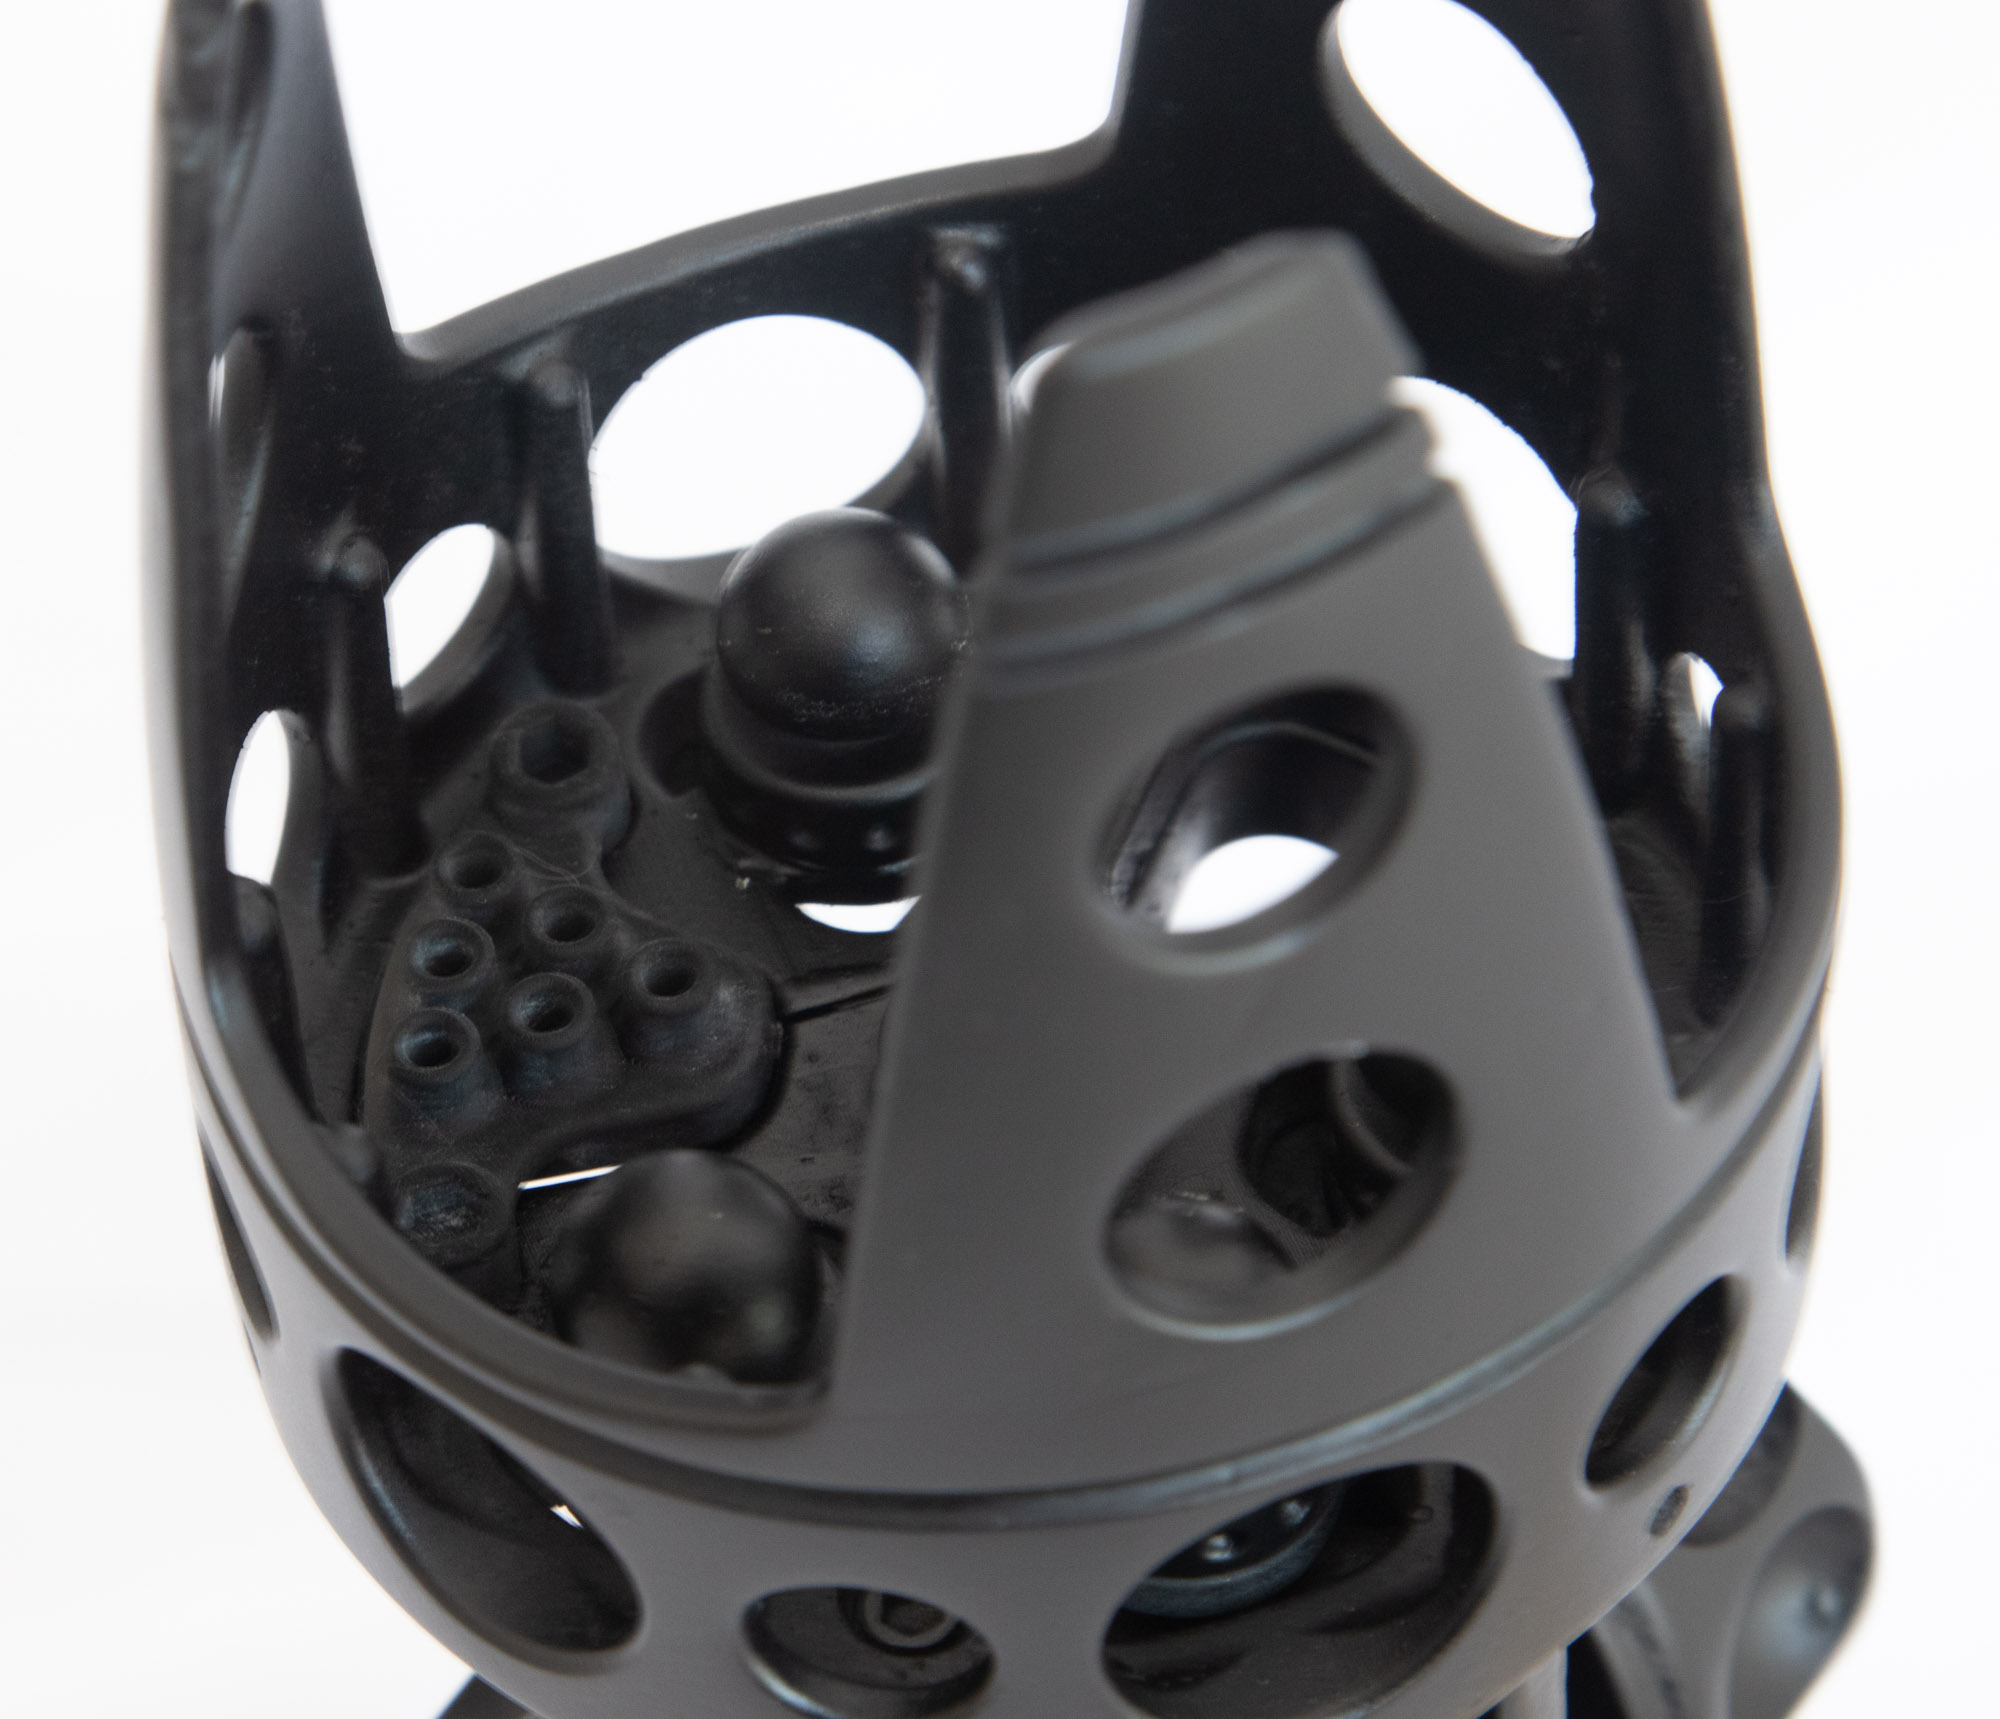
I designed and printed last night, a hydraulic manifold for the small pipes I will add to the hand piston.


3 Likes
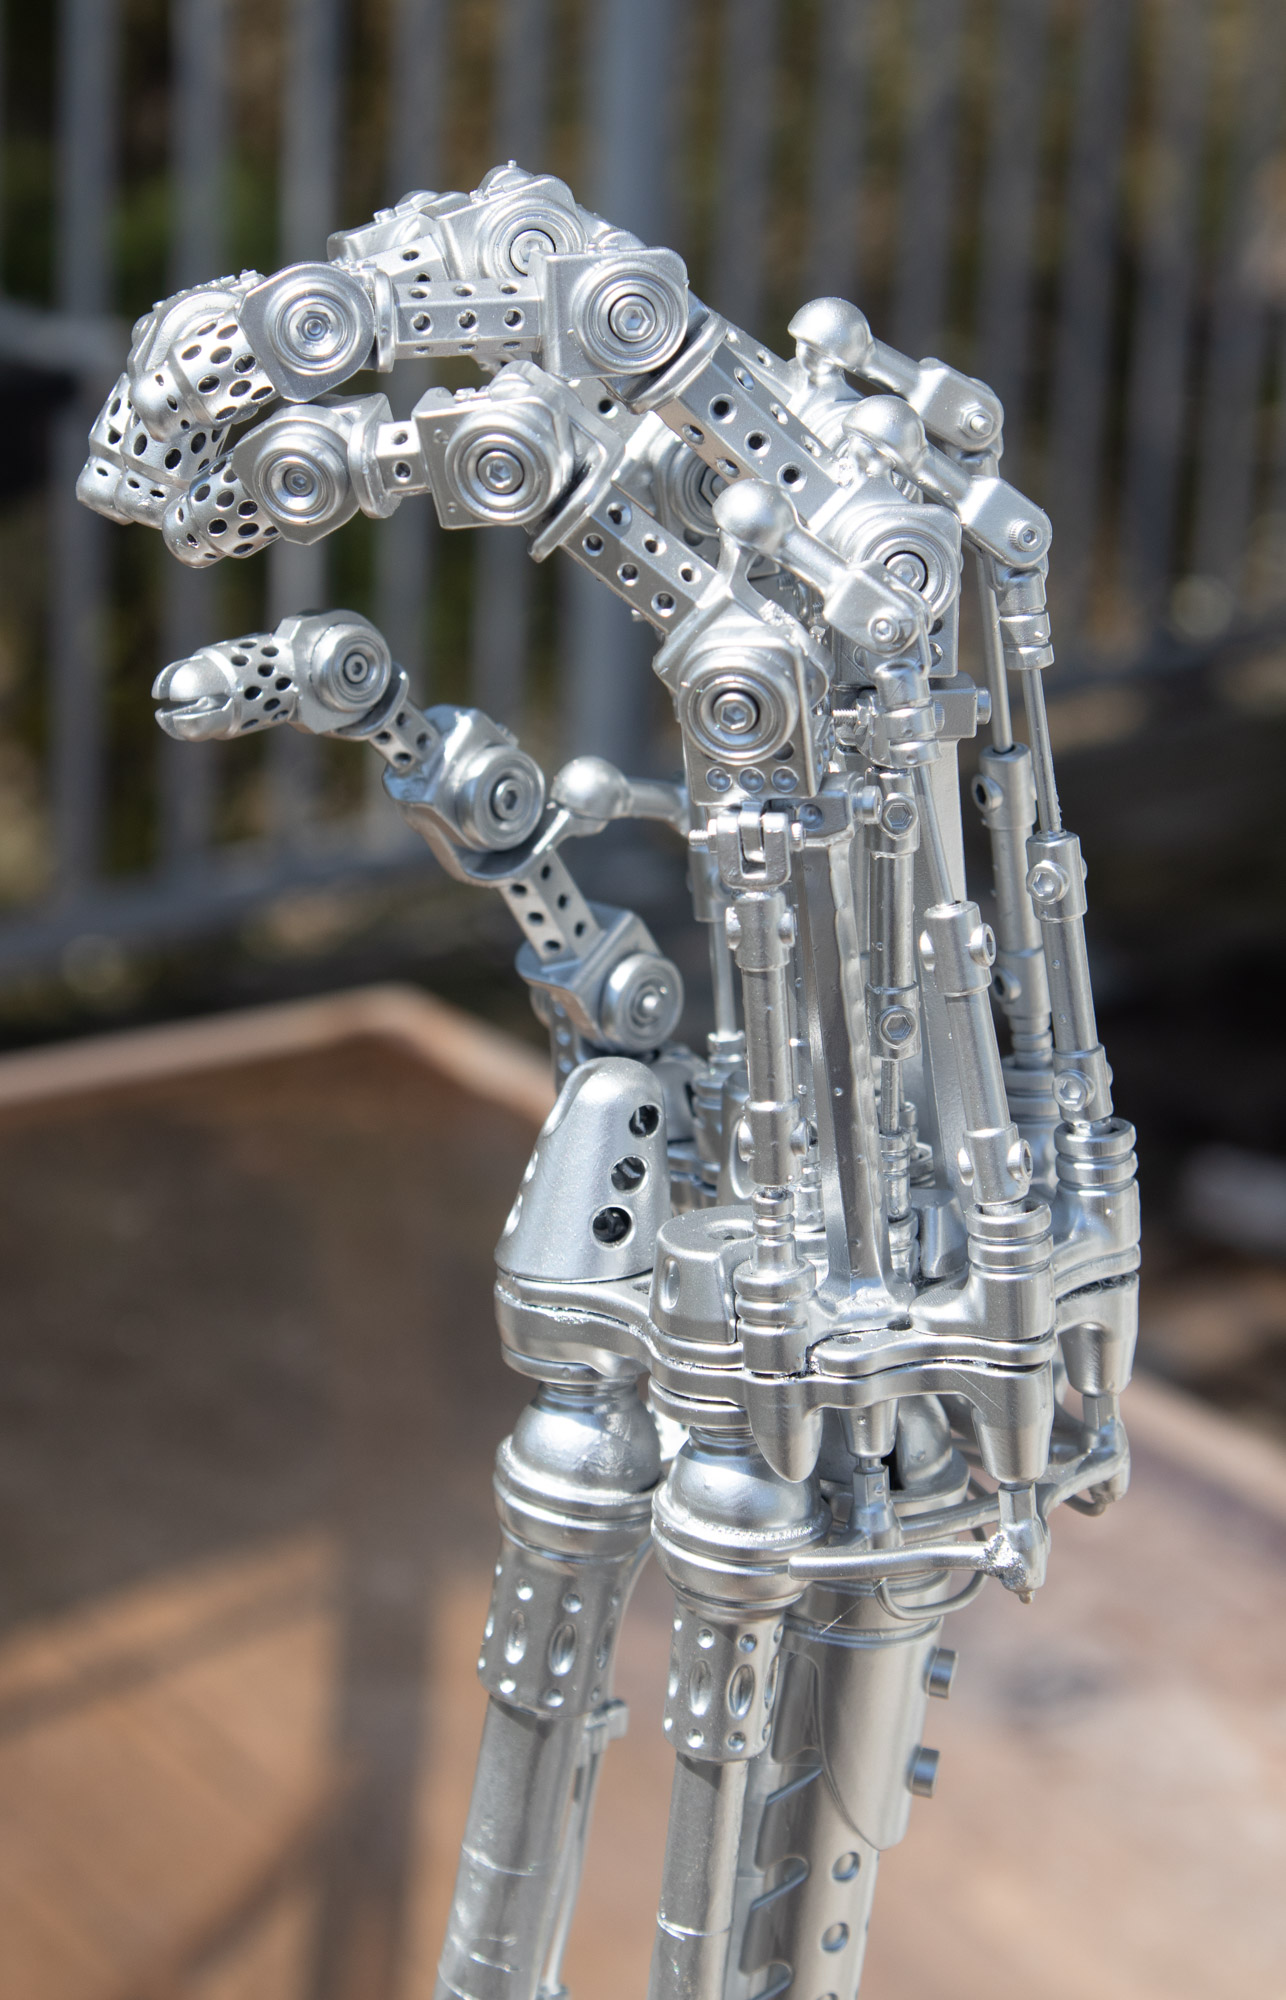
The arm is now assembled. I turned some aluminium rod for the pistons to replace the resin versions, because the arm is heavy.
I also added hydraulic lines and manifold.


1 Like
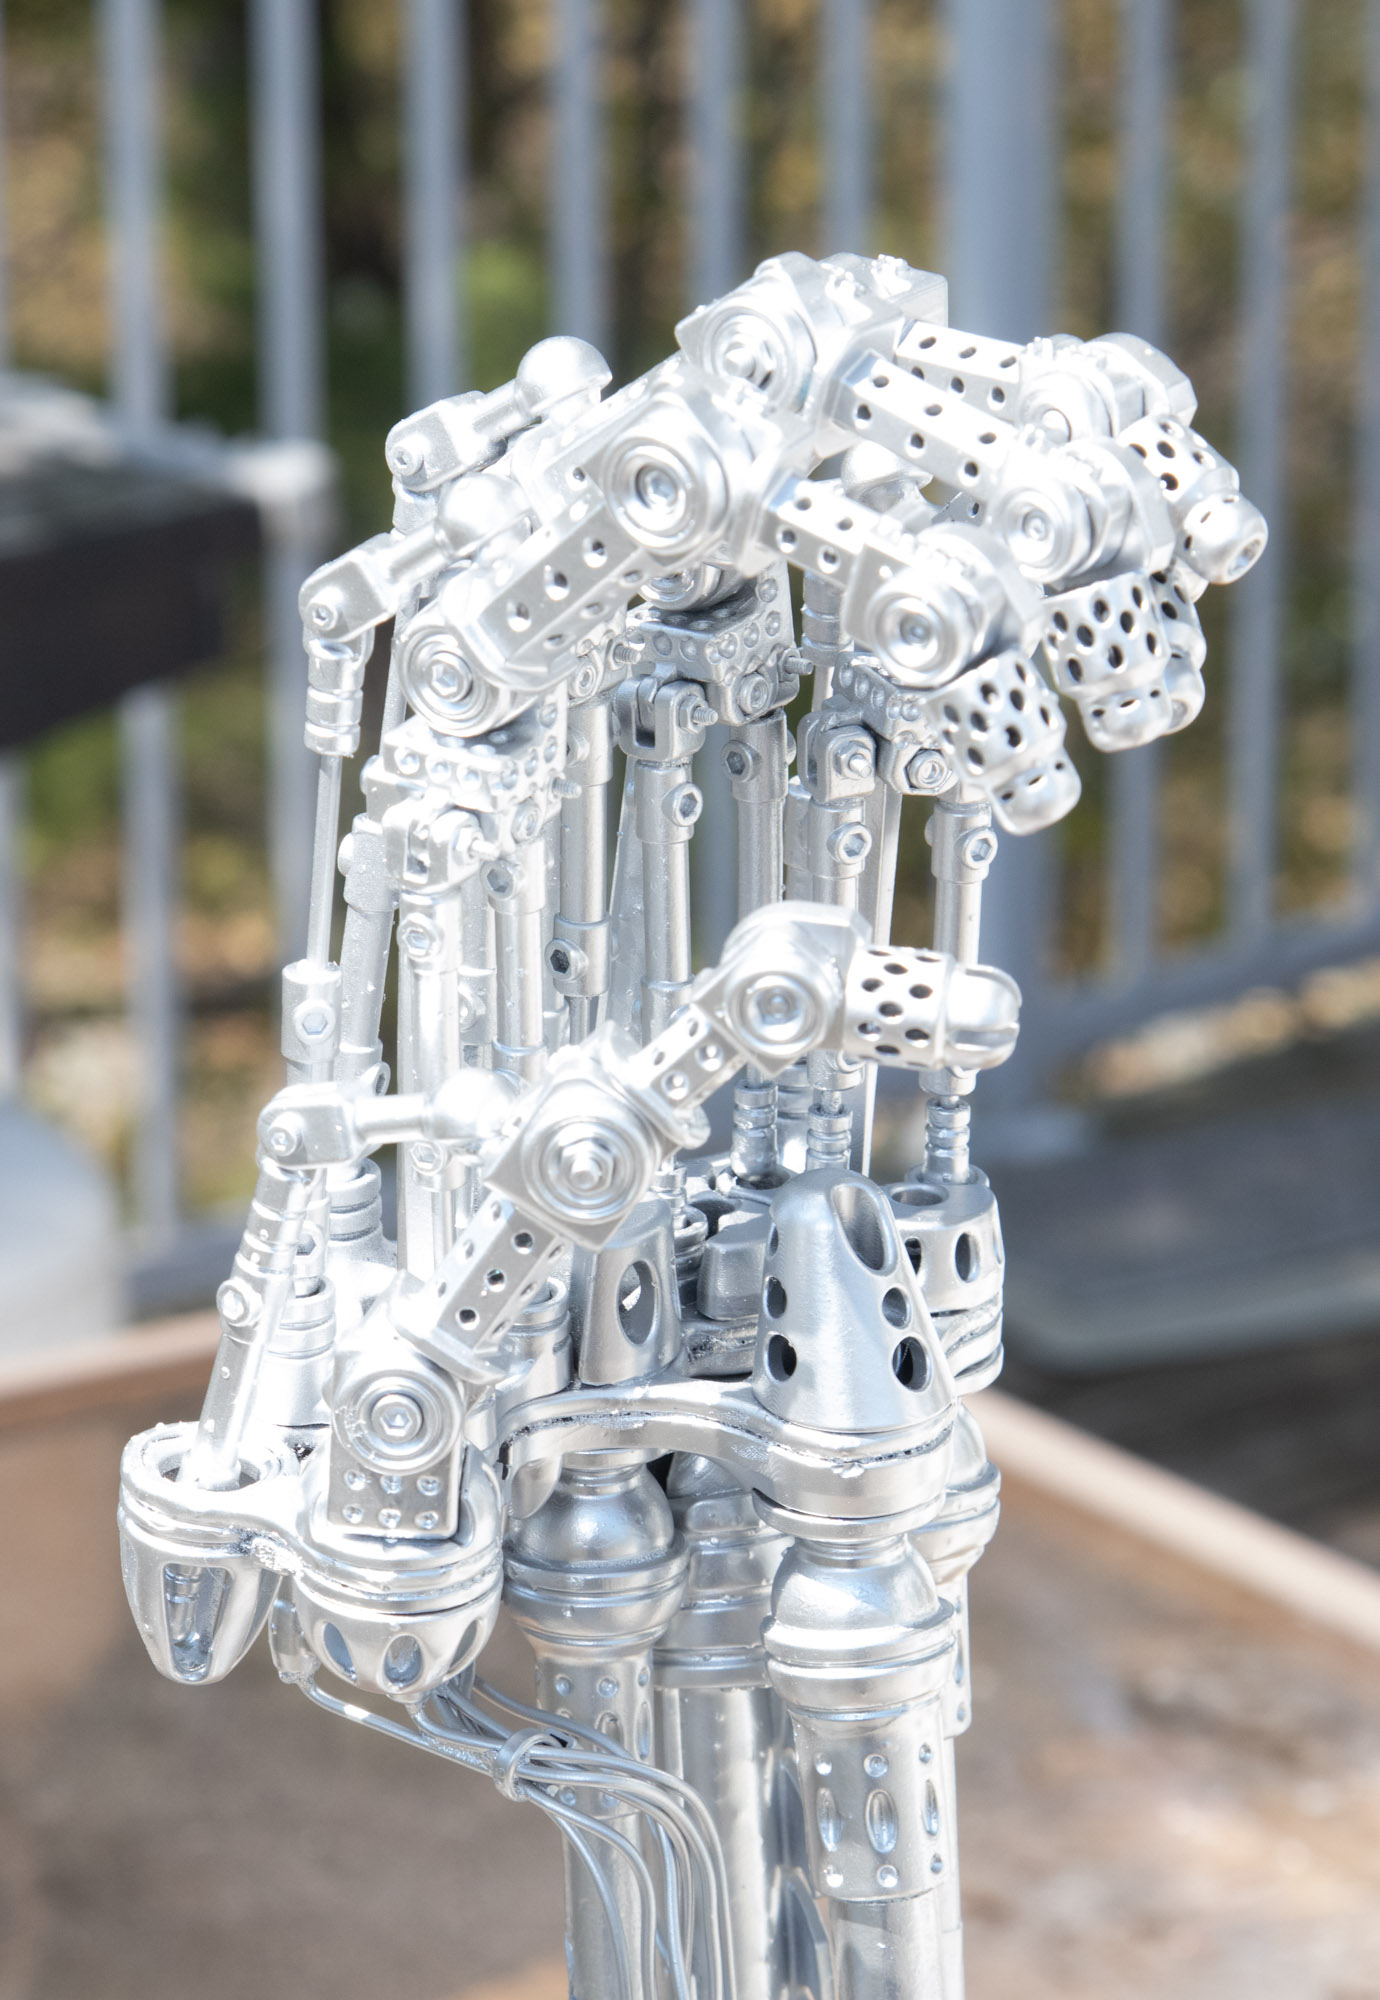
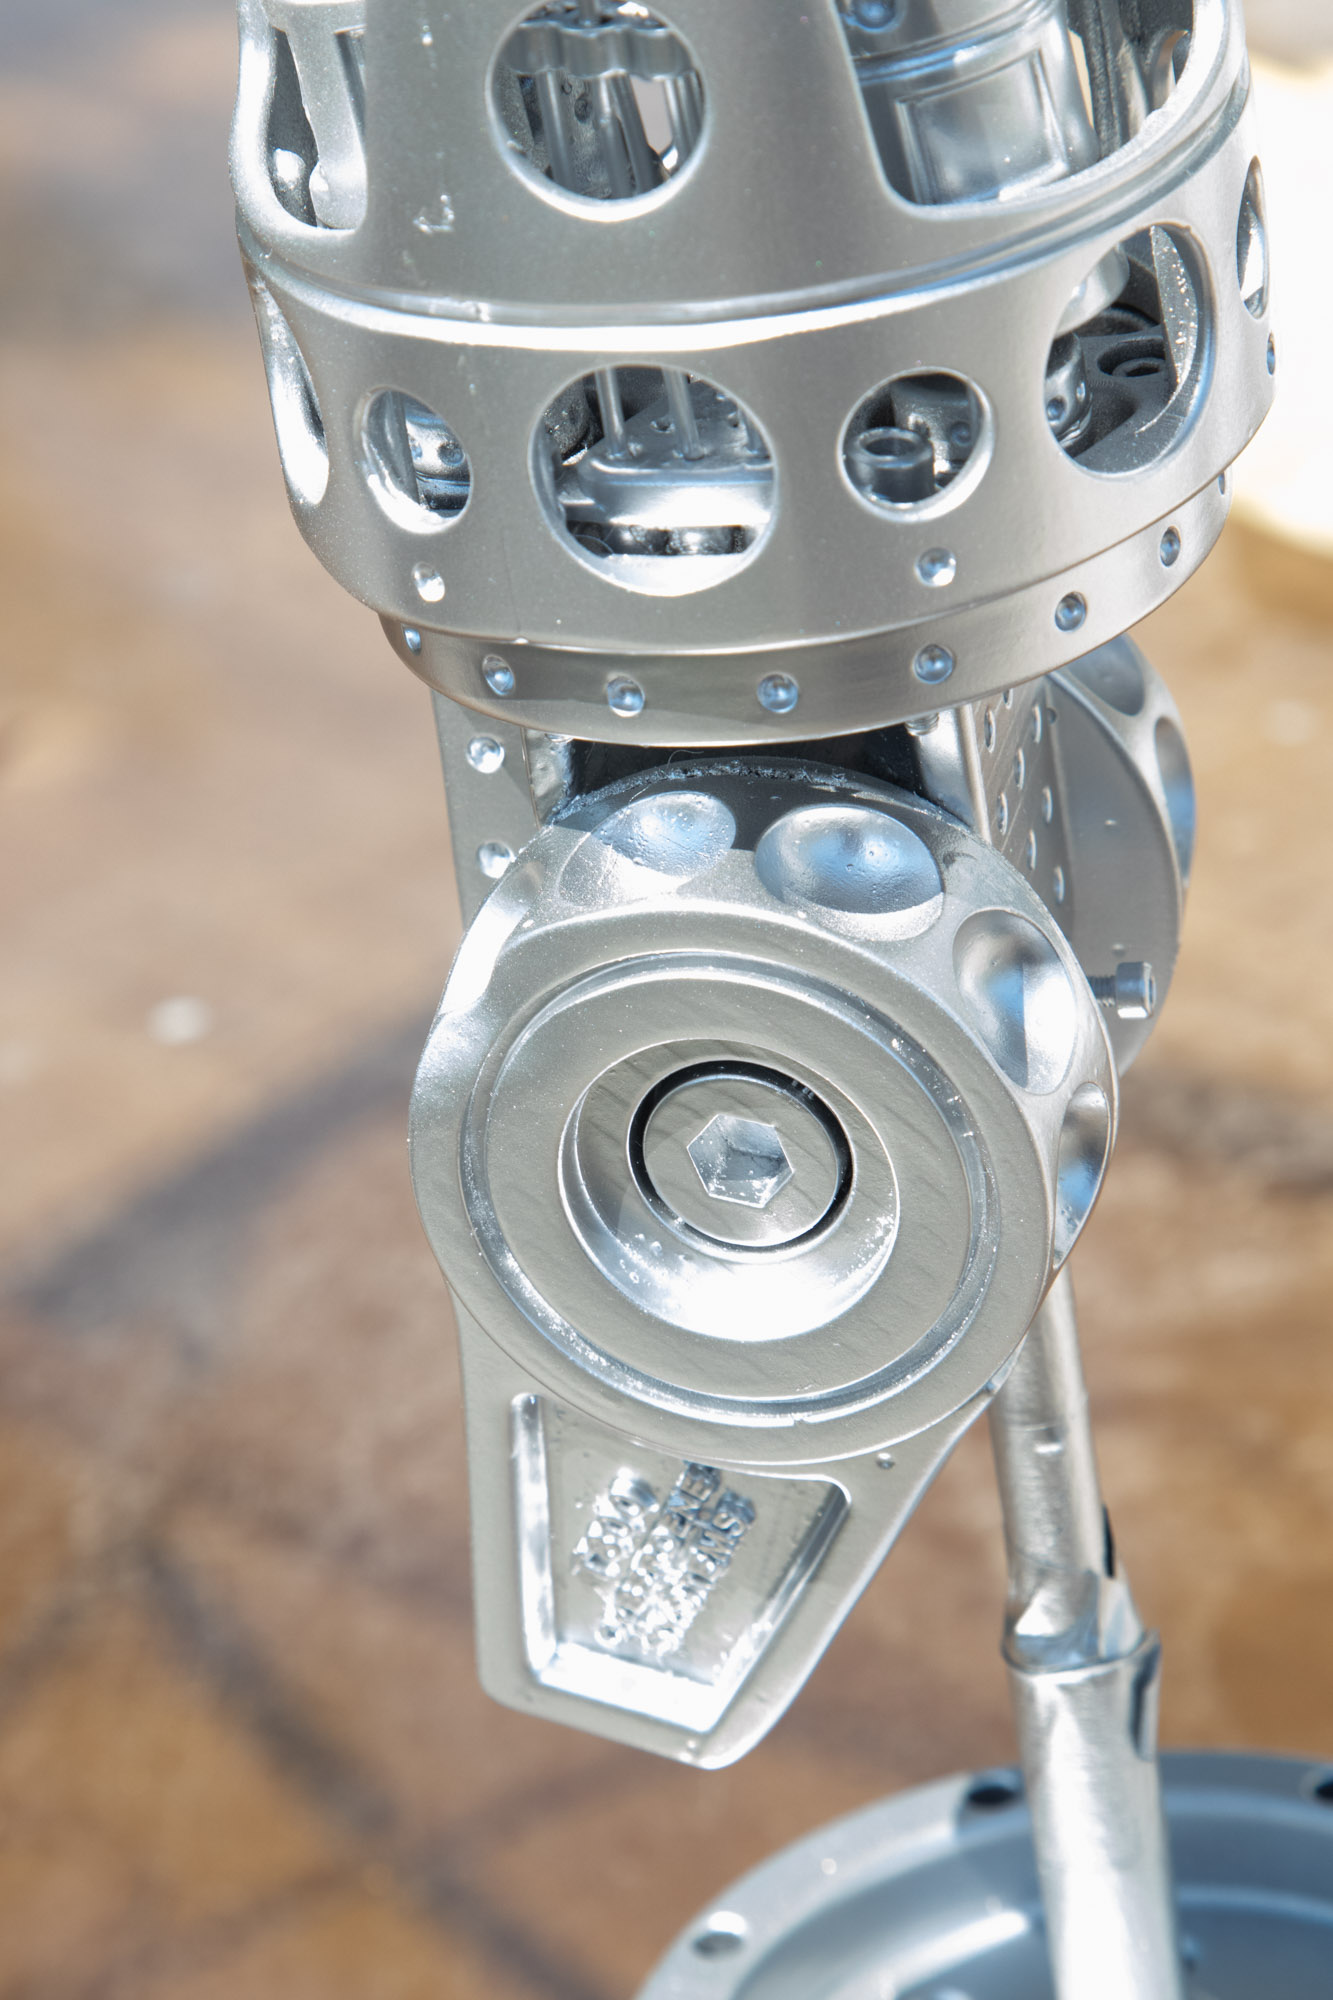
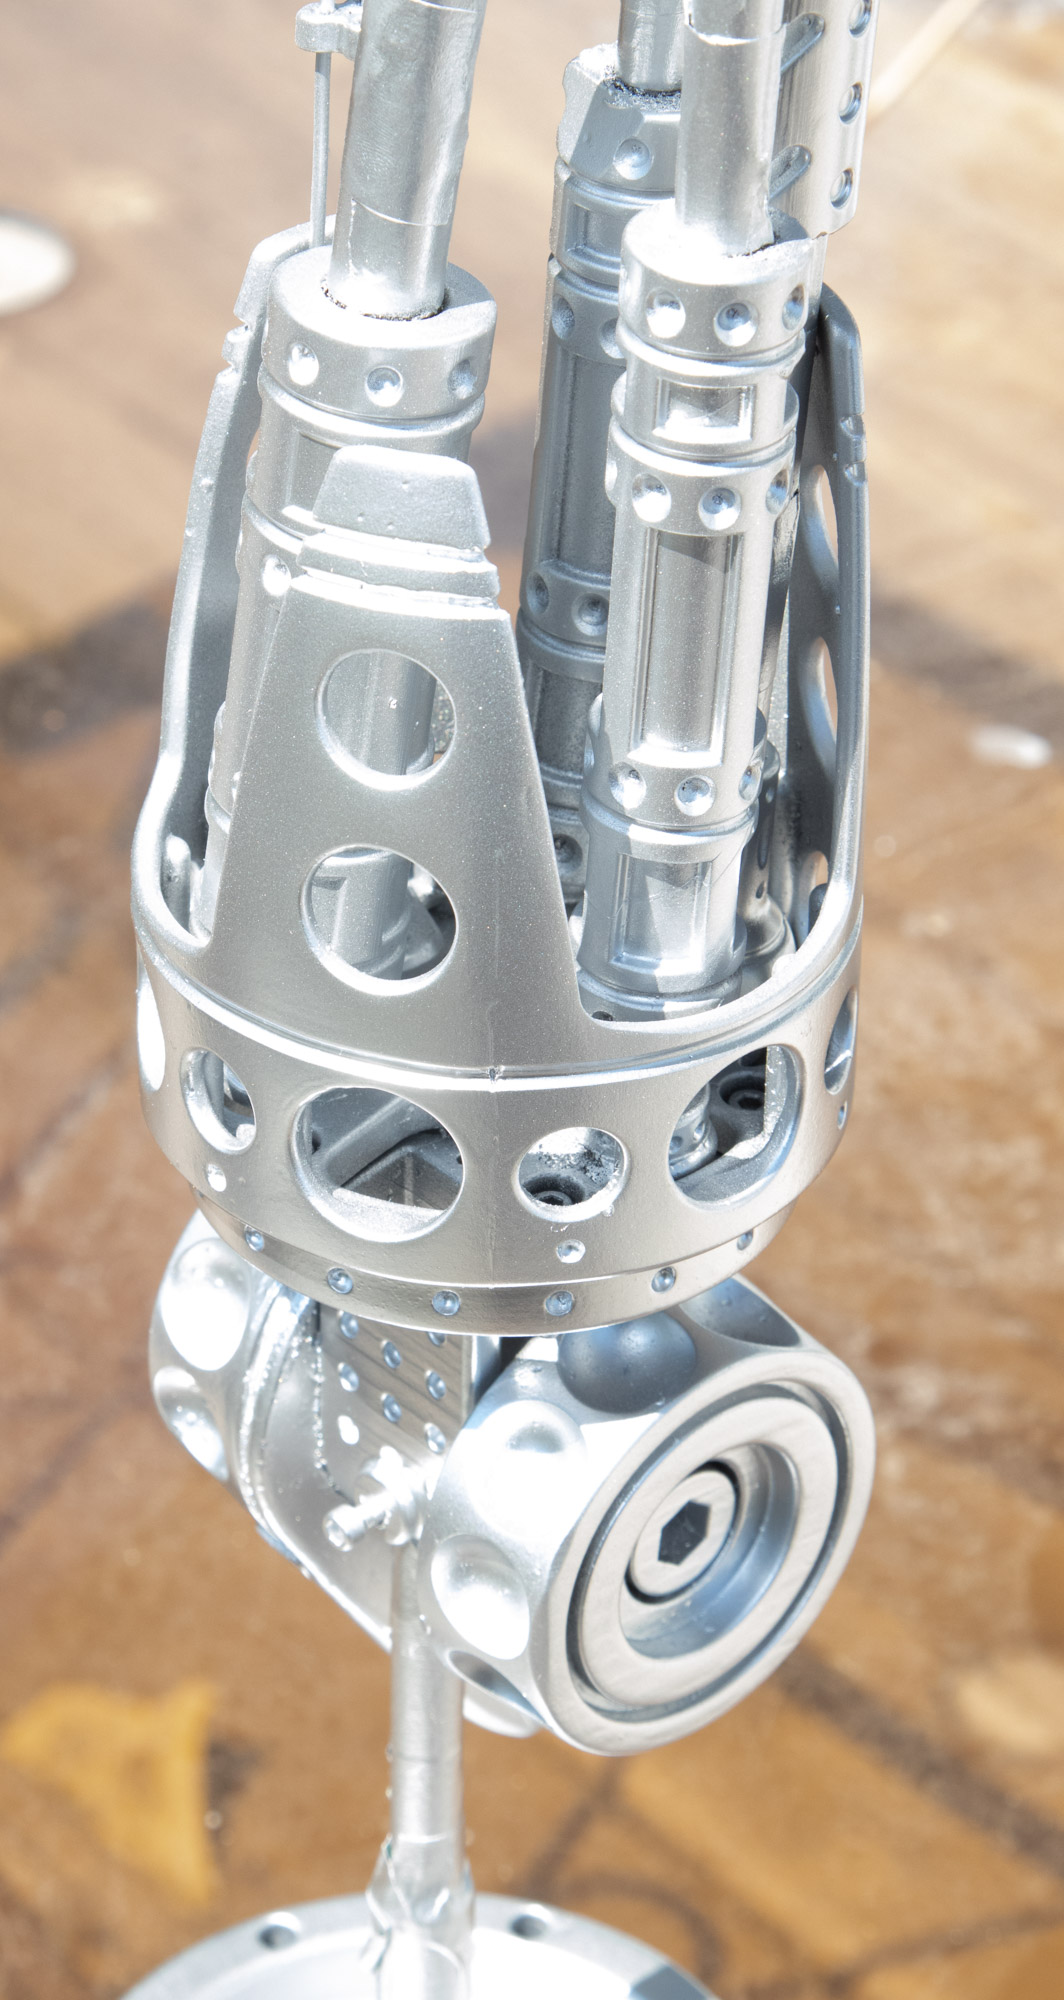
Model after one coat of Rustolium Silver metallic. The aluminum pistons are masked. I will now leave for a few days, sand any minor imperfections and give it a second coat next week.


2 Likes


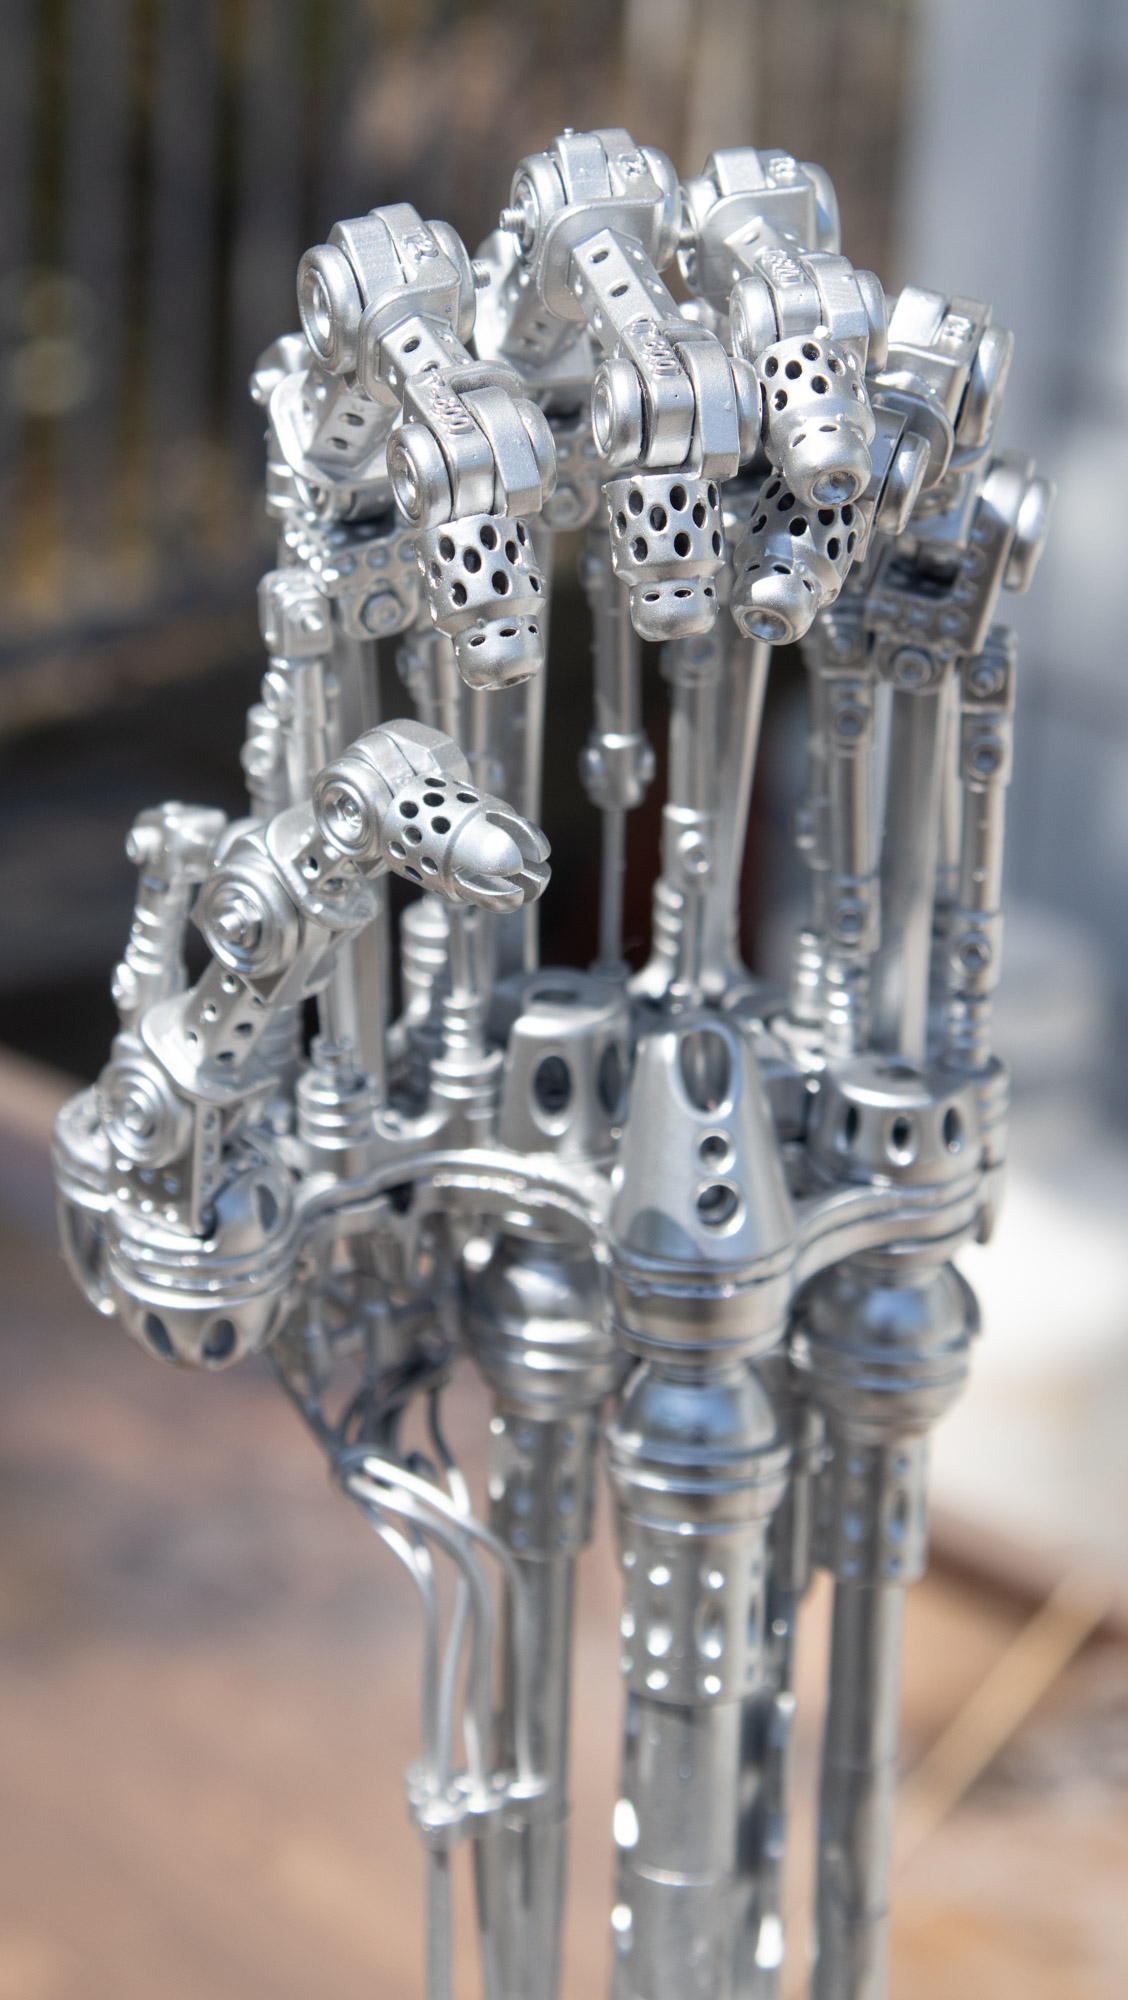

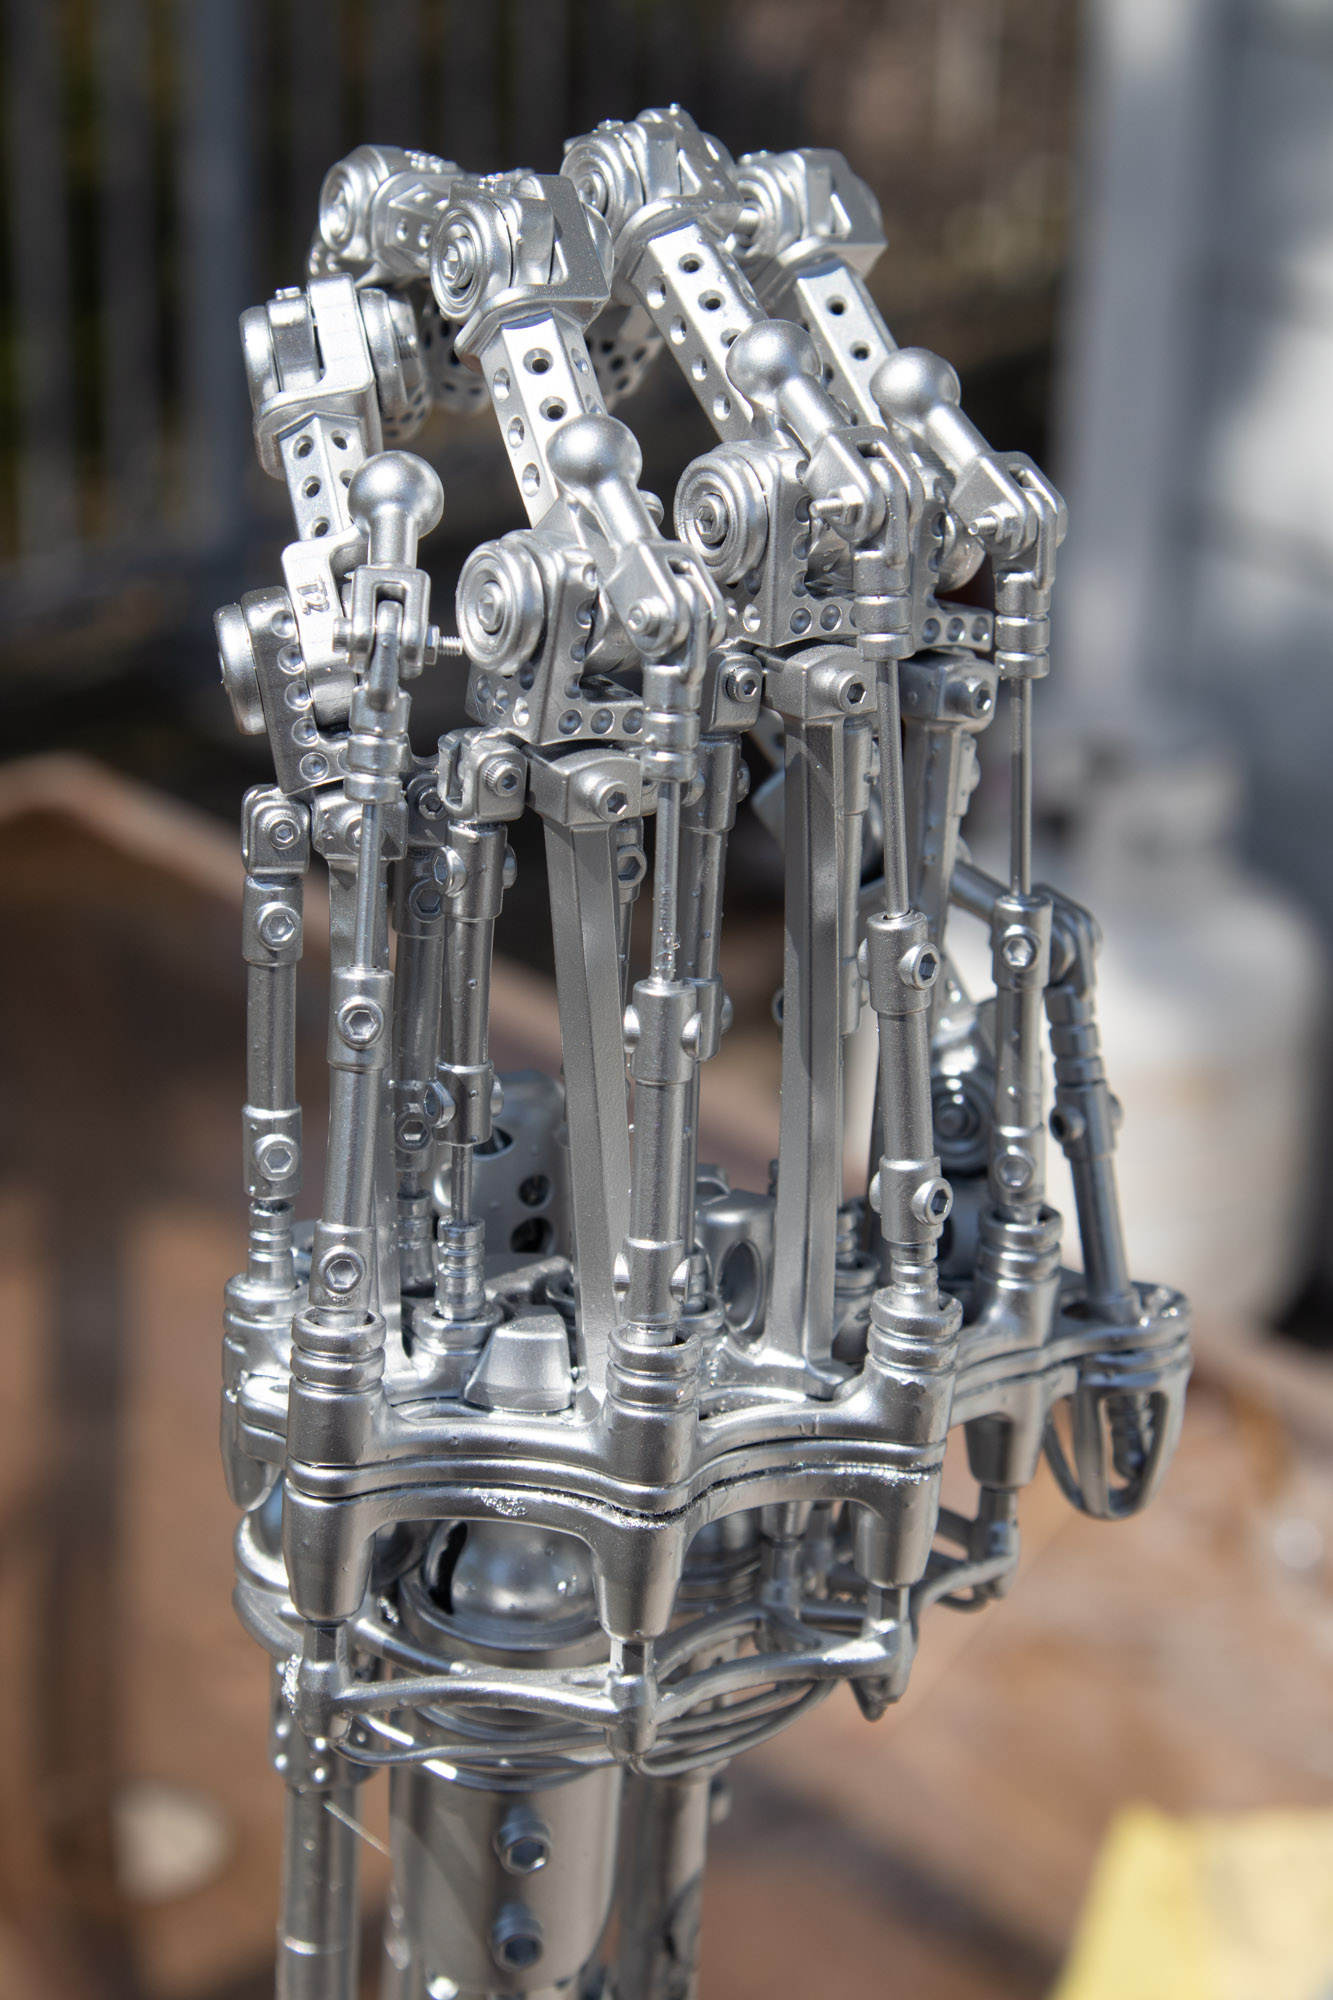


This 3D sculpture was created on a Creality 002H resin printer, a few parts had to be printed in half and joined because of the limited bed size.
A total of 80 parts, the only metals parts are the pistons, bolts and nuts.
Next I will be adding LED lights to the base and a glass dome…
2 Likes
wow that looks great, if I tried to paint something like that it would be a drippy mess heh
1 Like
Thank you, what I have learned with Rustolium paint is very light coats, especially the first few just a gentle misting.
Then leave 5 minutes, then another light coat, leave 5 minutes and another light coat. You can speed up flash drying using a hair dryer.
You want it sticky but not wet between the light coats. Super easy if you follow these steps.
Then do NOT repaint until it’s fully dry and started to harden which might take a week, then you can lightly sand any bad areas and repaint. If you try to repaint next day the paint can react badly and cause crazing all over the model!!!
1 Like
patience is something I have to relearn heh!
1 Like
Yes, you cannot rush painting, the really nice thing about resin printers is not much sanding. FDM printers are great but they require a lot of sanding and surface prep to get a nice finish.