Myke's Spare Parts Printer

Hiya,

As I suggested this forum, I thought I should put in what I’m doing. As I noted in my profile, I have experience with a number of printers and I thought I’d try my hand at creating my own. In doing this, I set out some guidelines for myself:

  • As simple a Cartesian printer as possible. I don’t love this approach, but it’s simpler than a Core XY for a first attempt.
  • To use as much of the stockpile of parts that I have collected over the years as possible.
    • I know my wife will appreciate me minimizing costs and clearing out a few boxes of stuff in the basement.
  • The frame will use 20mm, 40mm & 60mm x 20mm V-Slot rails using the sizes I have in stock.
    • I wanted the frame to be easily modifiable as I worked my way through the project and discover things that don’t quite fit right and need a bit of tweaking.
    • I don’t want to cut any pieces unless I have to.
  • Have a 220mm x 220mm build surface with 200mm to 250mm vertical height.
  • Use the Robin V3 controller with a 3.5" touch display.
    • Use TMC2209 drivers for the Steppers and take advantage of the built in StallGuard instead of having to add end stop micro switches.
  • Use a Micro-Swiss Ender V3/V10 direct drive hot end.
  • When other hardware is required, look to use standard OpenBuilds parts.
    • When specialty parts are required, design and fabricate them using one of my existing 3D printers and reuse the designs as much as possible. With the various aluminum and steel 3D printer parts I have, they tend to be very printer specific and not very amenable to a printer designed using V-Slot rails as the frame.
    • Design as few specialty parts as possible and reuse as much as possible.

With these guidelines, I have created this frame for the printer:

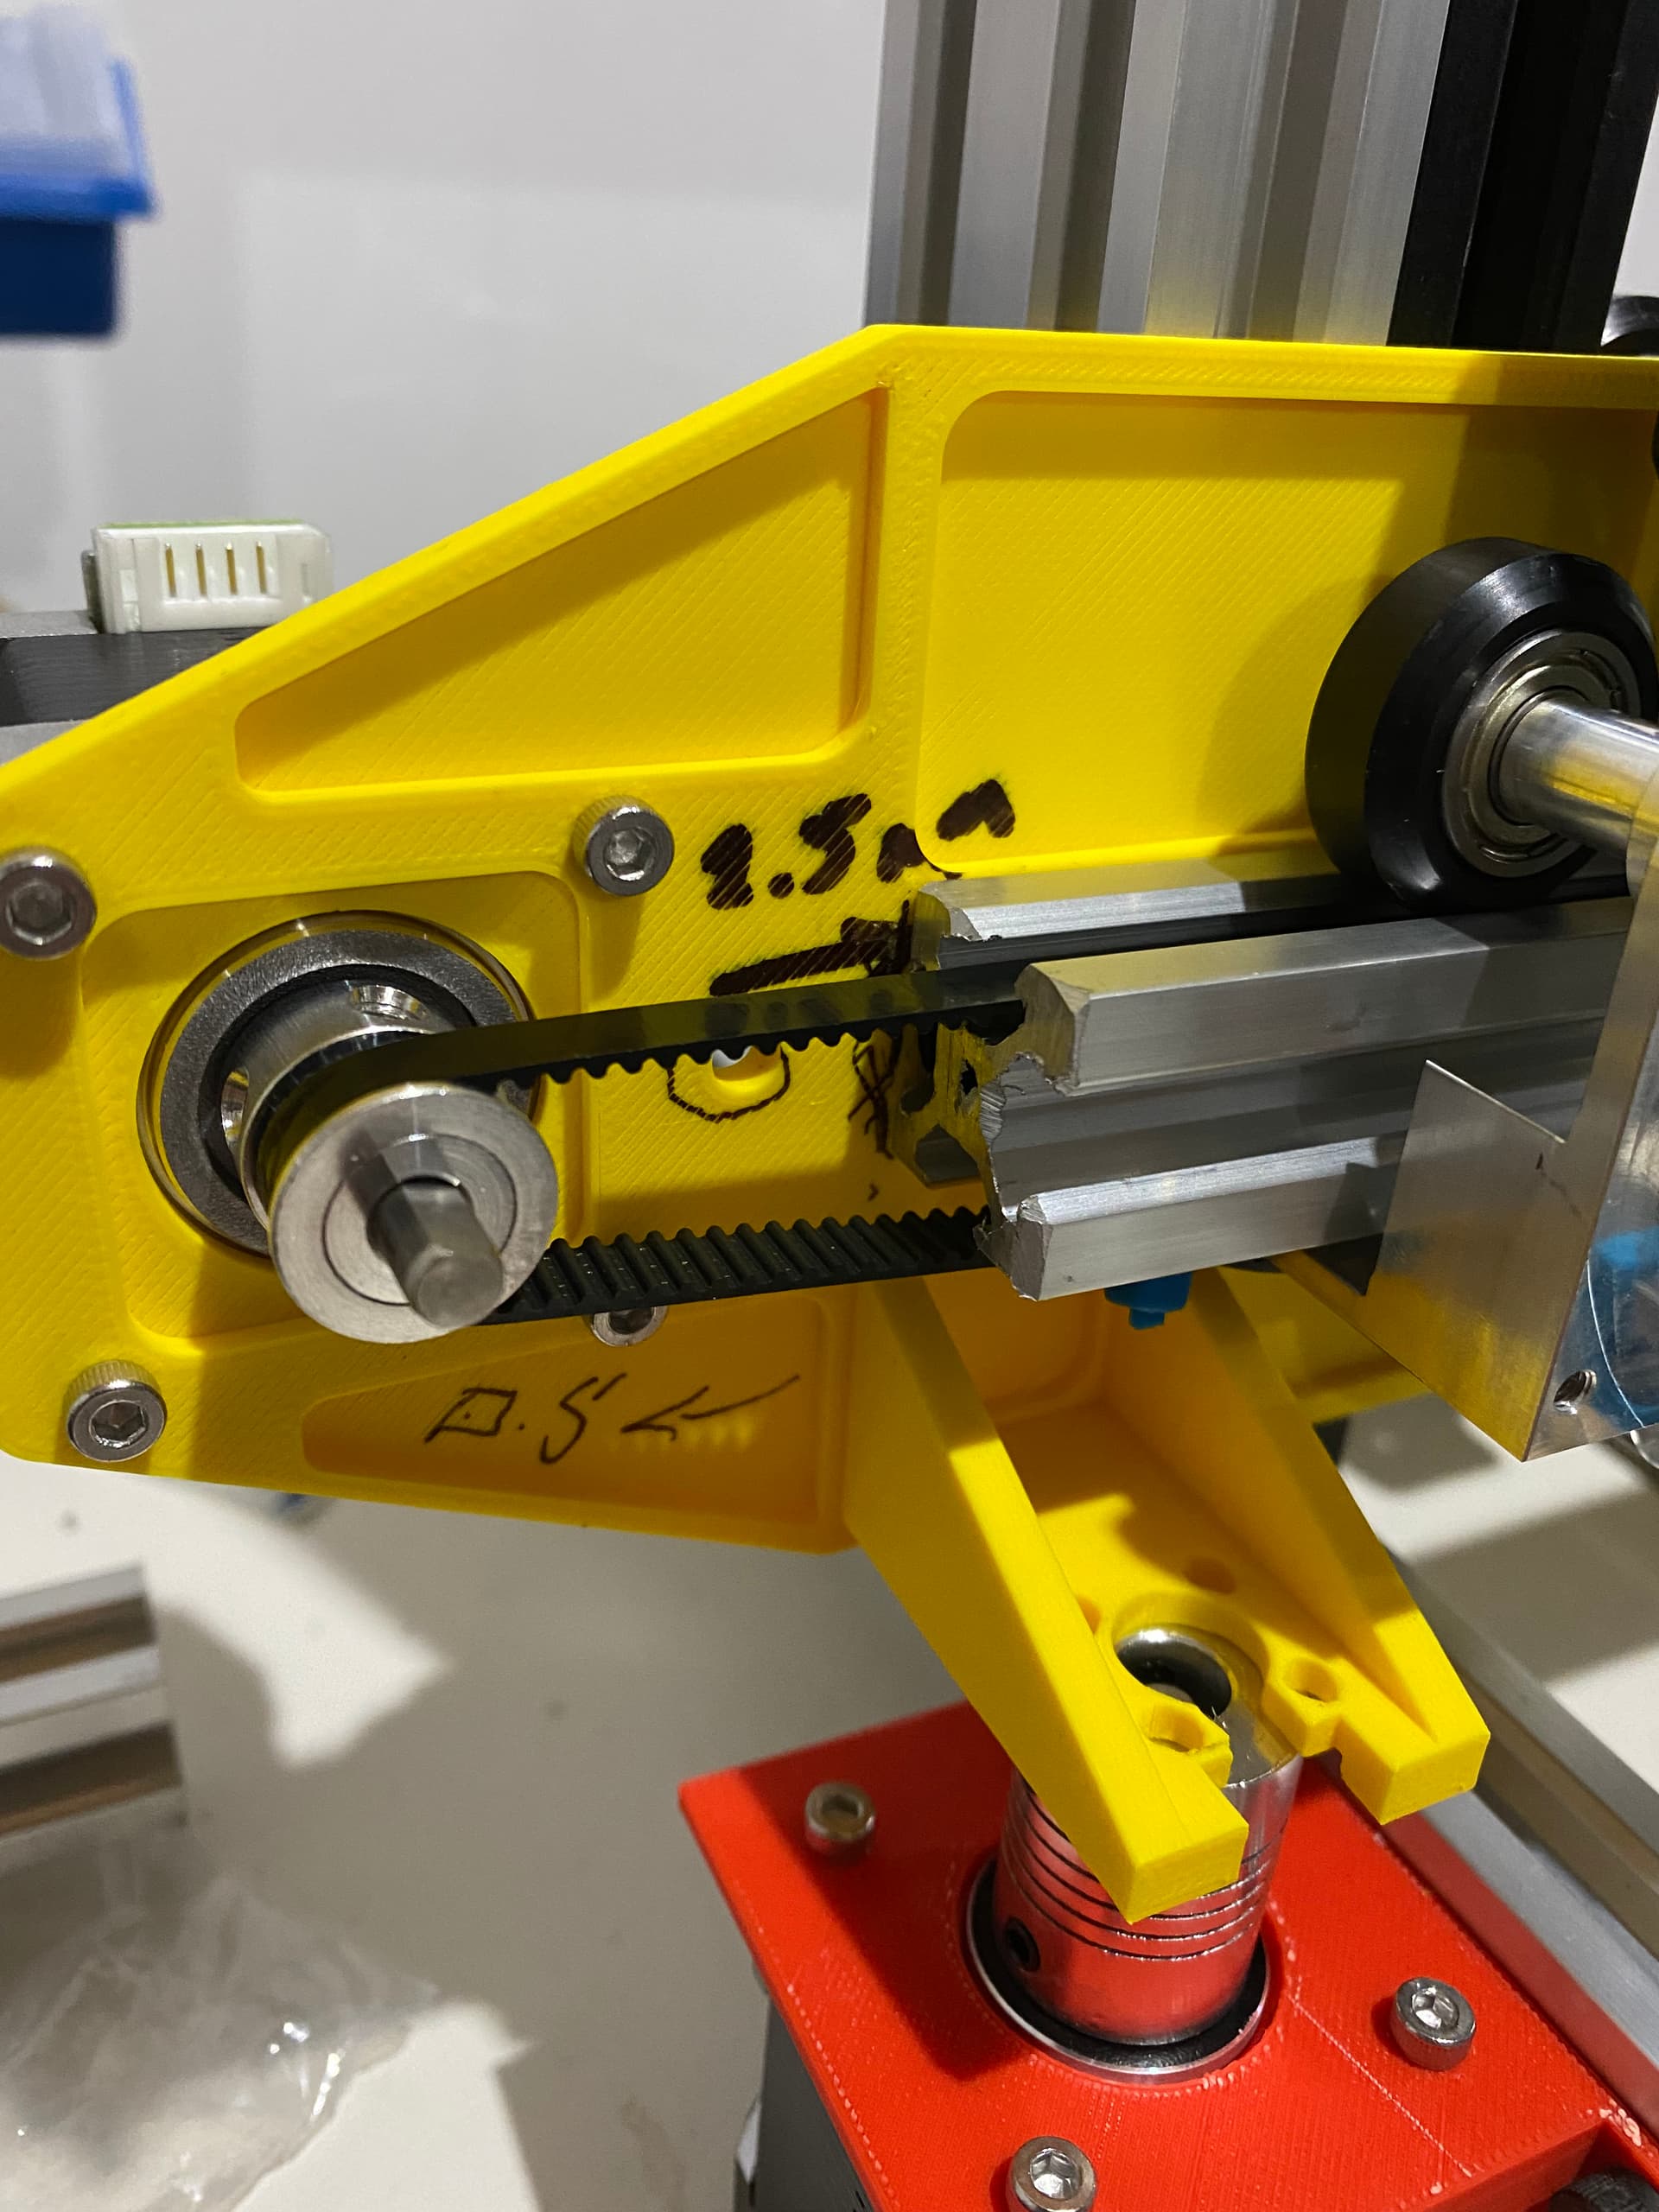
I have most of the custom parts designed - for attaching the heated bed support plate to the V-Slot runner, I came up with the following “Platform Support” design, along with a stepper holder:

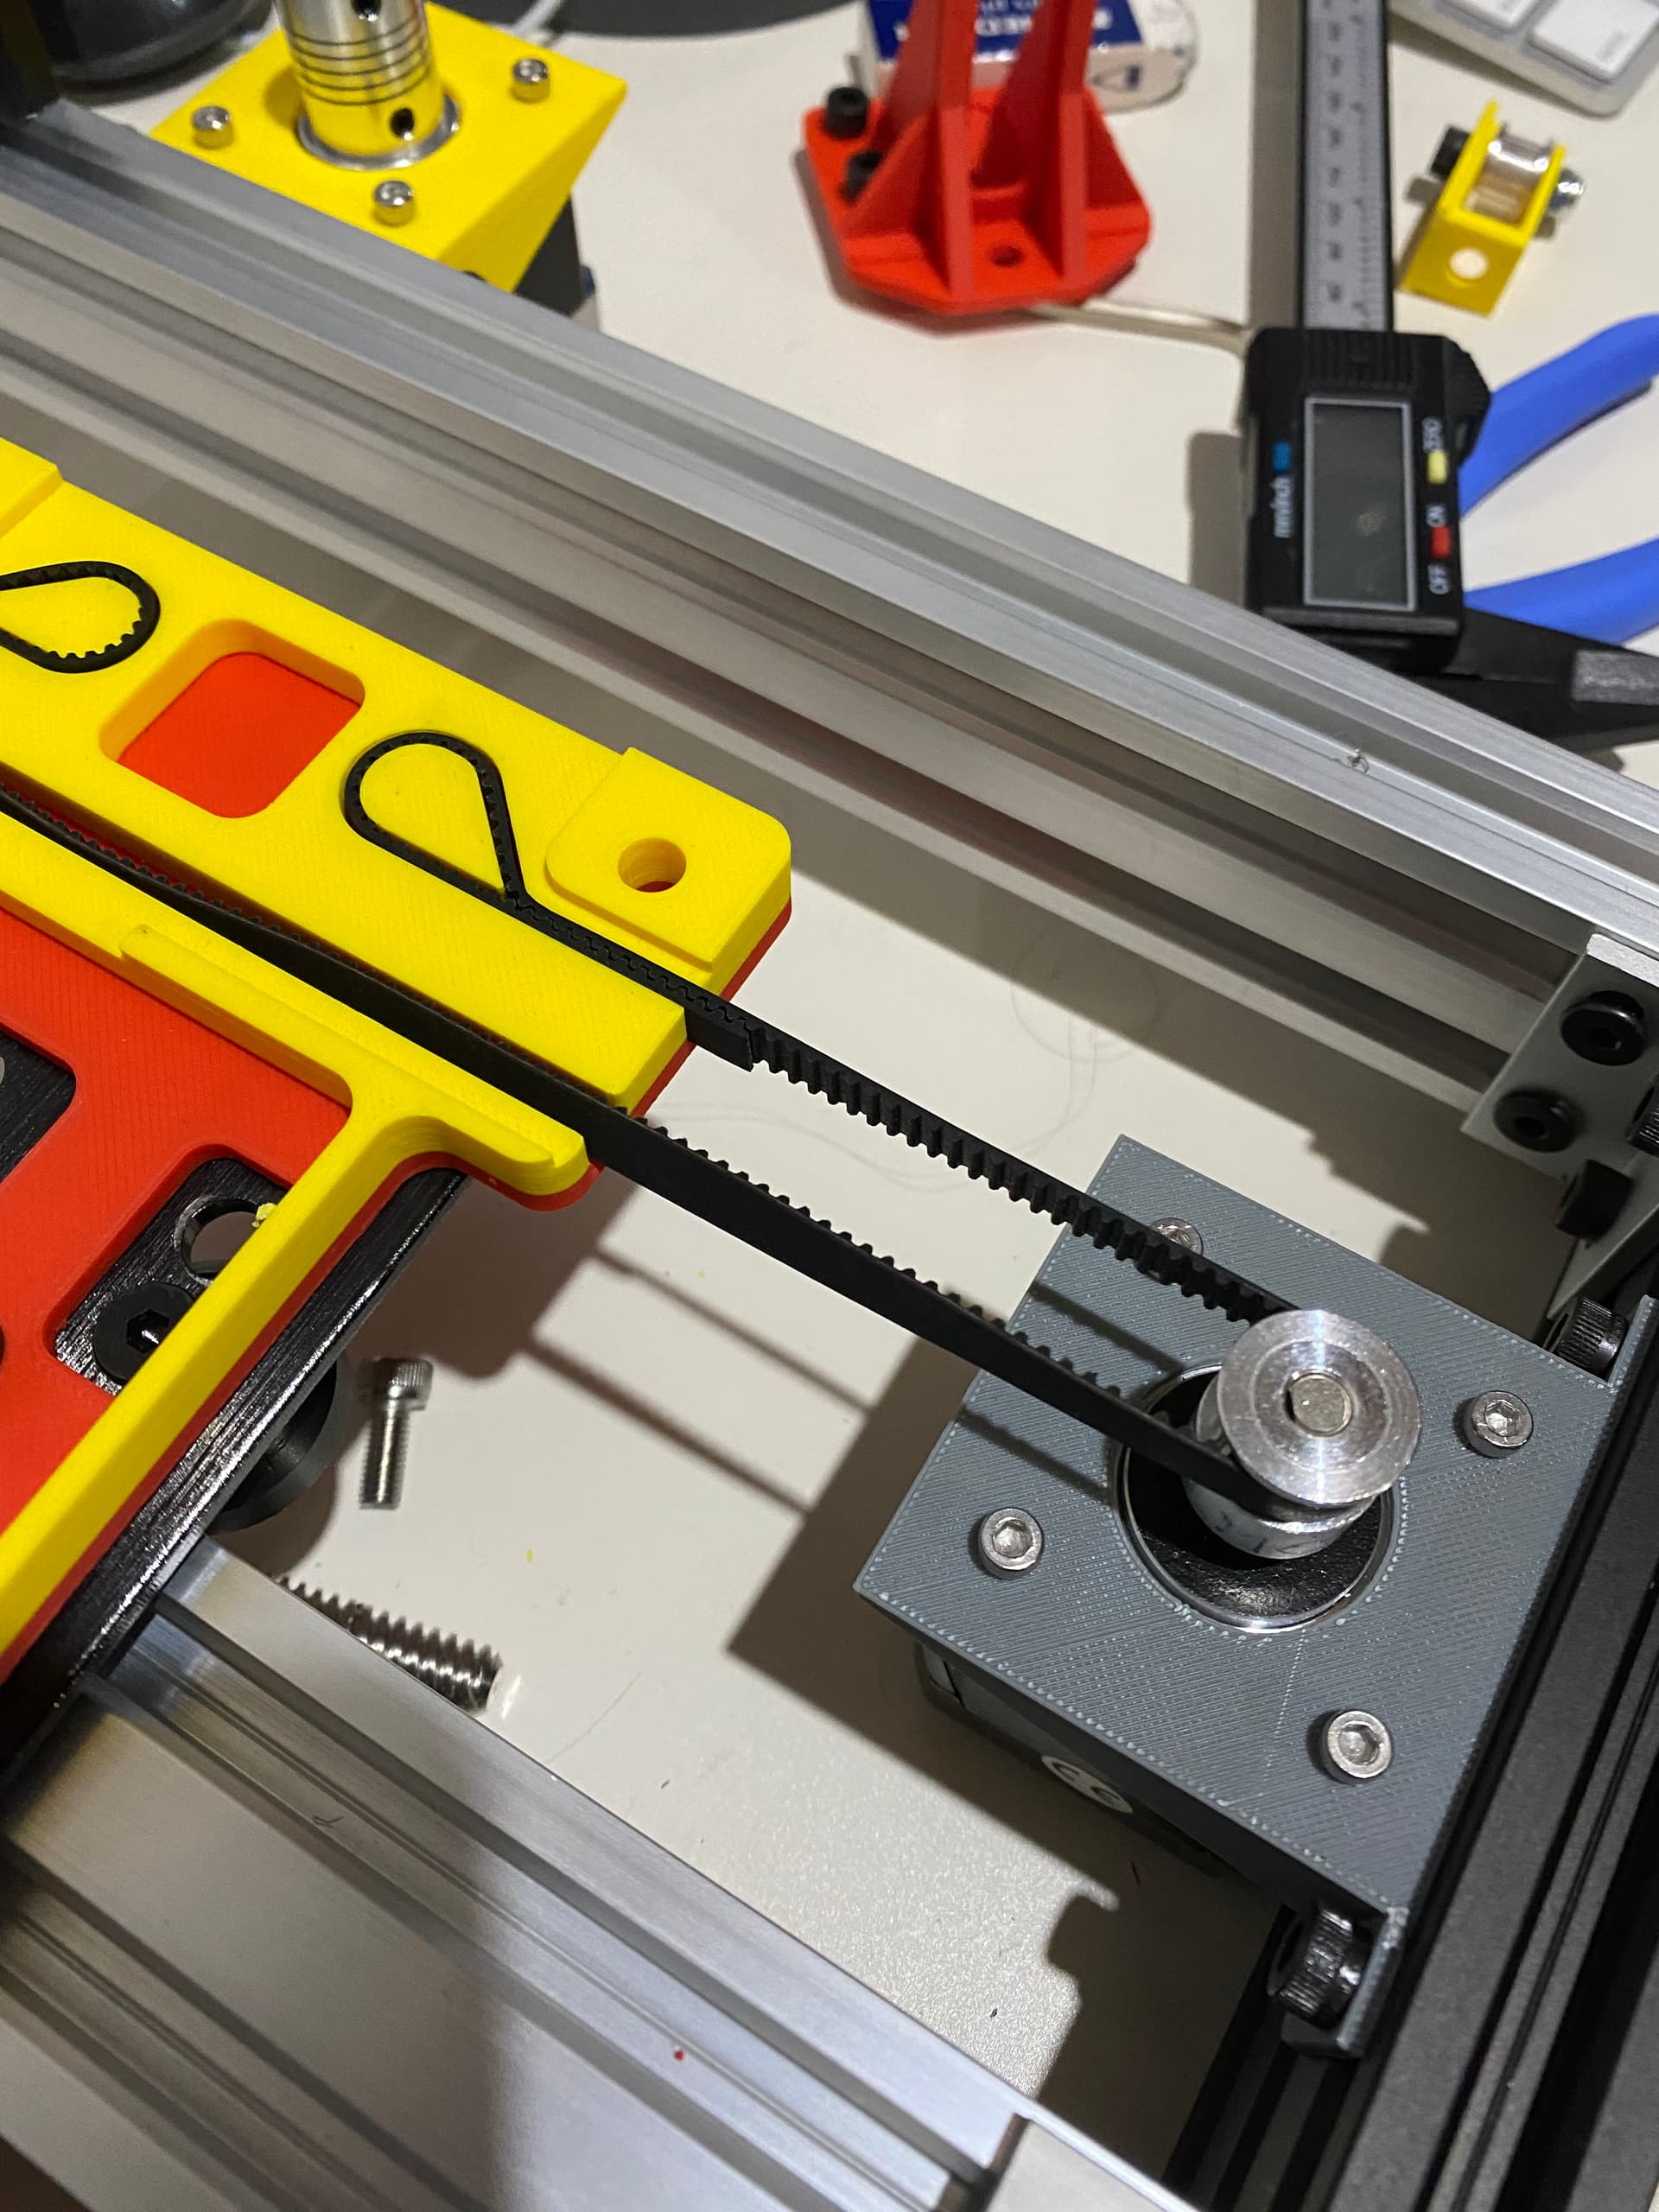
With a corresponding tensioner:

The Platform Support is two different colours because I ran out of filament as I was printing the final version and I didn’t have the same colour on hand.

When I first started the project, I was hoping that I would only need one vertical rail for the X-Axis and Hot End gantry, but I didn’t find that a 3D printed part would be rigid enough - so I’m going to have two Z-Axis Steppers on either side of the frame.

I am almost finished with the left and right X-Axis gantry pieces, but they need a bit of tweaking to make sure they’re actually perfectly dimensioned. This should be done in the next couple of days (the prints take 12+ hours each once I’m happy with the designs).

Once the X-Axis gantry pieces are completed and installed, I’m going to have to print a BLT holder for the Micro-Swiss hot end and then wire everything up.

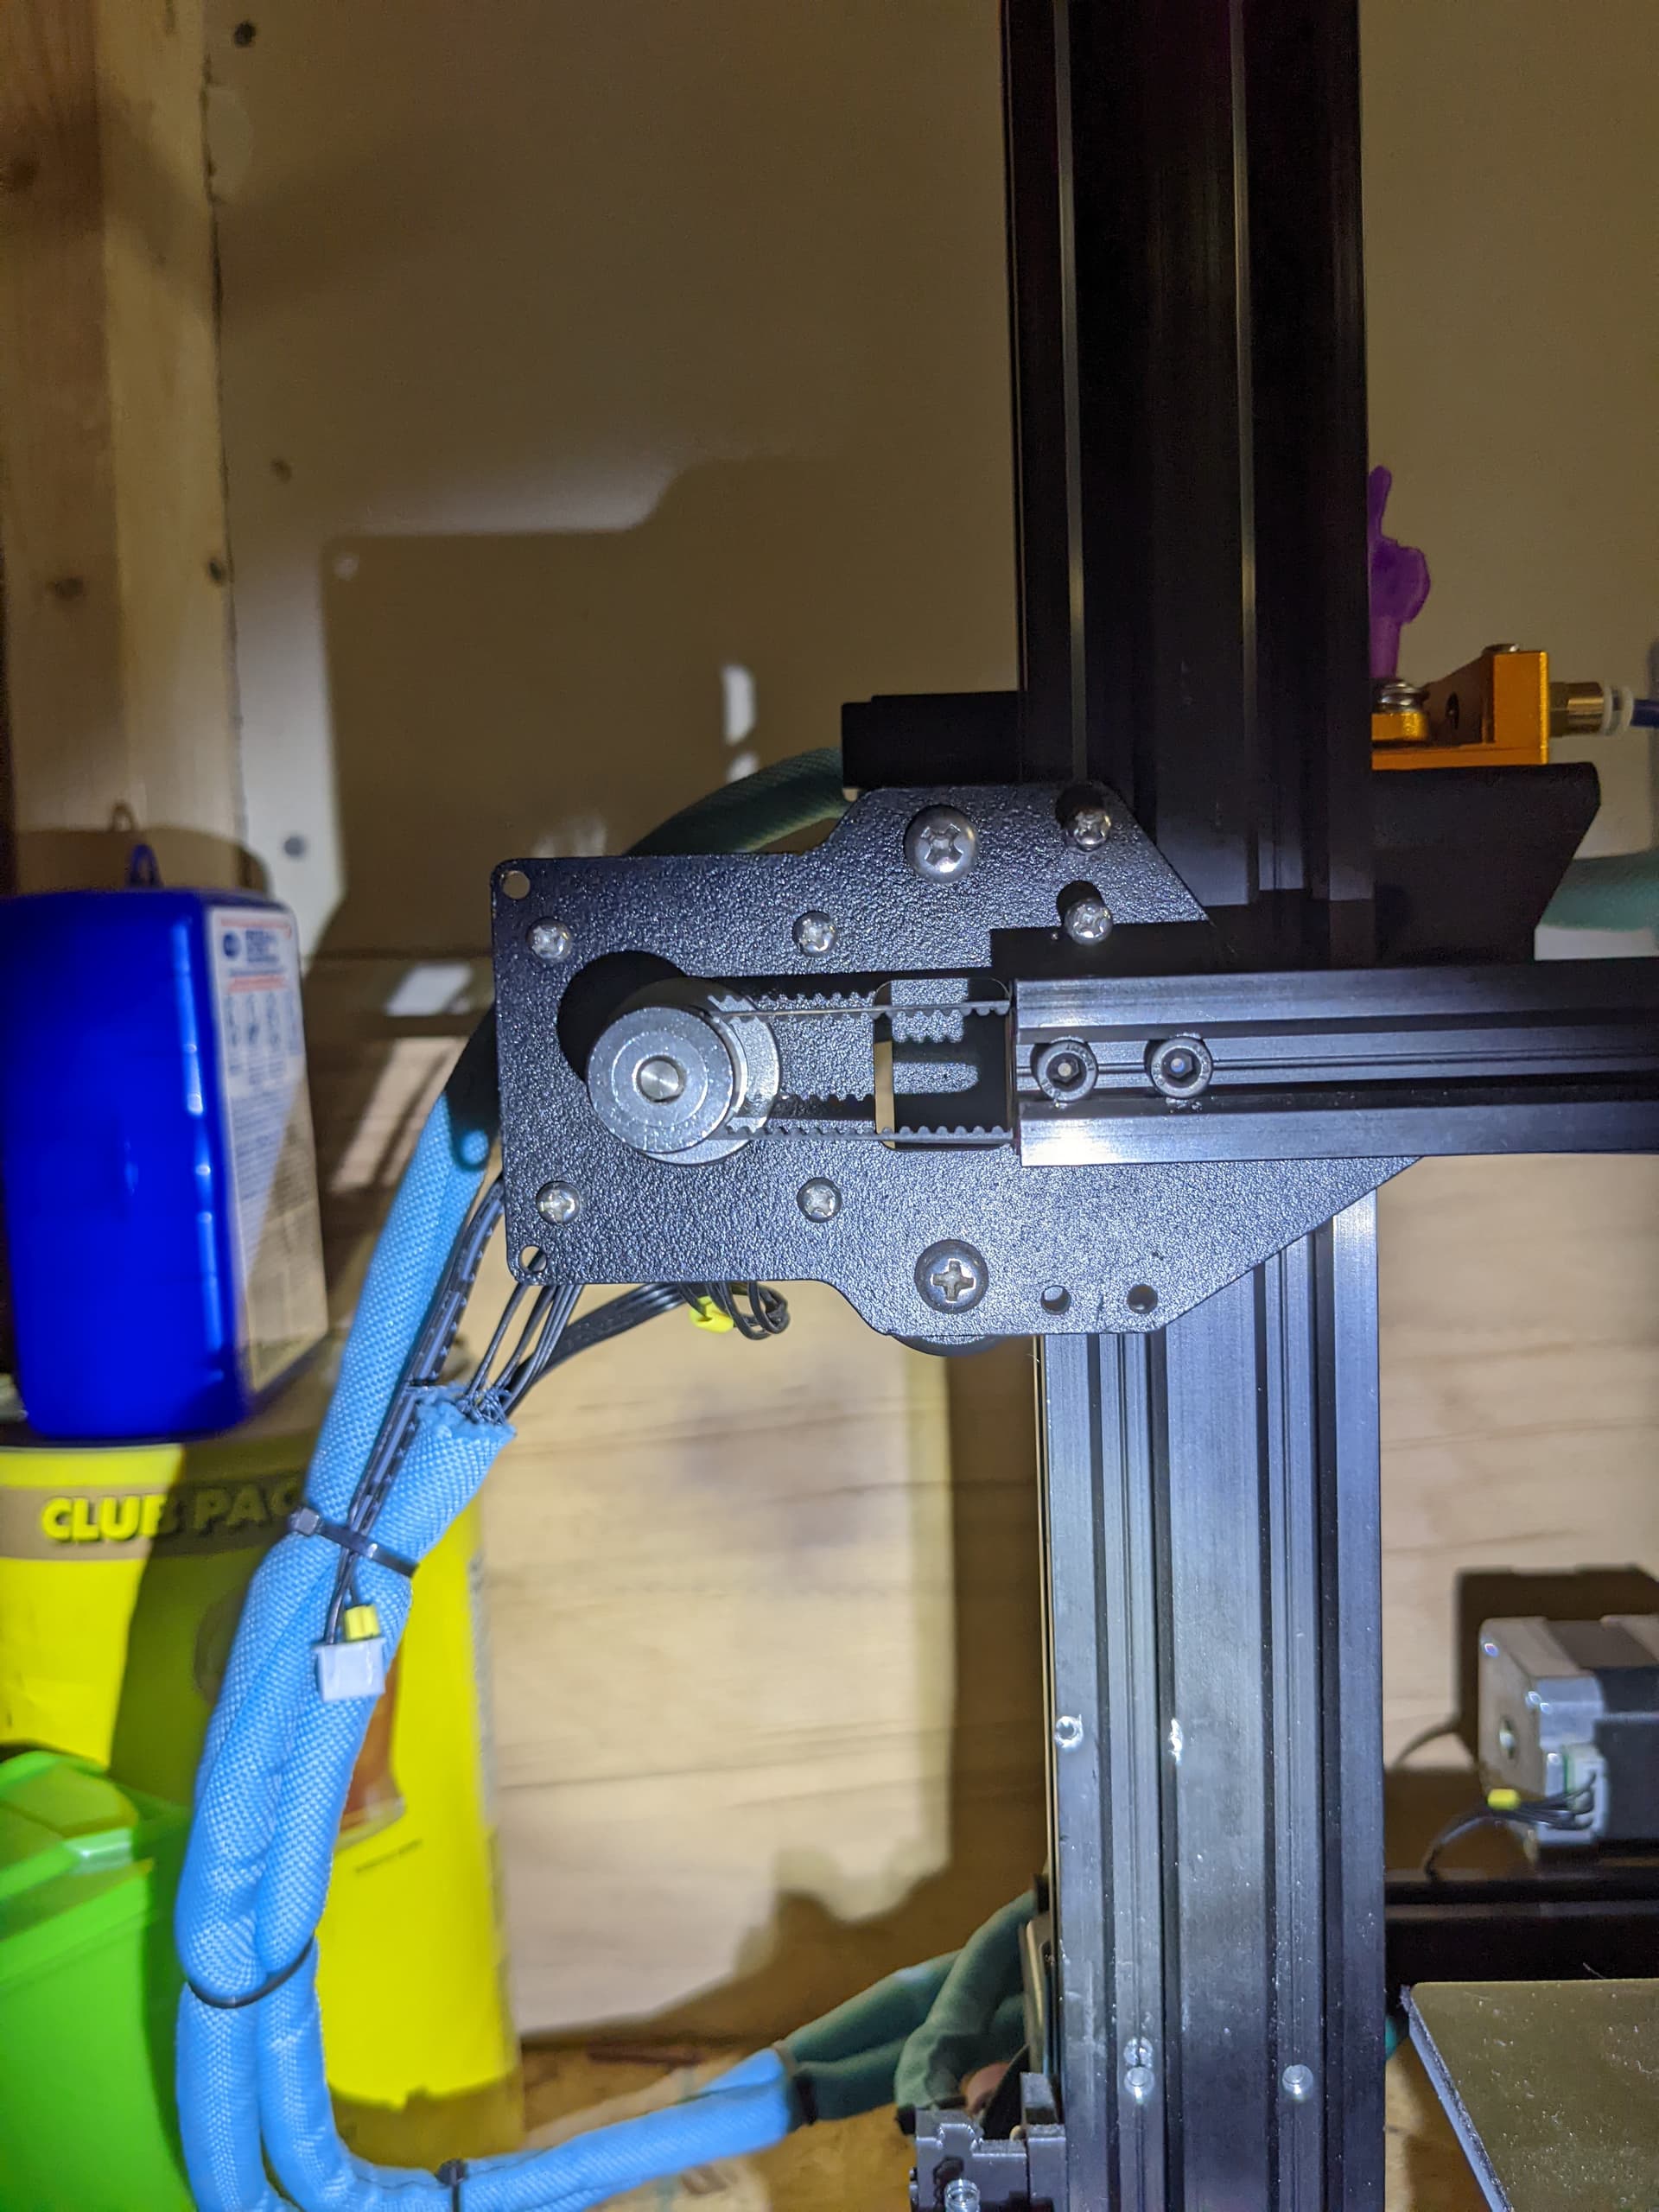
I’m not 100% sure how the drive belt should be positioned for the X-Axis (running through and along the V-Slot) - does anybody have any suggestions/things to watch out for?

I’m obviously going to have to create custom Marlin firmware for the project - I’ve been looking around for good tutorials - can anybody point me to one? This will be my first time, but I’m very familiar with software development.

That’s it for now - I’ll keep you updated as to my progress.

Any comments, suggestions or warnings would be greatly appreciated.

myke

2 Likes

teaching tech has a pretty good guide to get you started on marlin. it shows all the steps and what usual settings are where but I think if you understand the navigation of the marlin files it should be pretty easy setting it up.

2 Likes

Thank you!

1 Like

that’s a nice looking printer, Best of luck on it, First one is always the worst trying to think 50 steps ahead.

1 Like

Thanx Jason, I’ll keep posting to let you know how things are going.

1 Like

Okay, got the X-Axis gantry basically completed. Getting the end parts right (as they each have their own stepper, each support the 20x20 V-Slot for the hot end as well as the V-Slot wheels for going up and the lead screw supports) was a lot more fiddly than I would have expected.

As noted, I’m going with two steppers for the Z-Axis, one on each side of the printer frame and will drive a lead screw.

Question: Should the X-Axis Stepper be centred with the 20x20 V-Slot for proper belt operation?

I actually haven’t worked with an Ender 3 so I don’t have a reference for this and I’m wondering if the stepper’s axle centre should be a mm or so below the centre of the 20x20 V-Slot so that it doesn’t rub against the inside of the V-Slot on the top and it clears the slot better on the bottom?

Here is what the right side with the tensioner looks like:

Thanx!

myke

1 Like

Wow thats coming along great.

I dont have an ender 3, bur a clone and will let you know about that x axis belt once i get home in the morning.

Marlin can seem daunting at first, but in my expierence, less is more. #define the bare essentials, and once you can get a version to complie and it passes the sanity check, THEN add your extras.

I have had some issues getting marlin to compile from time to time, and i suspect its a board environment issue. I still havent nailed it down exatly to further assist with an issue like that, but id be happy to help out with the marlin firmware set up if you have any questions.

1 Like

My good doctor,

Thank you for the reply - I would appreciate what the X-Axis stepper, belt and V-Slot look like. I think I might have it right, but it’s nice to get confirmation.

I’m working through learning how to build Marlin and it’s a process. I know that in a few days I’ll be adding my own code to the builds.

Thanx again!

myke

1 Like

That’s a wonderful-looking machine. Congrats on the design - A+

1 Like

So the mechanical design is complete and the parts have been put together.

I’ve been going through the Marlin videos and documentation (the videos are a lot better than the docs) and I have successfully loaded the Robin Nano V3 with my own build.

I did go through the video @Glenn recommended - it’s not bad but it’s really out of date. The instructions in it are useful, but the final configuration that you get with the latest Marlin code doesn’t match what’s on the video.

If you’re going to go with a Robin Nano, I would recommend this video:

It goes through everything quite well and gives you a little test at the end to change the polarity of the Y-Axis sensor to see that you’re actually loading your own code using Pronterface. In the screen shot below, I’ve test two builds, one with the Y-Axis inverted and then restored to the original value - you can see that I highlighted in yellow the different responses to the “M119” command for each of these builds.

The next step is to get the TMC2209 stepper motors installed and then test out the operation of the Robin controlling the steppers.

Two questions for anybody who’s an expert at Marlin:

  1. How do you turn off the basic splash screen? I would have thought that you just comment out the line “#define SHOW_BOOTSCREEN” but the standard MKS splash screen continues to show up.
  2. How do you change the default text language? I though it would be to change the “#define LCD_LANGUAGE” to something other than “en” but that doesn’t do it. I should point that if I change the language in the UI, it does change.

Is there a good resource for changing the UI?

More news as it happens!

Sorry for the delay. Here is the x axis belt on my printer for reference.

Hope this helps, or if you need measurements/more pictures, just let me know :slight_smile:

1 Like

I’m a little behind this weekend but I think you nailed it, Looking good.

2 Likes

Thank you - I have centred the drive and idler gears and things seem to move okay (more on this later).

myke

1 Like

Making some good progress but with a few questions/issues.

First off, I think mechanically the design is done. I can move in all three dimensions comfortably from the controller (with Pronterface as my user interface - more on this below). The printer will look a lot better when I put together my cable management scheme, but for right now, I’m excited to have things moving in the directions and distance expected, smoothly and quietly.

Movement is smooth and reasonably quiet with no chattering or undue vibration when driven either by hand or the stepper motors. The torque output by the steppers is very good. The Z-Axis uses two steppers (I thought trying for a cantilevered X-Axis on my first attempt but that would be pushing my luck). I wish I could post videos of the movement here.

The only issue I had was that the stepper motor cables for the large steppers used for the Y and Z Axes don’t seem to have a “standard” pinout for 3D printers even though the connectors built into the motors do. With these cables, the motors only were able to move in one direction (and I suspect that the microstepping was out of whack). I was able to find other stepper cables, this is a spare parts printer after all, that worked fine but I was surprised that the originals were different. I’m putting this out there in case somebody else experiences this.

As noted above, I’m working with the Robin Nano V3 and TMC2209s powered at 24V.

I am able to build Marlin for the Robin Nano V3 (GitHub - makerbase-mks/MKS-Robin-Nano-V3.X: Robin nano V3 is an upgraded version of Robin Nano V2.0. The upgrade changes are quite large, including upgrading the MCU to the M4 core, and adding support for USB disk.) but I’m having a few issues that maybe people can comment on:

  1. The MKS 3.5 Touch Display does not work great - when using it, I get unexpected resets. I believe this is a software issue as similar problems have been reported on the Github page. Does anybody have experience with this display and can comment?
  2. The sensorless homing (TMC2209 based) isn’t working as expected or really at all. Anybody have any good links for figuring out the issues? I have tested communication with the TMC2209 and it reports that the serial interface is working.
  3. I hate the default MKS UI (even without the touch screen issues) - anybody have any good links on people that have rolled their own?

Next steps will probably researching issue 2. above and testing out the hot end and heated bed operation.

Thanx!

myke

1 Like

This is a really cool thread but I’m curious on why you’re doing this? Are you just trying to see if you can do it or are you trying to improve on what’s out there somehow? Just curious on the motivation.

2 Likes

I’ve had a number of 3D printers over the years and I’ve never been completely happy with any of them.

My issues include:

  1. Reliability. I’ve had printers that have only lasted about 100 hours and then just don’t work as well when they were new if they work at all - there is generally something structural that has worn out or become damaged and out of spec over time.
  2. Quality. I know that I can usually change the hot end on most printers to get a better quality set up but I always end up finding that it’s more work than I expected. I thought that by designing my own I could specify the quality of the parts used (ie the Swiss Micro hot end).
  3. UI. The standard Marlin/Klipper/Arduino UIs are horrible. I was thinking that once I got the printer working, I’d spend some time looking at what is truly needed for the UI and design something around that.

I’m really doing it to see what the issues involved and maybe try to come up with one that I really like.

It’s personal and it’s been fun.

myke

2 Likes

Very cool. It looks like a super fun project. Looking forward to more updates!

2 Likes

I think I have the first two issues listed above (Touch Display not working well and causing unexpected resets and sensorless homing not working) resolved.

The problem was with the MKS version of Marlin for the Robin Nano V3 - Looking around, I found a post stating that the MKS source files were downlevel and problematic.

After spending a few hours comparing the configuration files of the latest Marlin “bugfix” and the MKS Marlin code, I managed to put together a build for the Nano V3 with the bugfix source and the two problems listed above went away. The display works reliably with no resets and sensorless homing is really quite impressive - I don’t think I’d ever consider microswitches for the X & Y axis again.

I’ve posted the configuration files in the MKS Github page - is there anywhere else that people would recommend that it get placed?

The Marlin UI is really crappy, I will be looking at coming up with a better/more intuitive way to interface with the printer.

myke

1 Like

@mykepredko what did you print your y axis cairrage out of? PETG? ASA? Or PC?

ABS. That’s the best my current printer can work with.

Why are you asking about the other materials? For the Y-Axis plate, it’s working very well.

I’ve redesigned the X-Axis carriage to make it stiffer and smaller as the ABS with the big, flat pieces wasn’t great.

I got the BL Touch working last night and I was hoping to put up some pictures later today of where things are.

1 Like