I’m not an expert, just been painting for about a month and enjoyed a process. I have been suprised how easy it is to create nice metal effects and thought I would share the process.
Painting plastic or resin parts starts with sanding and priming your models. A simple rattle can of rustolum primer is a good starting point.
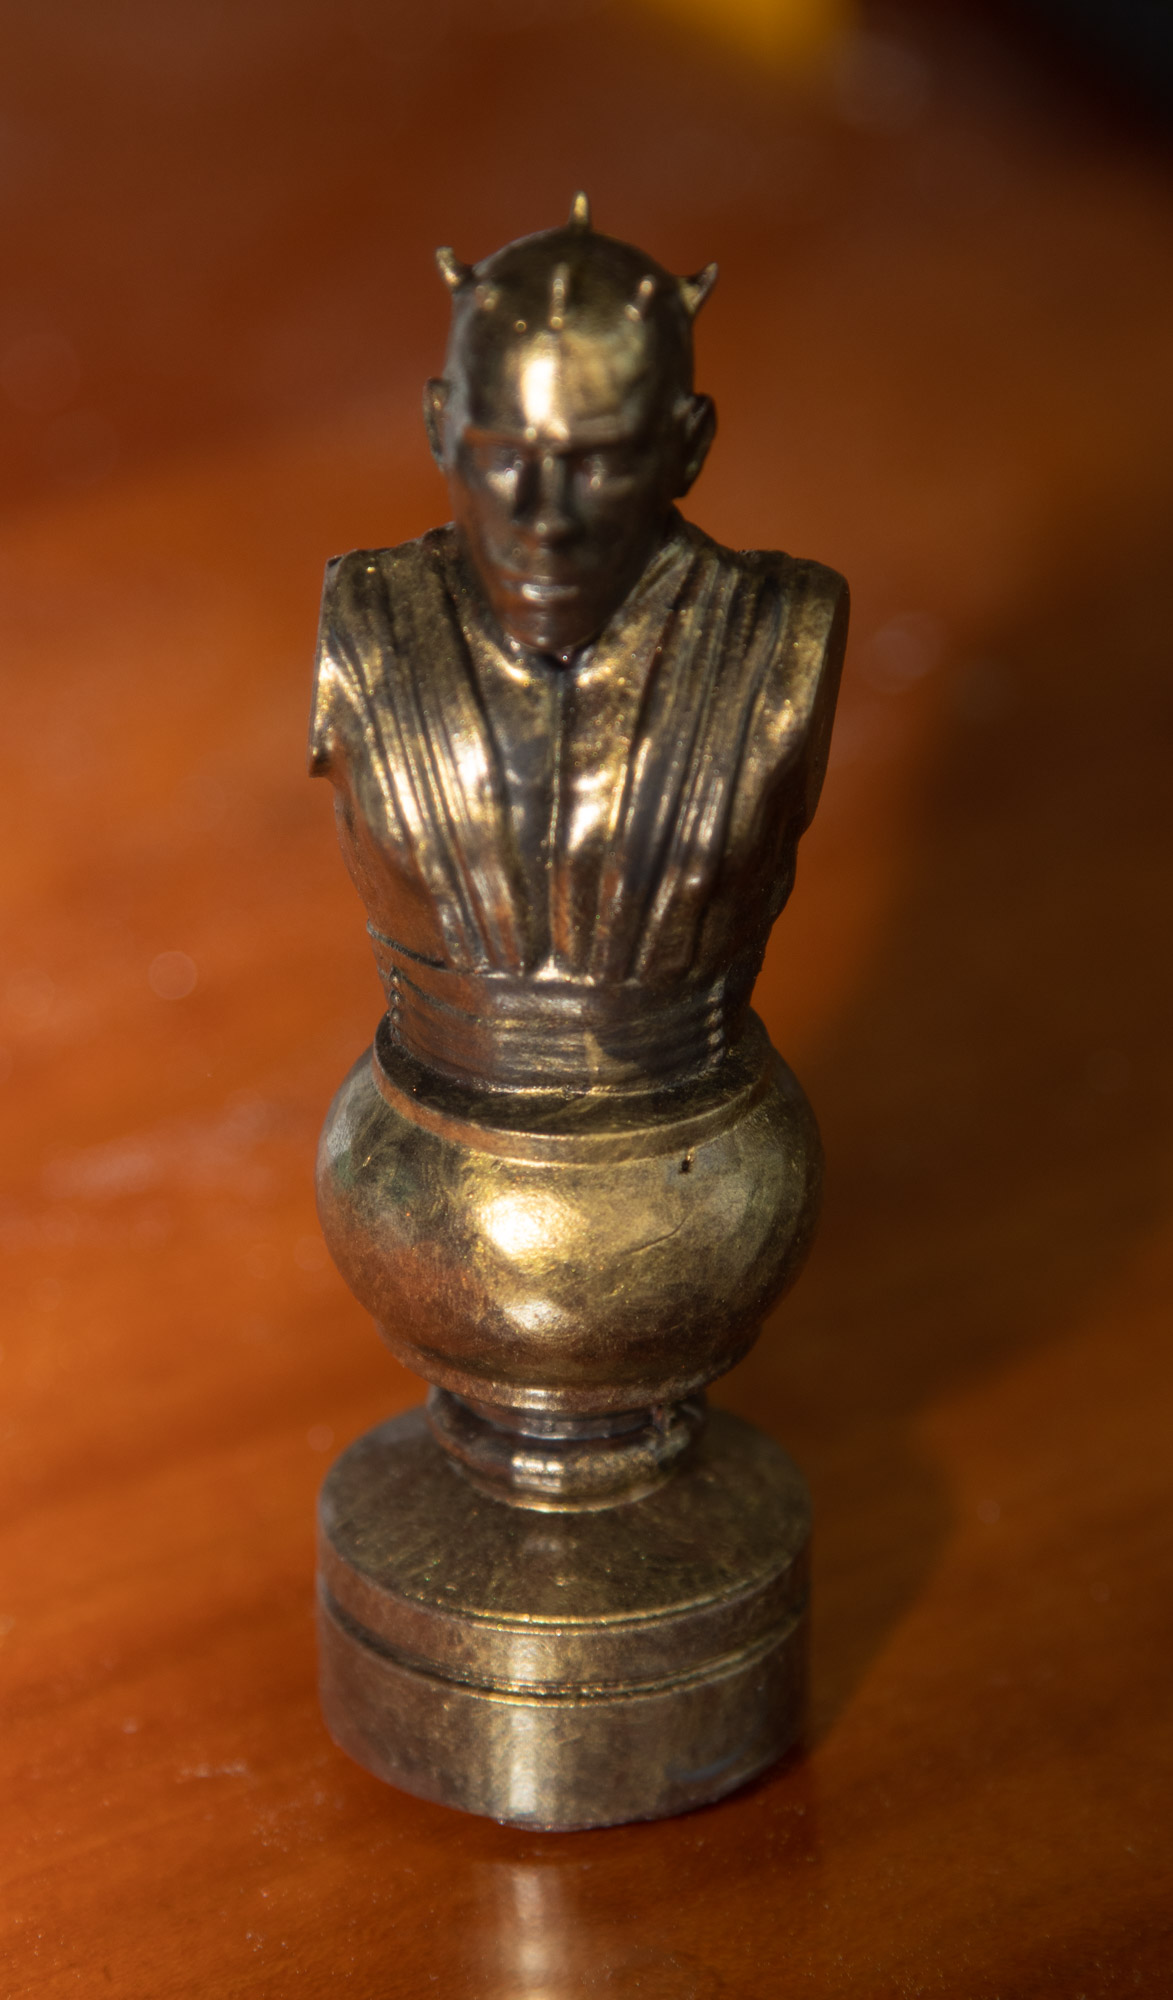
Next decide on a base top coat. In this first example I used a brown gloss.
One light coat is all that is required, move your hand fast for each pass, turn the model, quick pass again. You want just enough paint to cover the primer colour
Now using a brush and inexpenisive aryclic craft paint you can buy from Walmart or Micheals.
Brush the black over the complete object and then wipe off with a paper towel. You want the dark to remain in the shadow areas. You want a “grudge” appearance…
Next you need to dry brush a highlight colour. In this case I’m using a gold metalic craft paint.
Dry brushing is super easy, dab you brush into the paint, and then dap the brush onto a paper towel. You want “just enough” paint on the brush so you can build up the highlight colour.
If you want a cast bronze look, don’t sand the surface of the print very much, you ant little rough areas where the dark paint will stick. If you want a shiny gold finish, you have to do a lot more primer coats and remove ALL surface faults…
The trick is to light brush the “dry” brush onto the model raised area and slowly build up your highlight colour. Slow and steady brushing or dabbing technique…
When you get the overall finish you like, let the paint dry over night and then clear coat with “Pledge”. This is a waterbased clear varnish that is inexpensive, super easy to apply and available at Walmart & Canadian Tire.
Brush the clear coat on, it’s very thin, so requires a few coats to get a nice gloss. Wait about 30 minutes between coats.
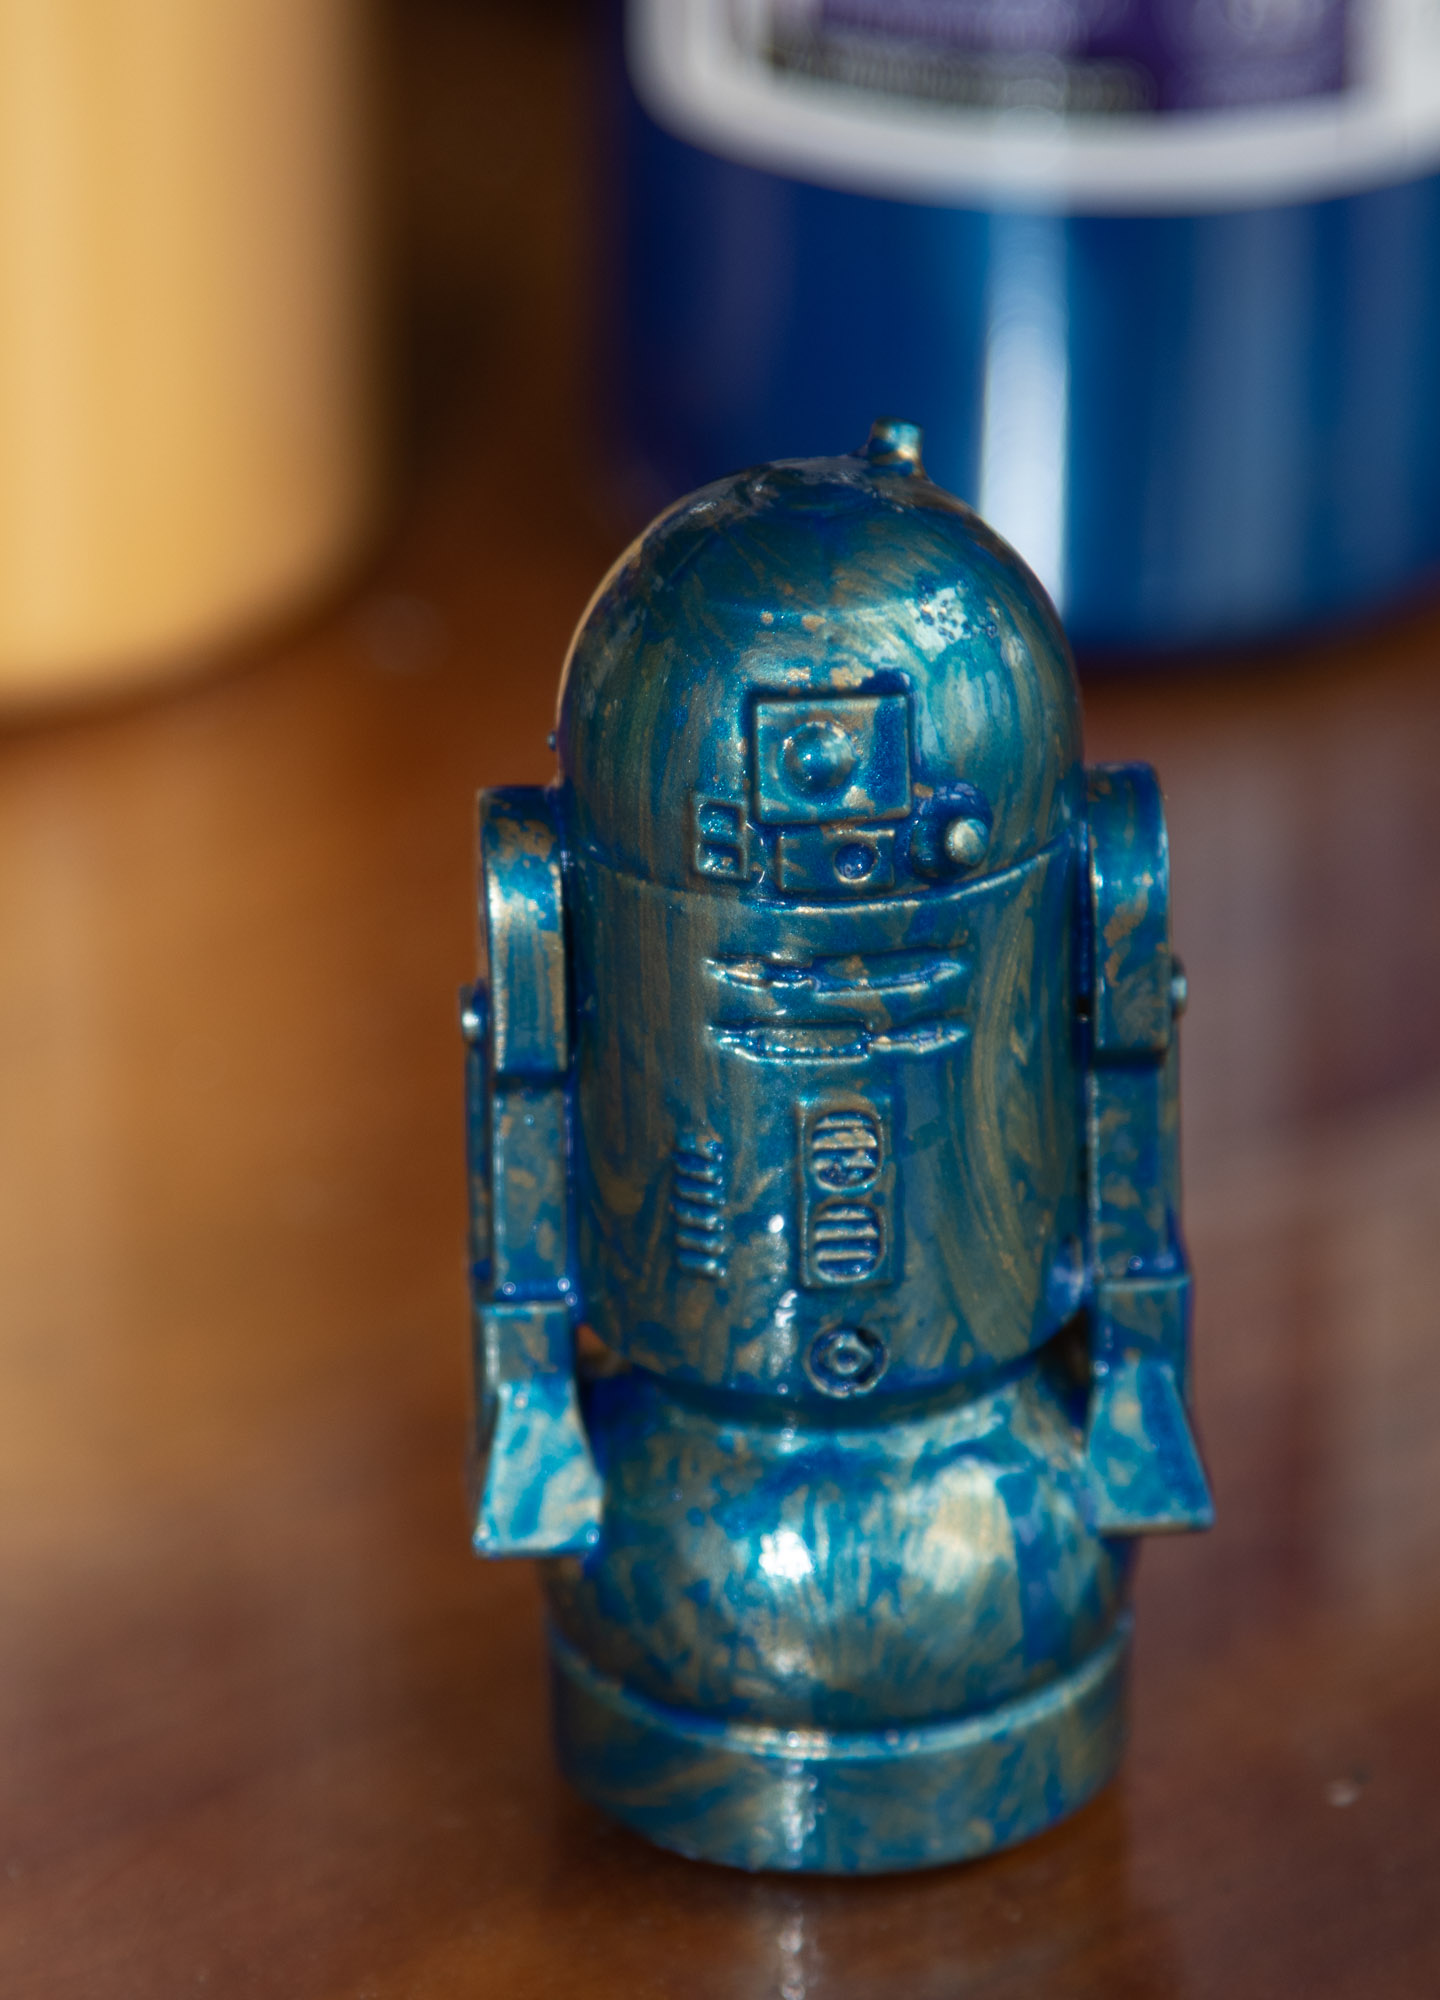
This example uses a gold rustolium paint finish for the base coat.
I suggest a few light coats of gold to cover the primer colour.
Then if you want a higher reflection in the gold use a light mist coat of Rustoleum Gold Mirror effect, I tend to do this “before” the fist coat has dried.
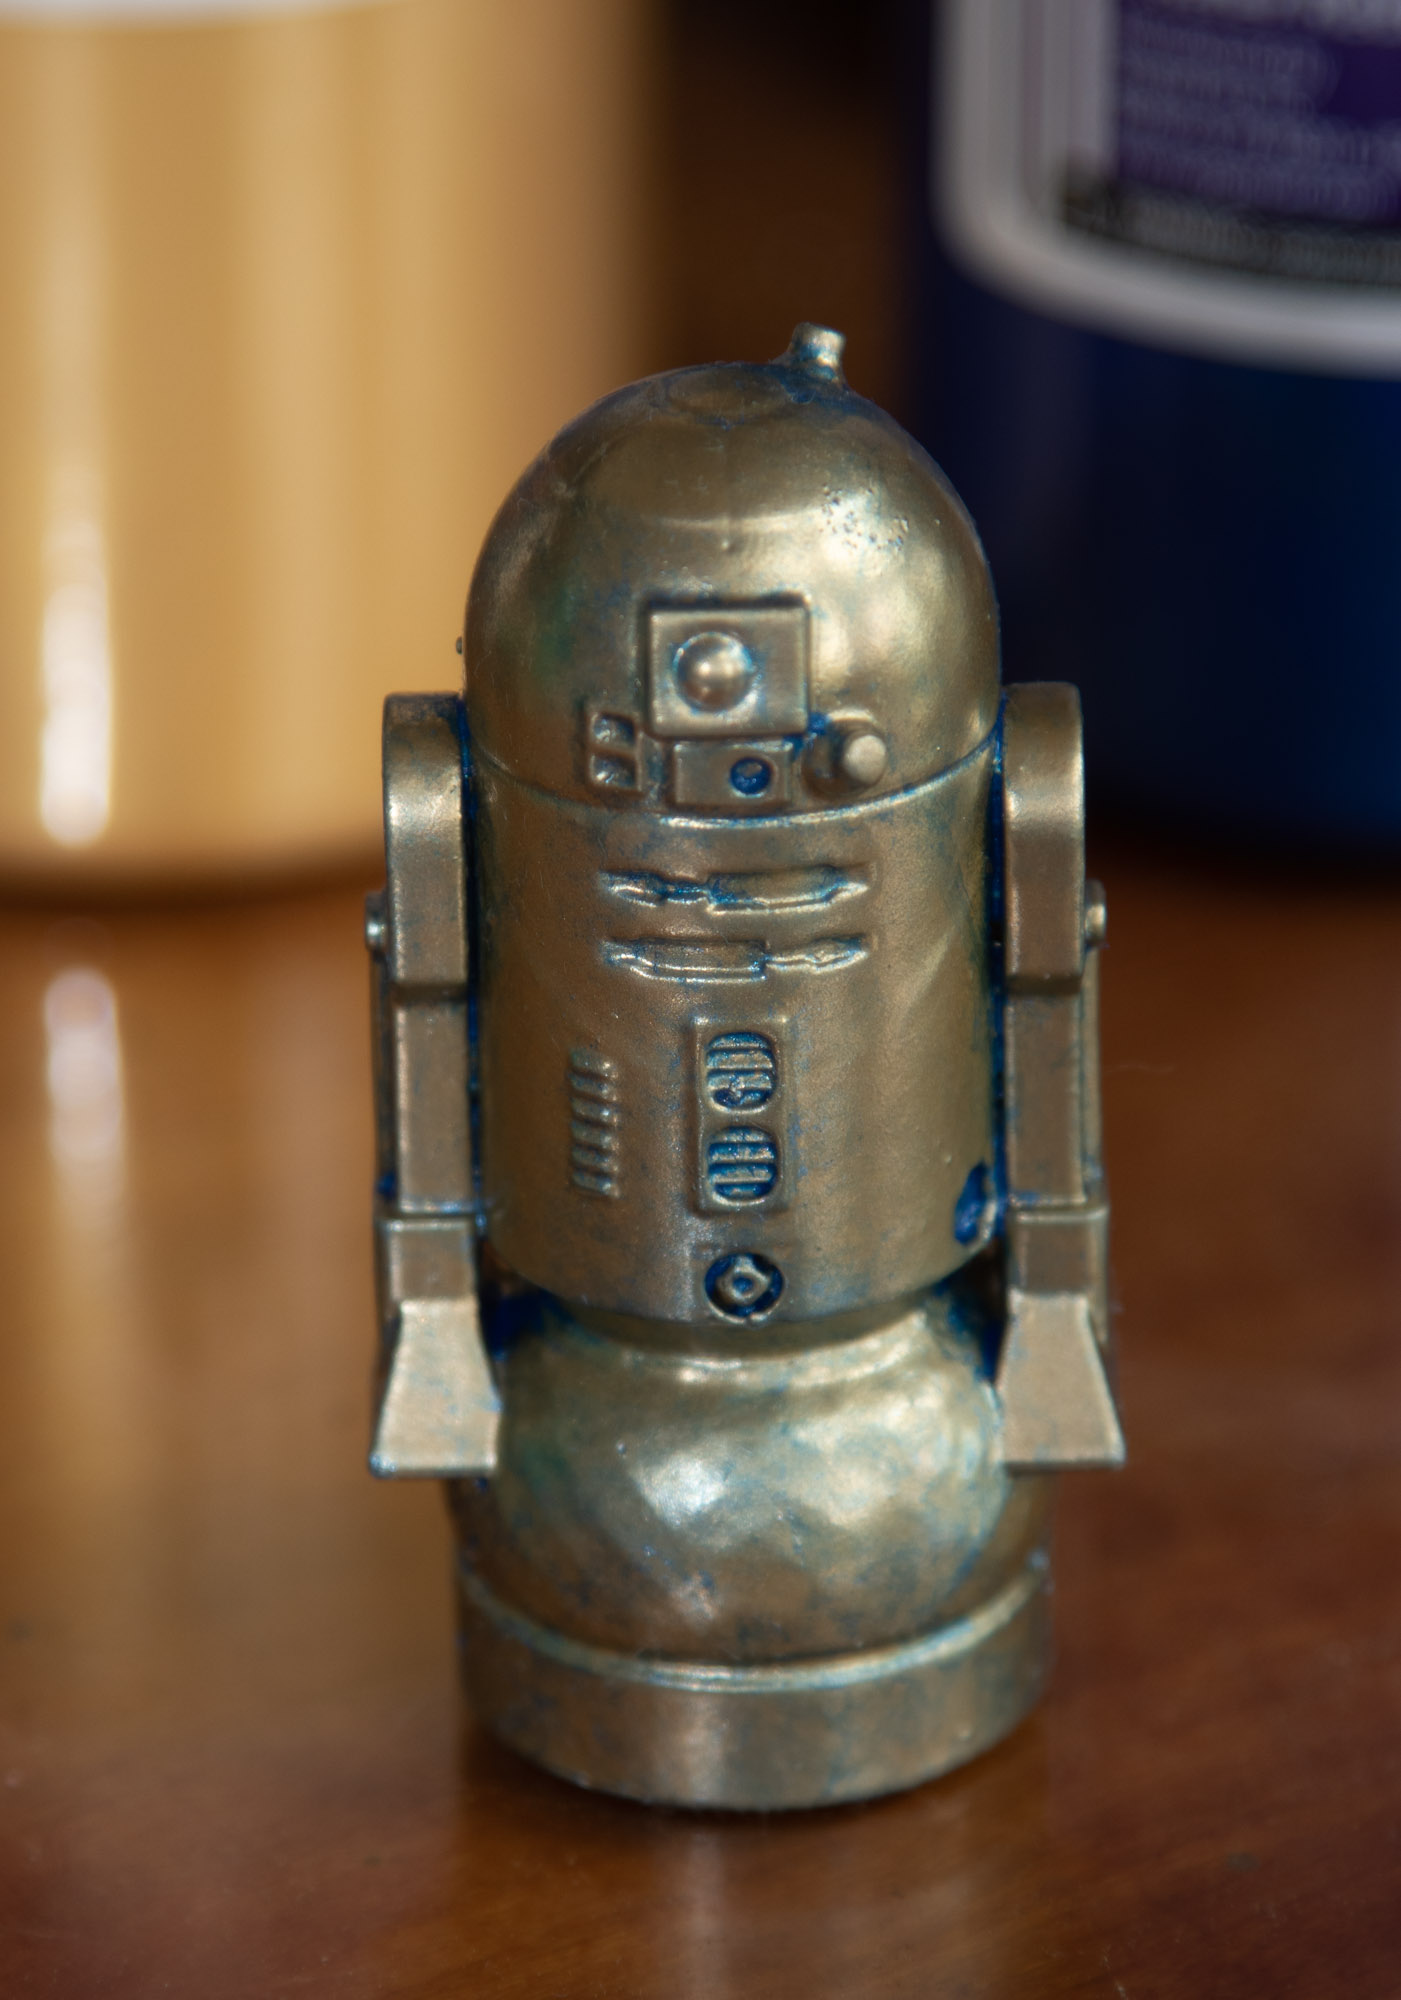
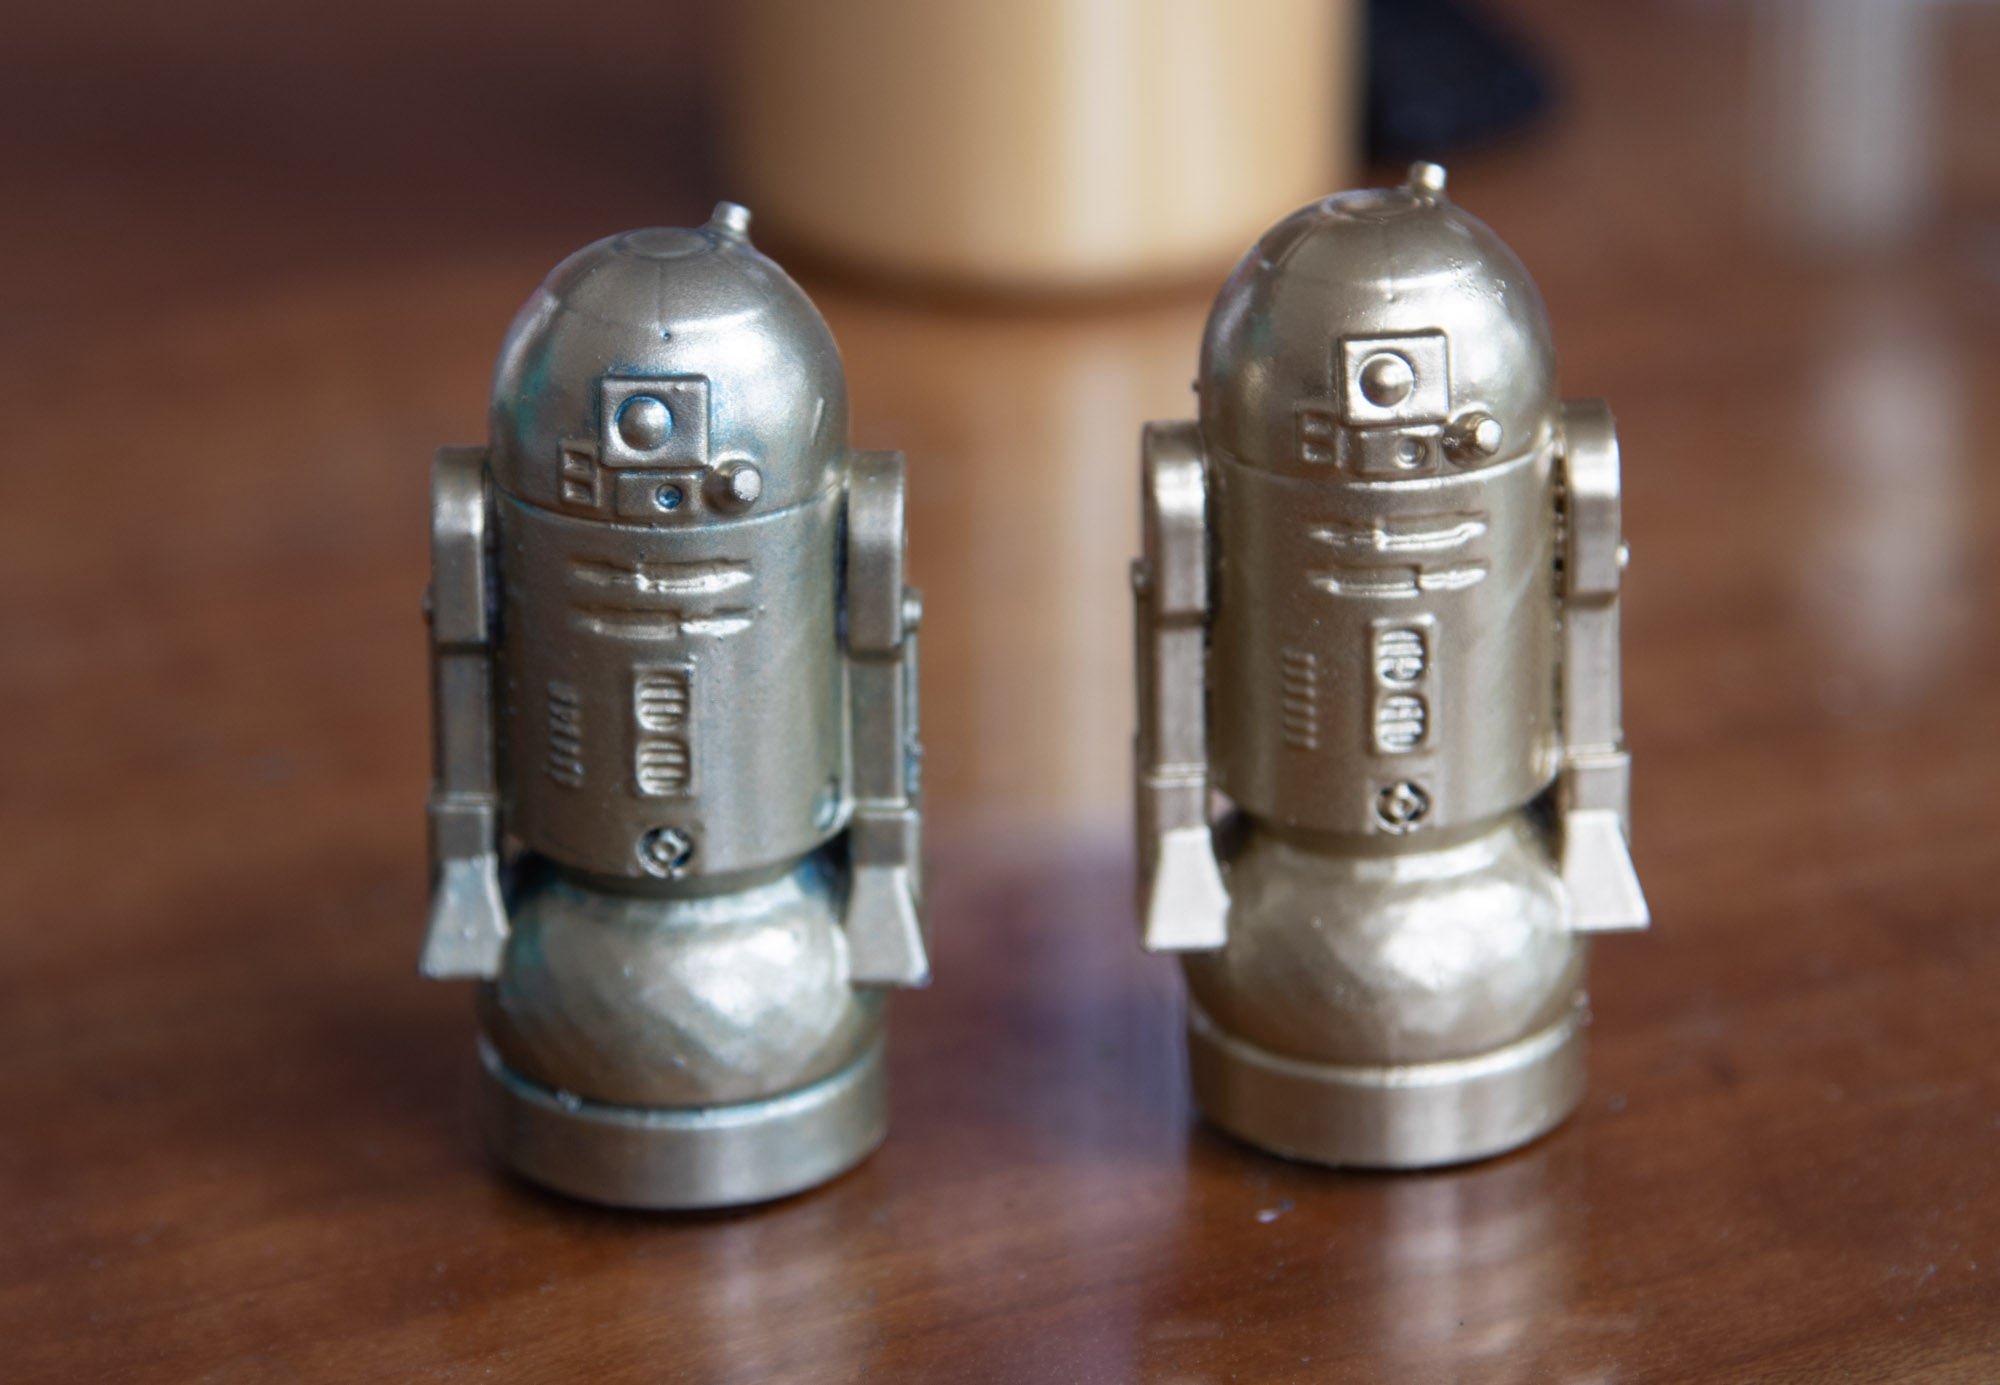
Above on the left shows more subtle effect after a blue wash OVER the gold.
After the gold has dried, I used a metallic blue wash coat over the complete object. Then waited a few minutes and wiped off the paint with a paper towel.
In the example, I decided I did not want the strong blue in the shadow area, so after the paint was dry, I washed the object under water and gave it a little scrub. This left the object with a light gold effect as shown on the right.
You are most welcome, I encourage people to “have a go”, lots of great youtube videos and it’s so easy. My wife has always said I’m hopeless at painting around the house, but I found this very enjoyable. It suited my slapdash approach to painting! If I can do this “anyone” can…
These two ladies are painted with rustolium gold, then a light coat of rustolium mirror gold. Let it dry fully then a black wash coat which was wiped off. The wash coat gives the gold more of a bronze look.
Then a metallic brush coat of water based acrylic craft paint on the dress.
The actual colour of the print does not matter, because I normally prime the surface first.
I think you could FDM print with gold or bronze PLA and then just experiment with the wash coat. I’m doing some FDM experiments next for the art deco ladies.
Bronze look is much easier than gold, because you need very smooth surface for reflections for gold. The bronze look you need to focus the sanding to super smooth surfaces only to the areas you want to appear shiny…
You could try the rustolium mirror effect direct over your PLA in a very light coat and use the print colour for the base.
If you need help modeling an art deco light, send me a picture of what you like to make, I’m happy to create the 3D model.
I created E26 bulb holder yesterday and an Art Deco side light and happy to share the 3d model.
@sgspenceley Thank you for posting this. I’ve been too timid to try painting anything as the paint keeps getting in my eyes when I spray it I’ve saved this tutorial for future reference.
Your welcome LEGOManic. This time of year is ideal for painting the rustolium in the garage or outside because it has a strong smell.
The craft paint can be used indoors because it’s water washable and does not have any odor. You can use arylic craft paint for all the coats but it requires more coats of paint to get a nice smooth surface finish. The rustolium really speeds up the process because it self levels when sprayed. The real trick is very light coats, wait a few minutes and coat again…
We have similar skills, I’m excellent at that. I learned this week the rubbing olive oil into your hands removes rustolium paint! I had the glove on the wrong hand during painting! My wife suggested the olive oil trick and I said it would not work! I was wrong…


 I’ve saved this tutorial for future reference.