i an having trouble getting sakata petg to print cleanly any help would be appreciated
Try printing a temperature tower, will help you to dial in your settings, temp wise anyway.
1 Like
Everyone seems to get different results with PETG, so please take this with a grain of salt, but here is my .02c worth. In fact, I’ve recently had an email conversation with a friend who has had success with vastly different settings, and I’m definitely no smarter than he is.
Molten PETG is sticky and I’m pretty sure it thickens considerably under shear. It dearly loves to form strings, and then likes to use those strings to pull on whatever it printed last. Here are some of the things I’ve done (in Cura, for an Ender 5 with a stock 0.4mm nozzle) to deal with the stuff. I’ll address them in the order they appear in Cura’s parameter menu.
Layer height: I limit myself to 0.12 and 0.2 mm, for no reason other than to keep the permutations manageable
Initial Layer Height: I use 0.24 for both of the above. It’s mostly because the build plate isn’t all that flat, and I don’t have mesh bed levellng, but I believe that a little extra room under the nozzle will reduce its tendency to peel the strand of filament off the bed. At l.h.=0.12, it’s convenient that the initial layer is a multiple.
Bottom Pattern Initial Layer: Unless there’s a good reason to do otherwise, I use zig-zag. It generates the longest continuous lines, and line interruptions are where the problems start. In general, small features in the initial layer are a particular challenge.
Infill: The pattern is determined by other factors than the material, but it really helps to enable “connect infill lines”. This will minimize retractions and non-extruding moves, and as I said, the problems start at line interruptions.
Temperatures: I use 242/83 My friend says that he gets issues with peeling if he uses a bed hotter than 70, so your mileage may vary considerably. 242 is as hot as I dare run my Ender hot-end, and I’ve got the temperature up there to reduce the viscosity of the extruded plastic - if it’s shear-thickening, at least it’s thickening from a thinner initial state…
Speed: I print PETG slow. Walls are at 25 mm/sec, and the initial layer is D E A D . S L O W. (like, 10mm/sec - and I’ve never had much success even at 20). To get a really clean PETG print, I think that printing slowly is most of the battle. Again, my friend has had success printing at 100mm/s, so what do I know?
Travel Speed: I keep this moderate, at 150mm/sec, and I’m beginning to suspect that I should slow it down further, so it can’t pull as hard on previously printed structures. (especially on the fragile first layer)
Number of slower layers: 1 … just so it doesn’t take all day…
Retraction distance: 4.5 mm
Retraction speed: 35 mm/sec
Retraction Minimum travel: 1.5mm
Minimum Extrusion Distance Window: 8mm
Limit Support Retractions: Yes ( fewer strings)
Combing Mode: Not in Skin (helps to hide the strings)
The moderate retraction speed is to reduce its ability to pull on the string it has just formed.
z-hop when Retracted: Yes
z-hop height: 0.3
z-hop speed: 5mm.s
The z-hop seems to leave less material in the nozzle to form a string. It’s probably just because of the little bit of time it adds before the subsequent move starts.
Print cooling: Use as little as possible. I rarely turn the fan up past 23%, and then only if the print starts falling apart. Note: to run a fan this slowly, you may need to hack on your g-code, adding an extra M106 S255 to kick-start the fan before the M106 that sets it to the low speed. Also note: fan settings do not port well from one printer to another. My 80% may be comparable to your 30%
Support: As needed, but I try to avoid dense support interfaces. They stick too well.
Build Plate Adhesion: I pretty much always use a brim with PETG. I fiddle with Brim Distance to try to balance its ability to hold the print down to the bed with the difficulty of removing it. I start with 0.1 (when using 0.4mm line width), but will increase this a bit if the model has an overhang at the base.
Brim Only on Outside: Enable. there’s nothing for a brim to do inside. Cura has a bug here, by the way. If your model has an “island” inside a hole, Cura will consider that hole to be “outside”, and print a brim there anyway.
Enable Draft Shield: YES
Draft Shield X-Y Distance: about half your brim width
Draft Shield Height: About half your brim width
I do this for mechanical reasons, not thermal. The intent is to print a “rib” than stiffens the brim, making it harder to peel away from the bed if the model wants to curl.
Coasting doesn’t work for me. It does tidy up the end of an extrusion, but then the beginning of the subsequent one will be either a gap (not enough re-prime) or a gawdawful blob.
If I had a 32-bit board, I’d definitely try linear advance - my guess is that it would help a lot.
I guess I’ve either helped or confused matters totally.
3 Likes
Also:
Calibrate your e-steps for each spool . It’s surprising how differently each colour behaves.
Oh had no idea this was a thing.
Sure: Here are a few numbers from today:
stored esteps: 101.09 (factory default is way down at 93, for PLA)
MG Chemicals red PETG: cmd to extrude 100 mm actually extrudes 96.9 (wants esteps=104.32)
MG chemicals clear: … extrudes 97.6 (wants esteps = 103.57)
Sakata Rubi: extrudes 97.4 (wantsesteps=103.79)
Since I almost always edit the gcode, I just set it there for whatever filament I’m using. That way I don’t have to re-slice. If you’re trying to get good clarity with transparent PETG, not under-extruding is a big help.
I find 230 and 70 works best with about 30 to 40% fan by layer 4
I’m going to be printing transparent red. not expecting clear but would like to have it better. what G code is for e-steps?
I see it’s M92 and do you get your calibration every time you ooad the filament or just once for when you first try a filament?
I asked Cura to add the line
M92 X80.0 Y80.0 Z800.0 E101.09; Added (PETG)
to its preamble.
Then, I just edit the 101.09 to whatever I’ve calculated.
The X, Y, and Z values come from the printer itself: ( Control → Motion → Steps/mm )
When I’m being diligent, I calibrate for a spool, and then write the value on the spool. I’m not sure whether the numbers change as the filament ages - I should check that…
Here are some samples of the results I’m currently getting.
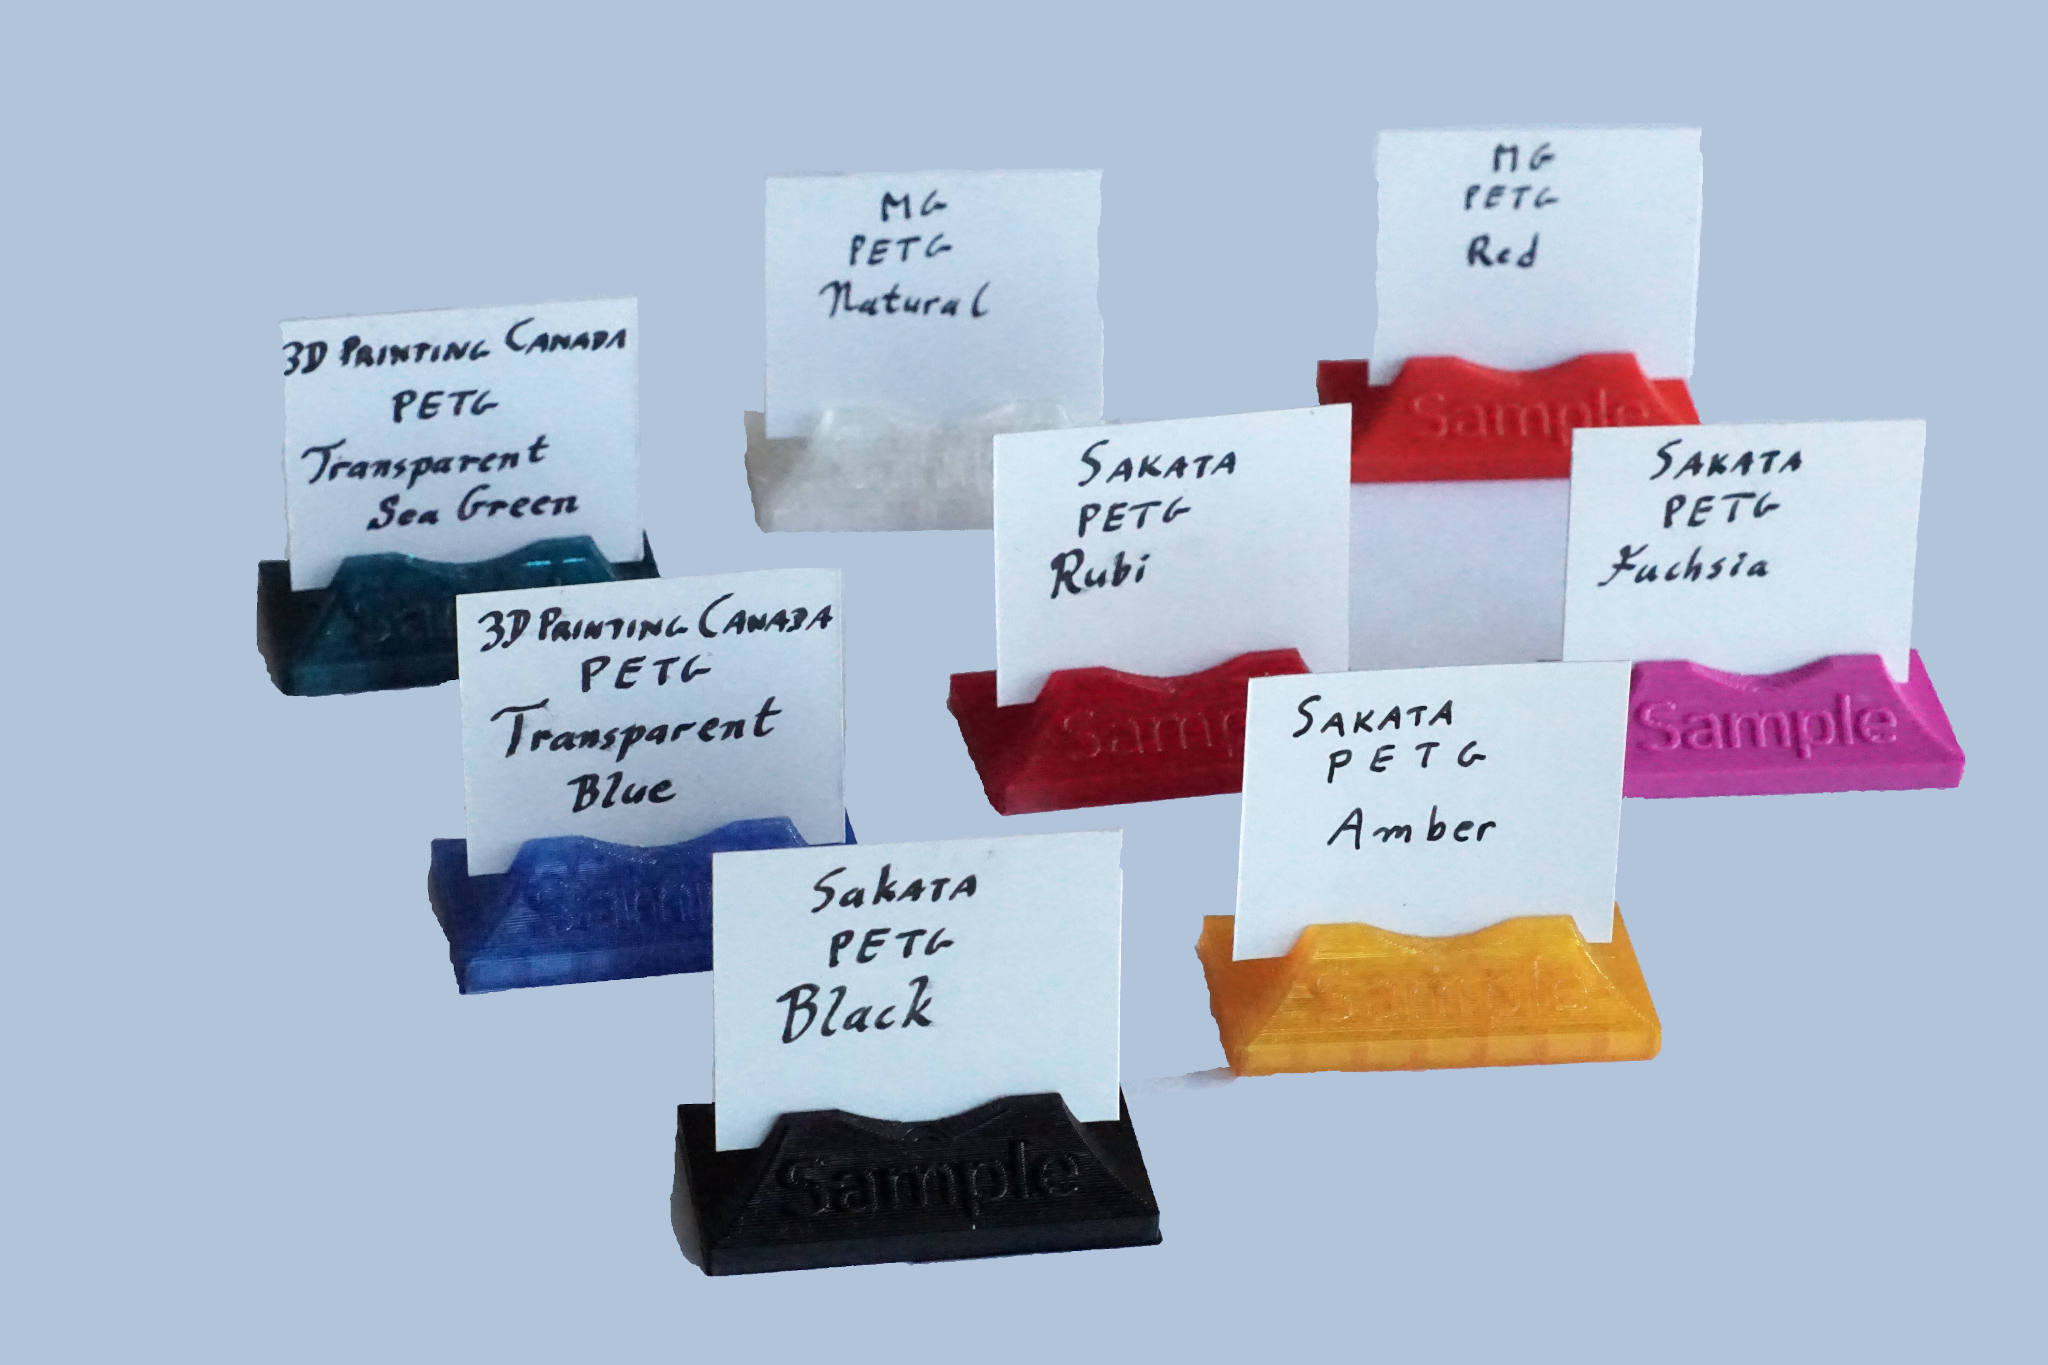
1 Like
Once you set your esteps you don’t need to do it again. You can also just do it through the screen interface
Thats how I did it. But that’s troublesome if you do it evertime you change filament.
240/75 in a draft free room.
When I have a well levelled bed, I can quite reliably place .12 and .2 first layers on a Creality glass build surface (Ender 3 Pro and Ender 5 Pro)
Suggest you print first layers at 15 to 25 mm/s max (Ender 3 and Ender 5) for best first layer results and 0% fan until layer 3 at least.
I sometimes use PVA gluestick for long prints and I normally use a brim despite the fact that I hate using them.
I have tried the Sakata PETG and it’s not bad material, just not dramatically better than others. Since I adopted a standard practice of disassembling and properly reassembling and always using heat conductive paste, I have gained a dramatic increase in printer performance and results. Neither OEM hot end was assembled well nor used paste as delivered. I print nearly exclusively with PETG and PA Nylon.
Glenn, you should not have to change eSteps between filaments. They should be the same for all filaments. Enter and save. Should survive restarts. You should only have to change them again if you’ve reset to defaults. Even when I create custom firmware I use default settings because every stepper is just a little bit different.
Thanks I just reset my e steps today … again, I updated the firmware and it reset them but I was just reading something that says there us a way to make these settings stay in after a firmware update. I was playing with pronterface and making test prints.
You’re likely thinking about “Flashing”?
i think so yes, flashing new firmware seems to overwrite any tuning you do
This sort of depends. If the filament is soft enough to deform under the pressure of the extruder spring, then the amount extruded can be a little less than you’d calculate from the dimensions of the extruder and filament. In my most recent string of projects, I’ve been trying to push the limits to achieve the clearest appearance I can, so this percent or so can make a difference.
I’ve added your PETG brain download to a text file I keep of particularly useful tips. Thanks for that.
What I’m having trouble wrapping my mind around is your last comment about the extruder squishing the filament.
The filament moves past the extruder gear in a linear fashion so whether it remains circular or gets squished into an oval, 1mm of movement is one mm of movement.
Similarly, the amount of filament that gets extruded is based on the volume of filament in that 1mm and that doesn’t change whether the filament is a circle or an oval.
Am I not grasping something?
I think that, as the teeth of the extruder dig further into the filament, the filament gets a little closer to the axis of rotation of the gear - i.e., its effective diameter decreases a little.
In any case, for my measurements, PETG consistently under-extrudes a tiny bit as compared to PLA.
Actually, a very slight under-extrusion can help as well - PETG seems to build up on the sides of the nozzle, and if you’re not too concerned with getting 100% density of the plastic, it’s tidier to back it off a percent or so to reduce this.
…Oh, and as I noted in another thread - I was under-retracting at the time I made that posting. You can directly measure the spring-back in the filament/bowden tube/hotend system by suddenly opening the extruder jaws while it’s printing. I’m now running 5.5 most of the time, and my prints are noticeably cleaner.