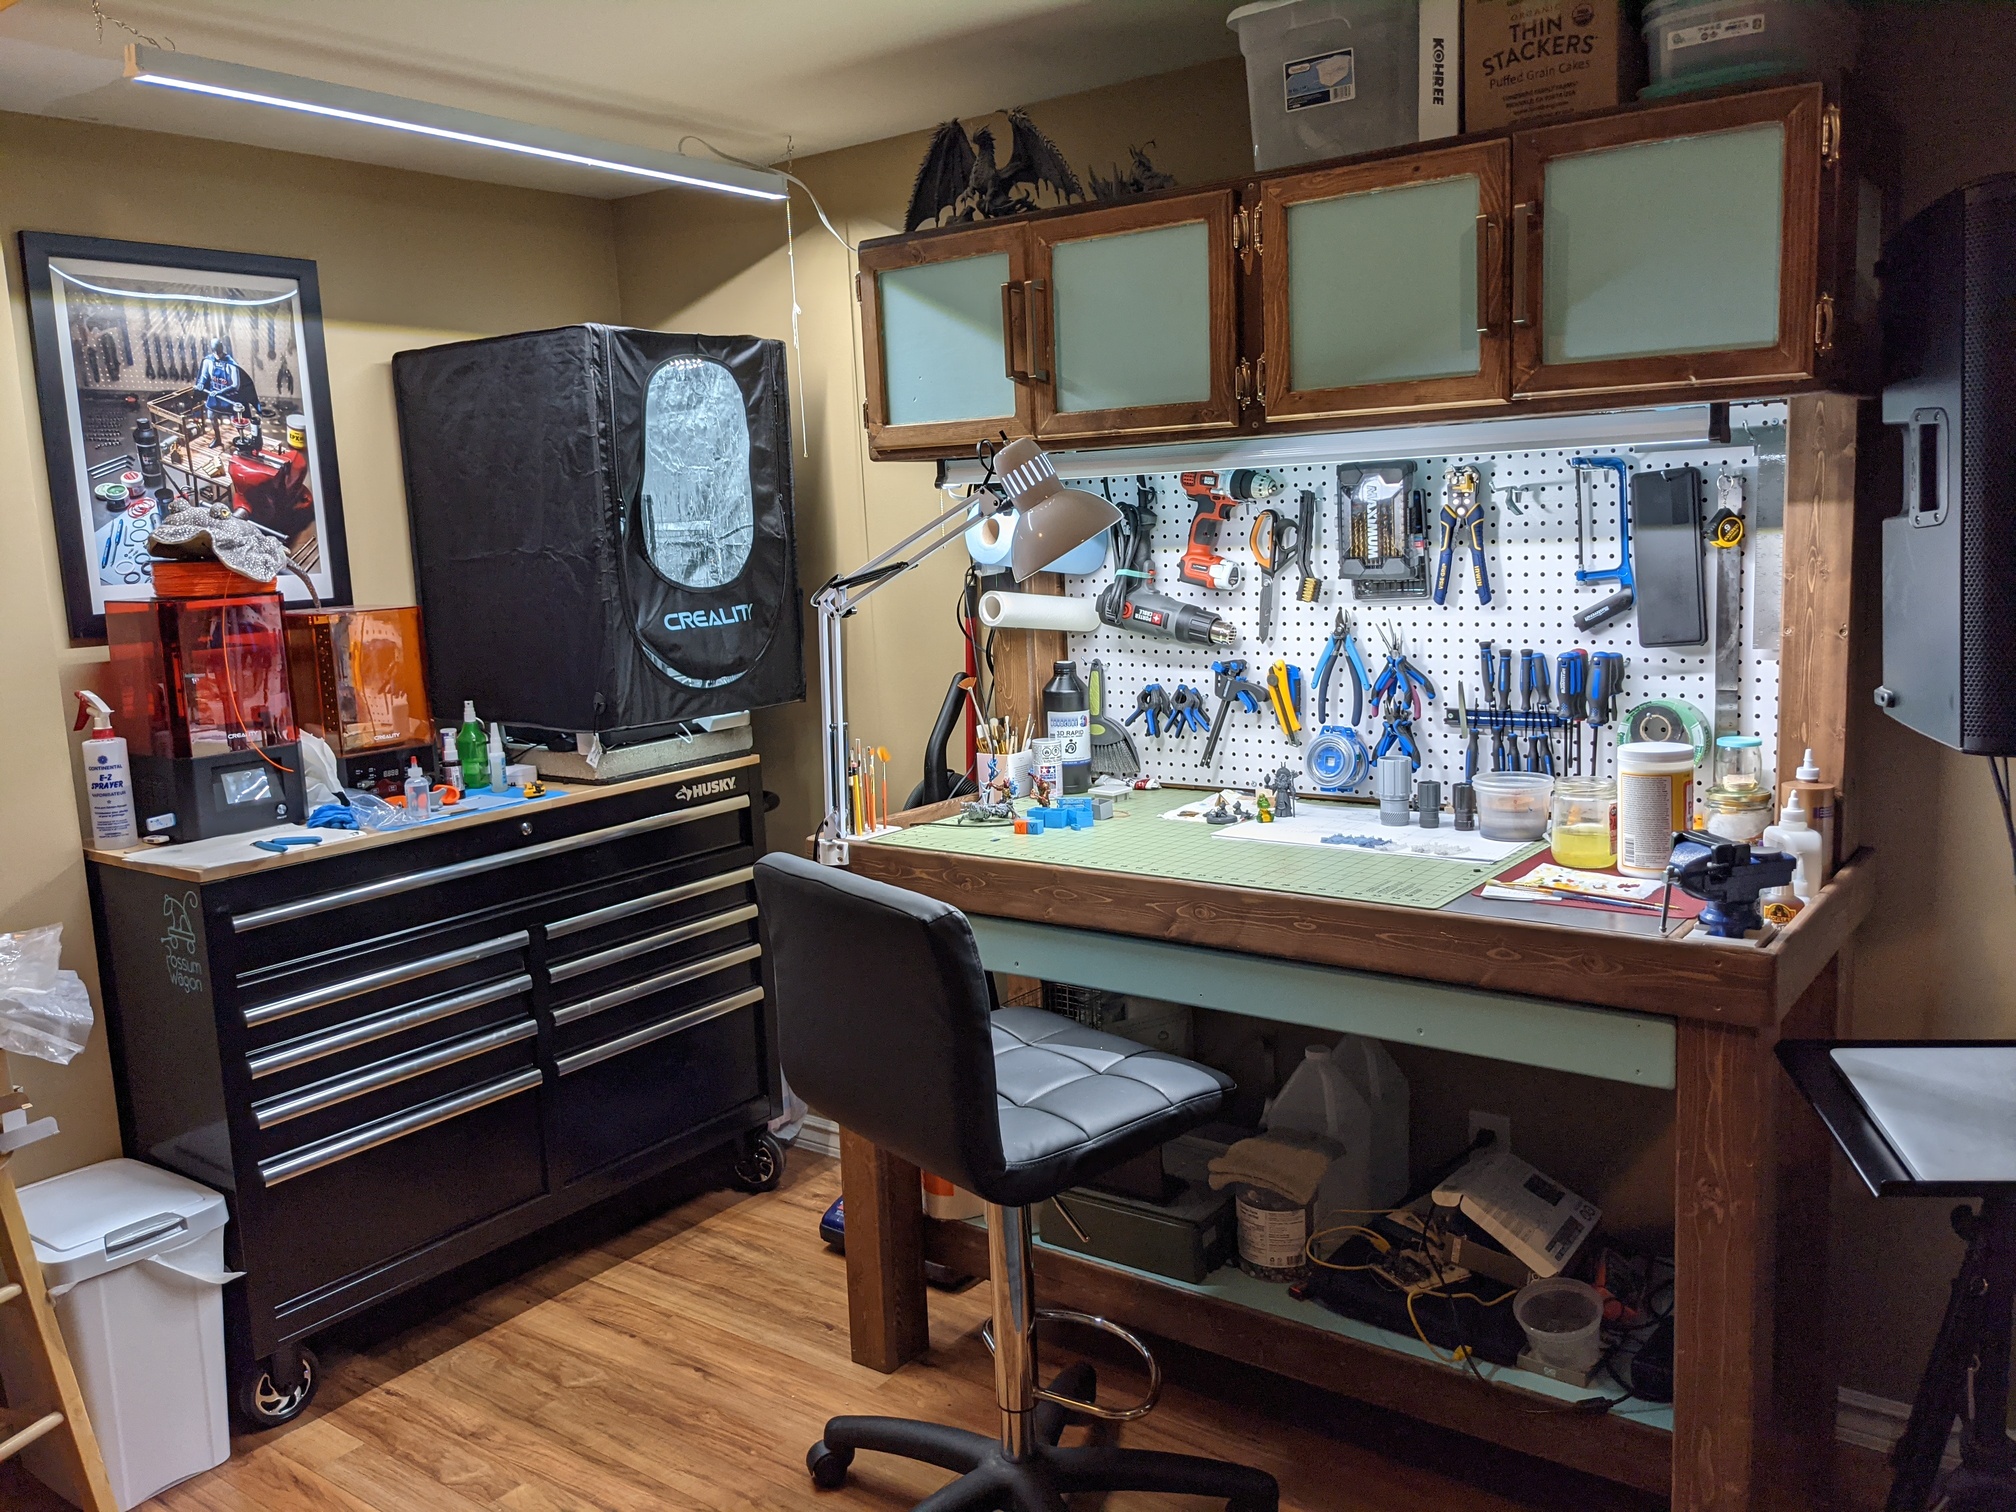
Since I haven’t ever posted any of my stuff in this section I thought why not just dump a bunch here in one spot. So here we go.
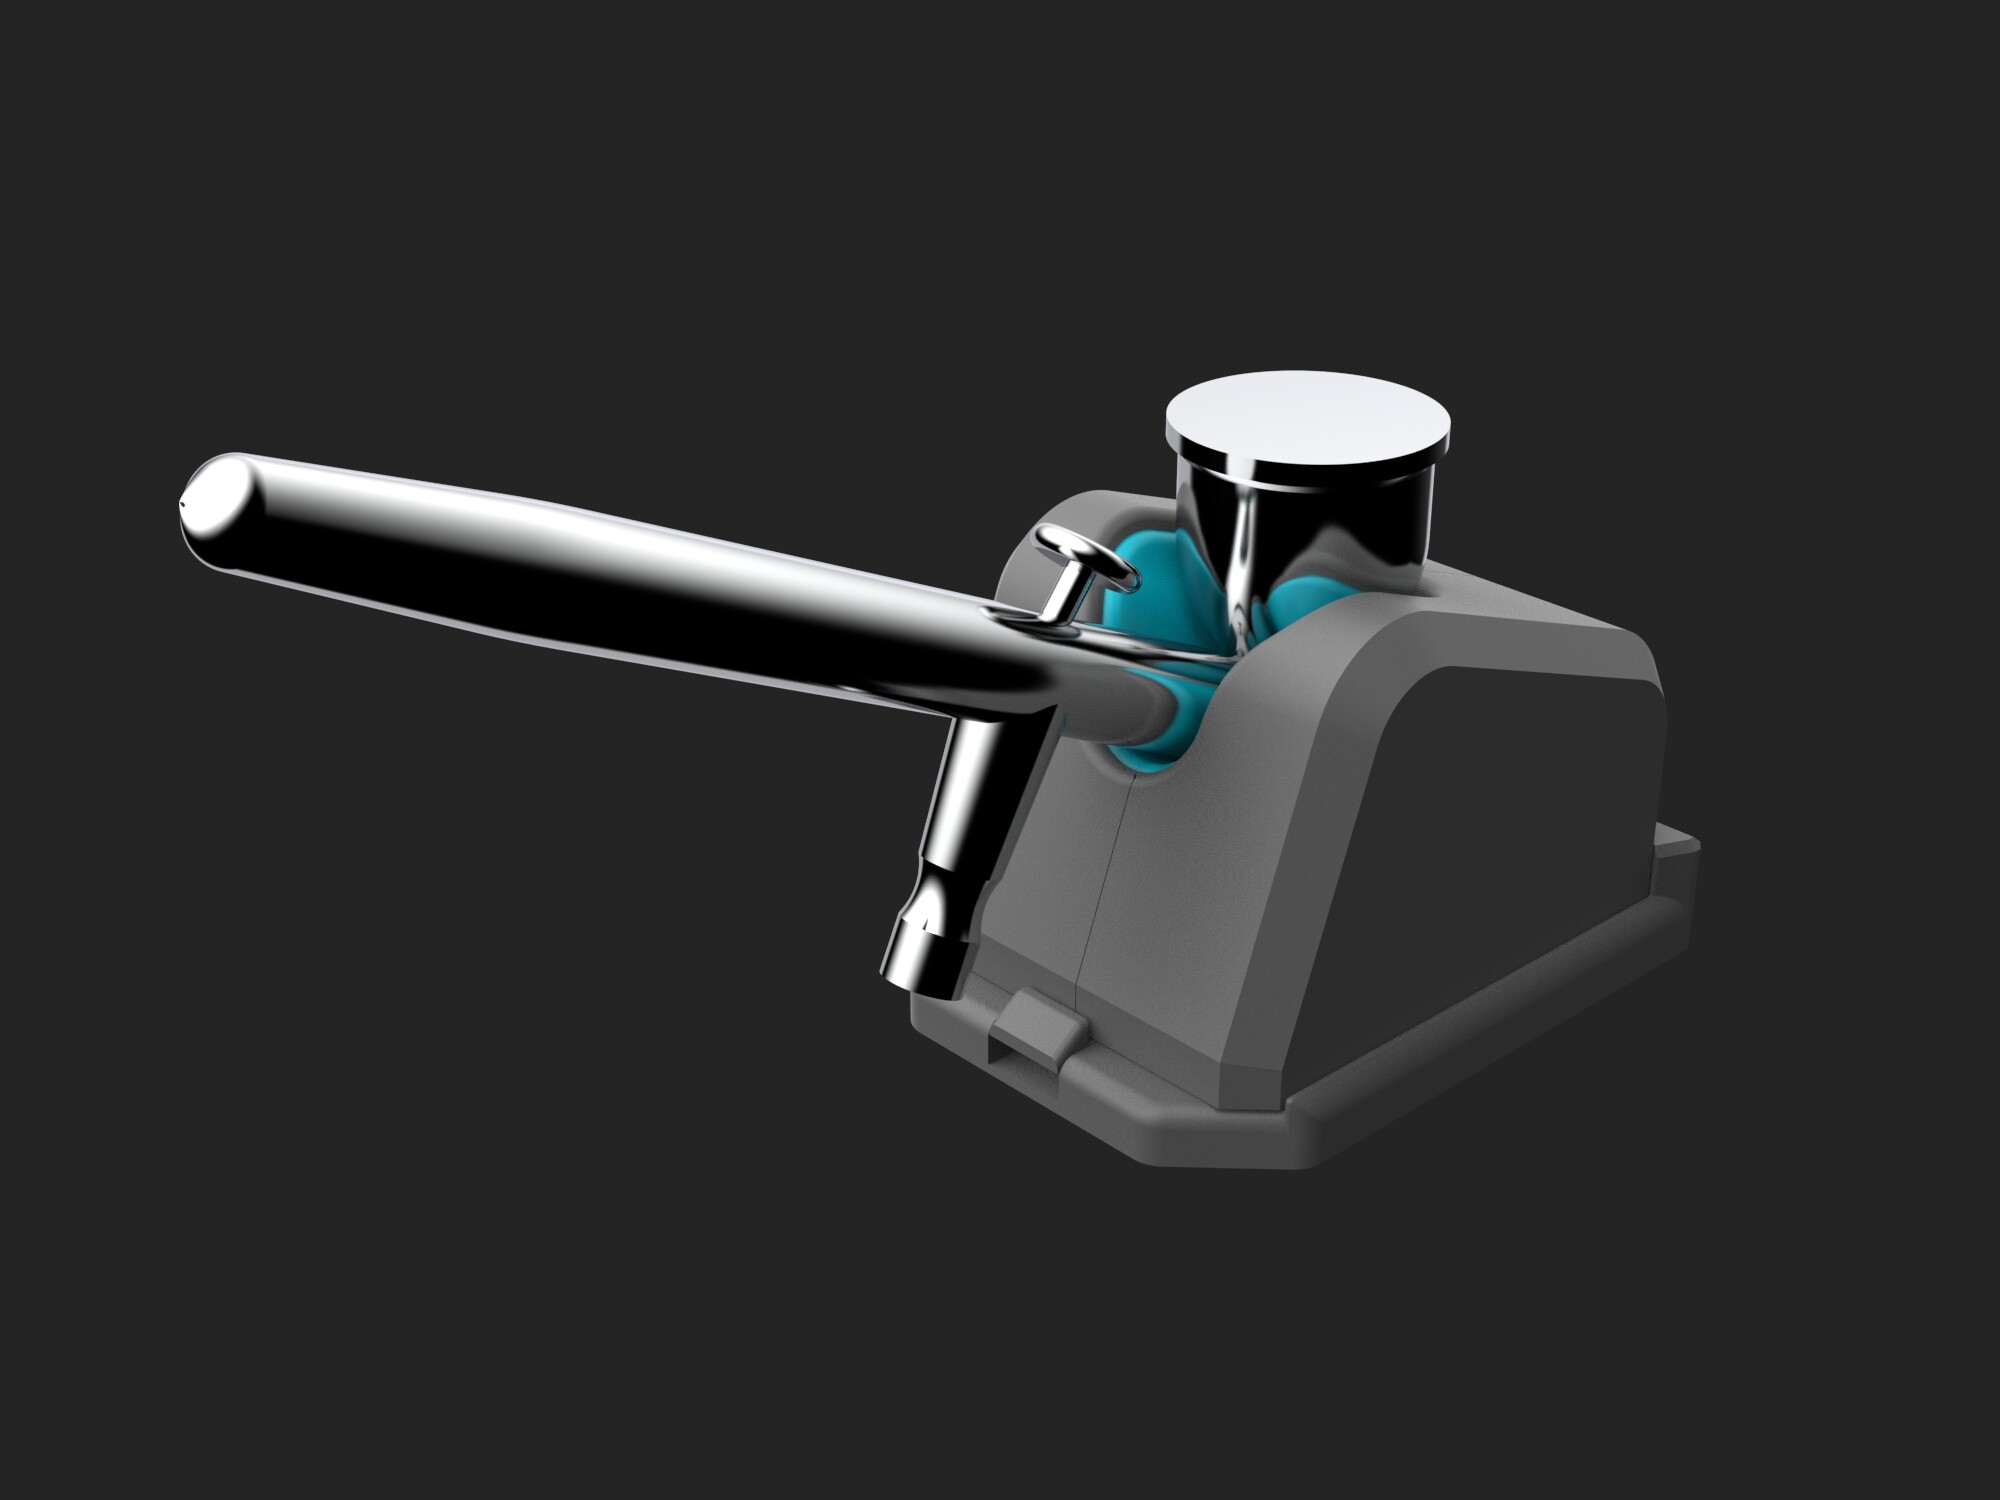
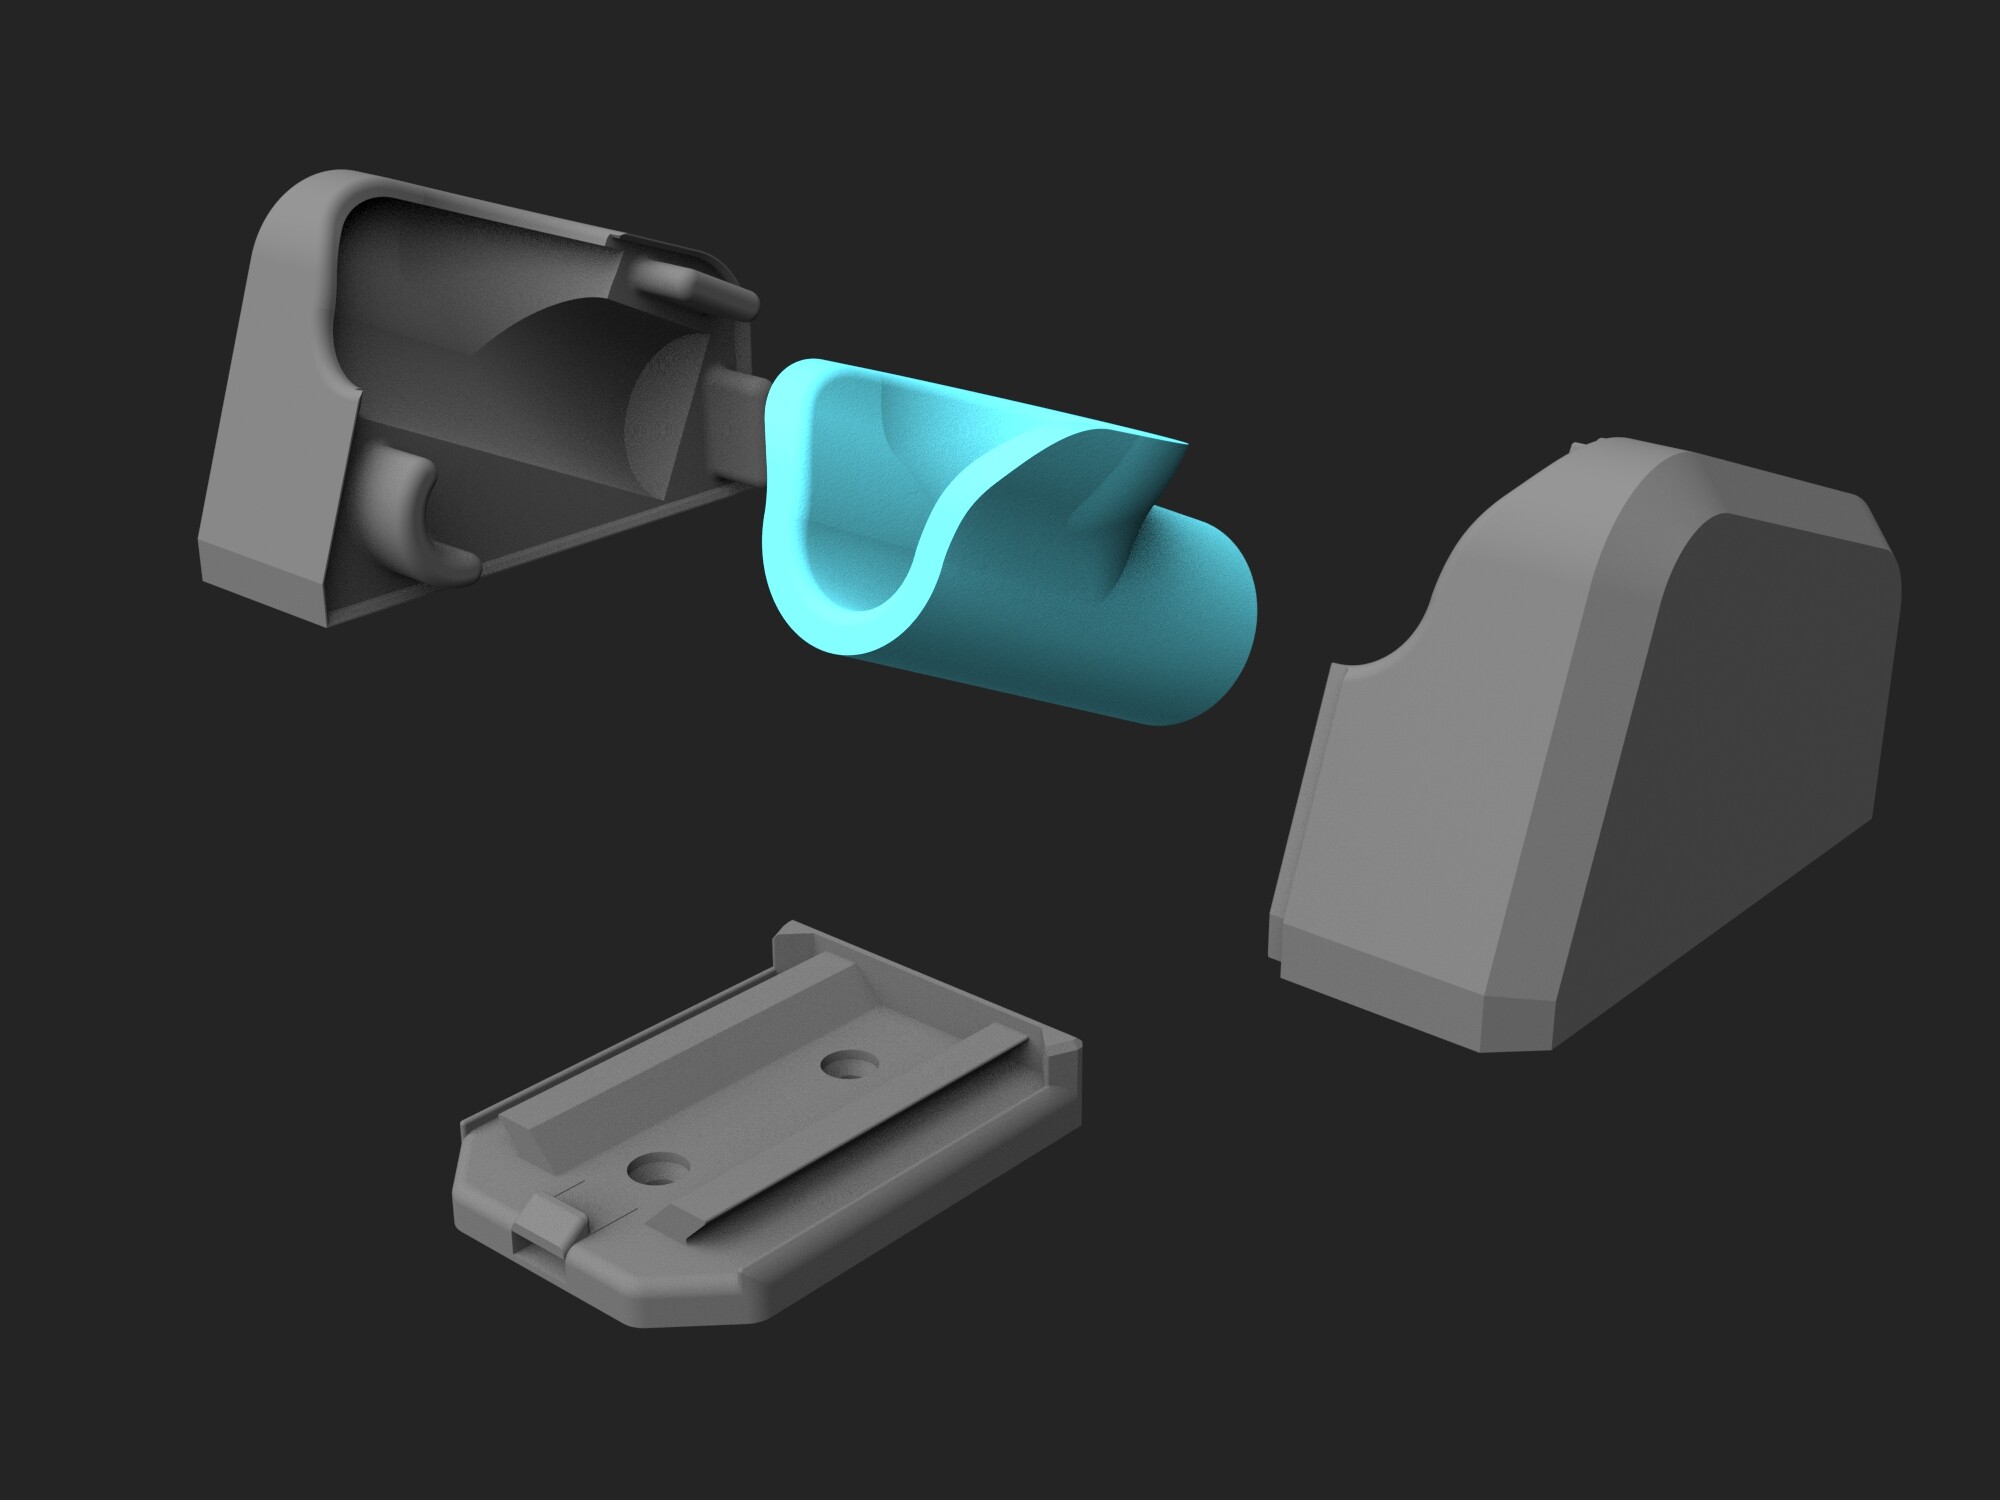
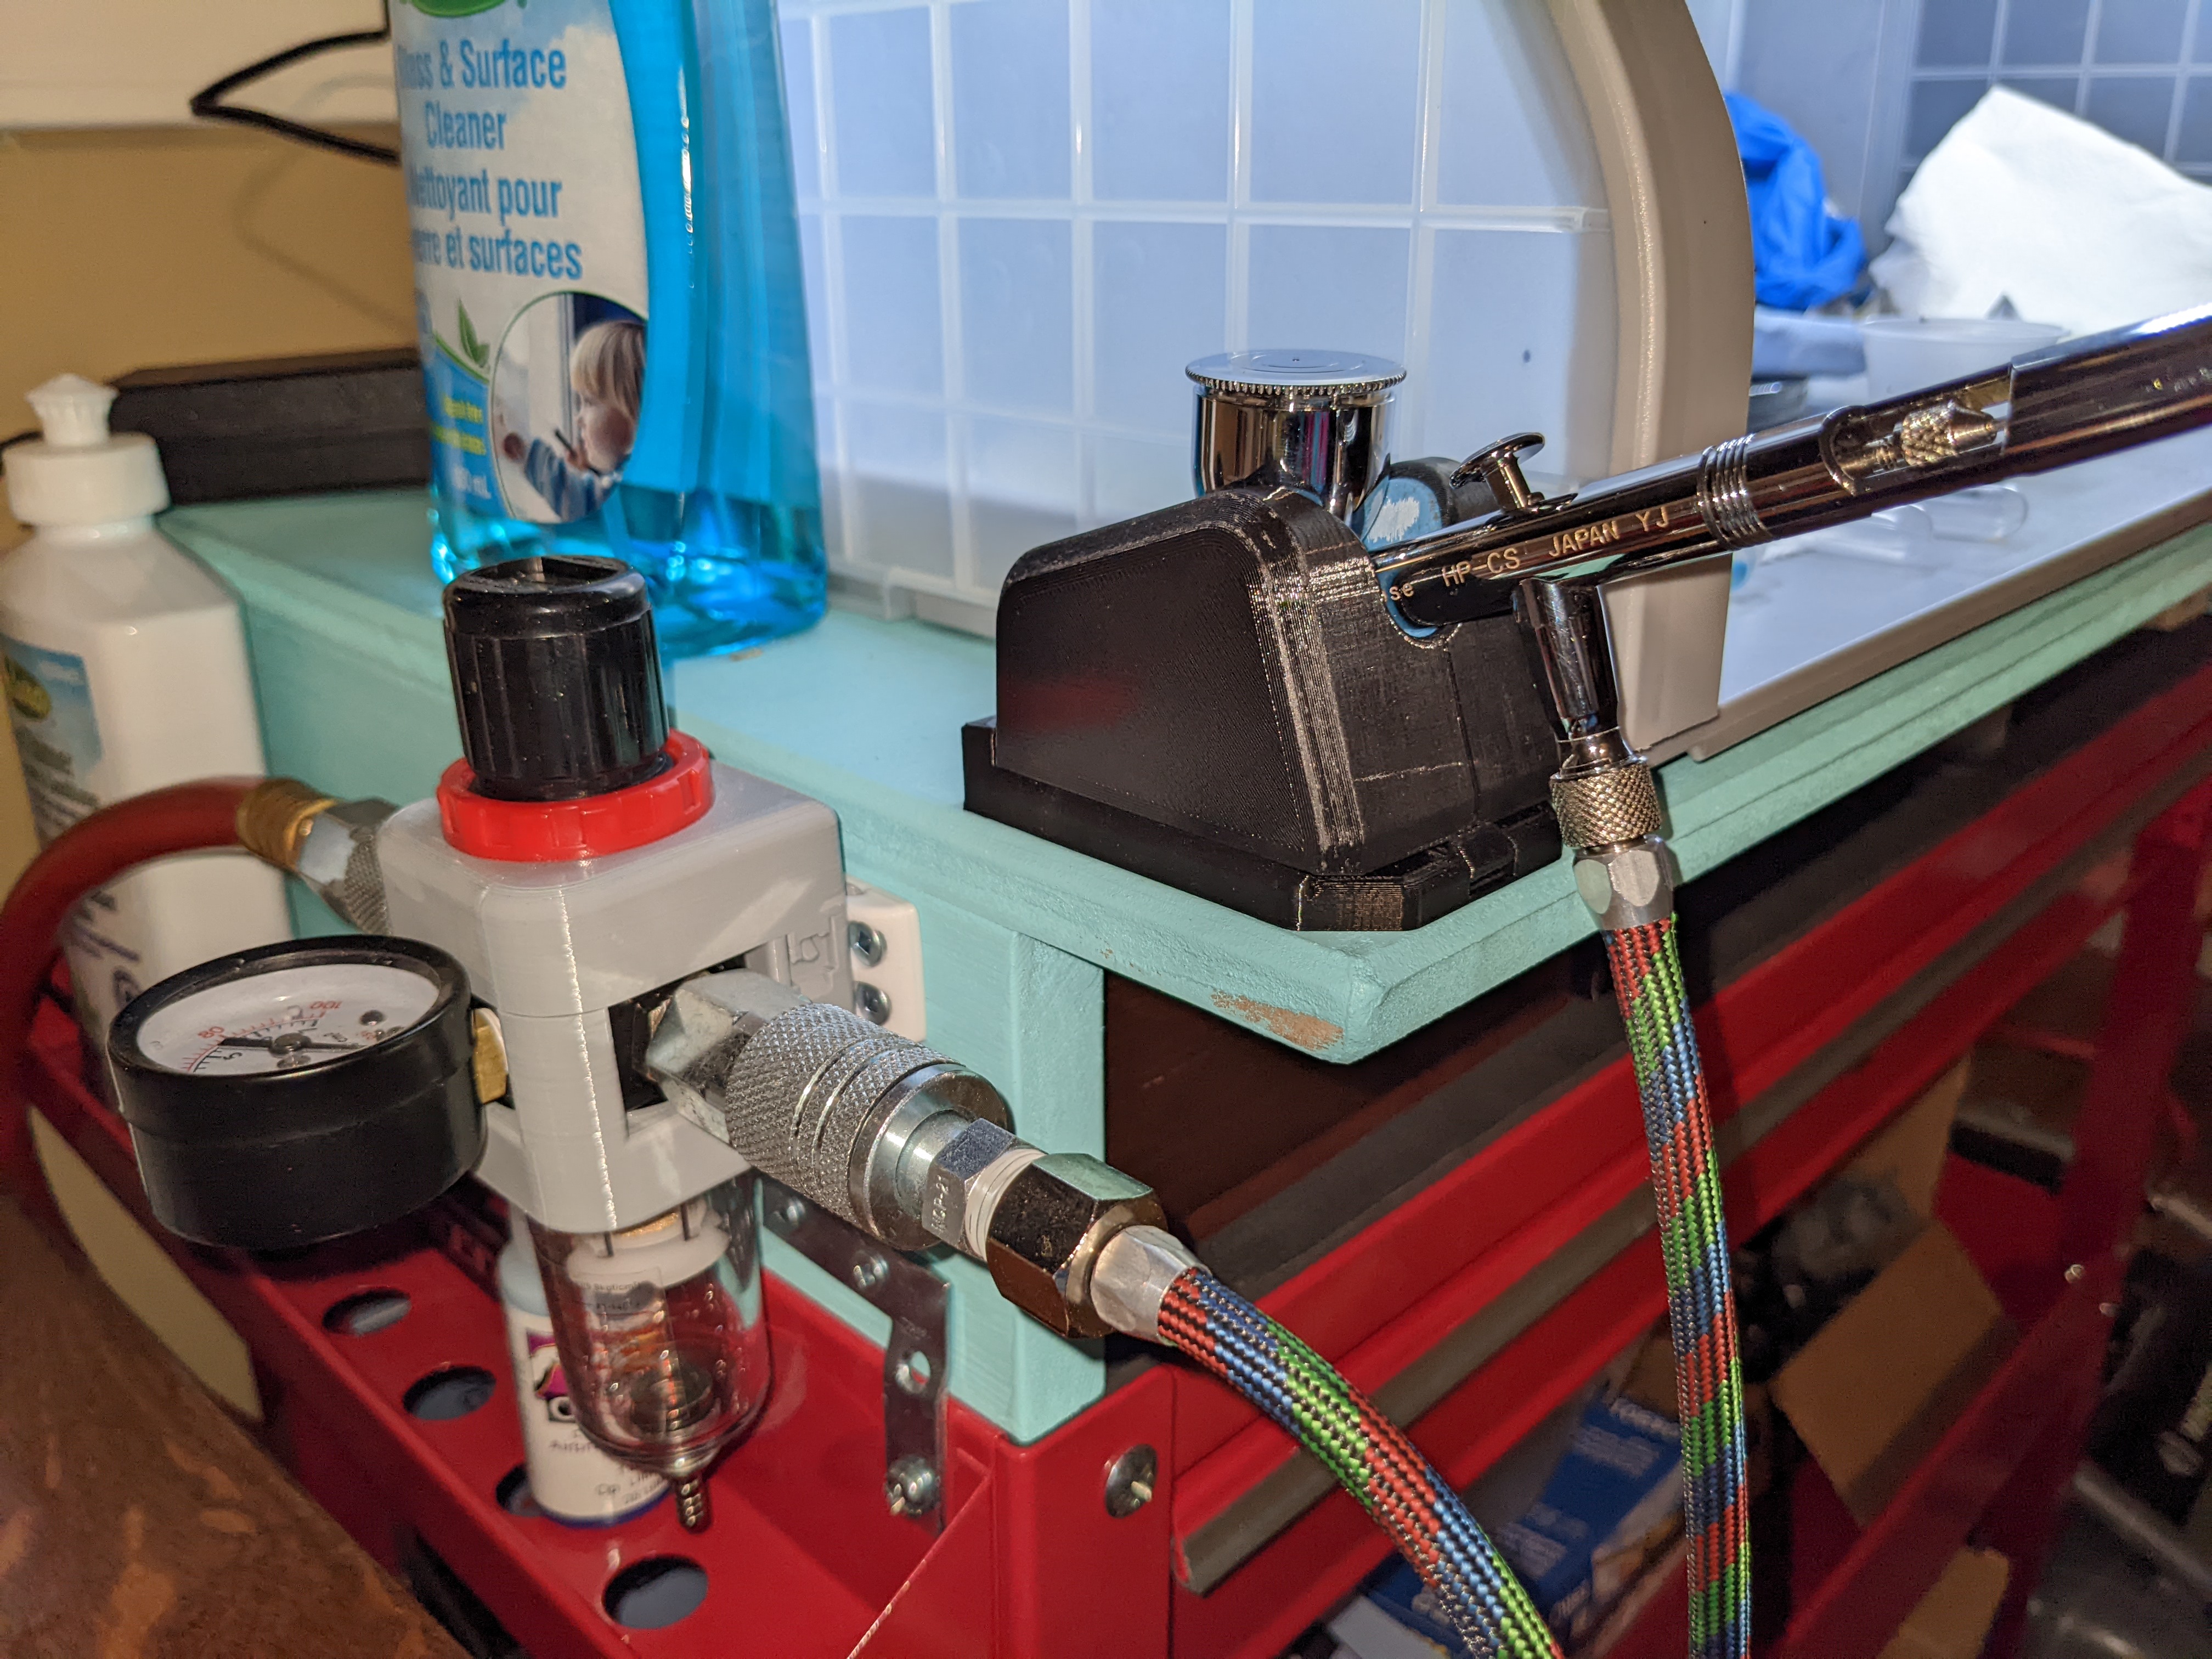
Project 1: Airbrush holder for Iwata Eclipse HP-CS
I needed an easier way to hold my airbrush that didn’t take up much space and was more solid than putting it in the spray out pot all the time.
I wanted something that also slid onto and snapped into place on a releasable track so that I could build other mounting options than the screw mount one and have the system be modular
It is made with Sakata PETG cases and track so that they are more chemical resistant (paint thinner) and so the snap release on the track would have more flex than PLA.
The insert in the middle is printed with Filaflex 82A because I wanted a soft material for the airbrush to be sliding against so it doesn’t scratch up the finish on the brush. The separate insert is also so that if it fills up with paint over time I can just replace that piece instead of reprinting the whole thing
The two halves of the case are built with a small lip around the outside to help hide the seam line and have locating slots to press the halves together.
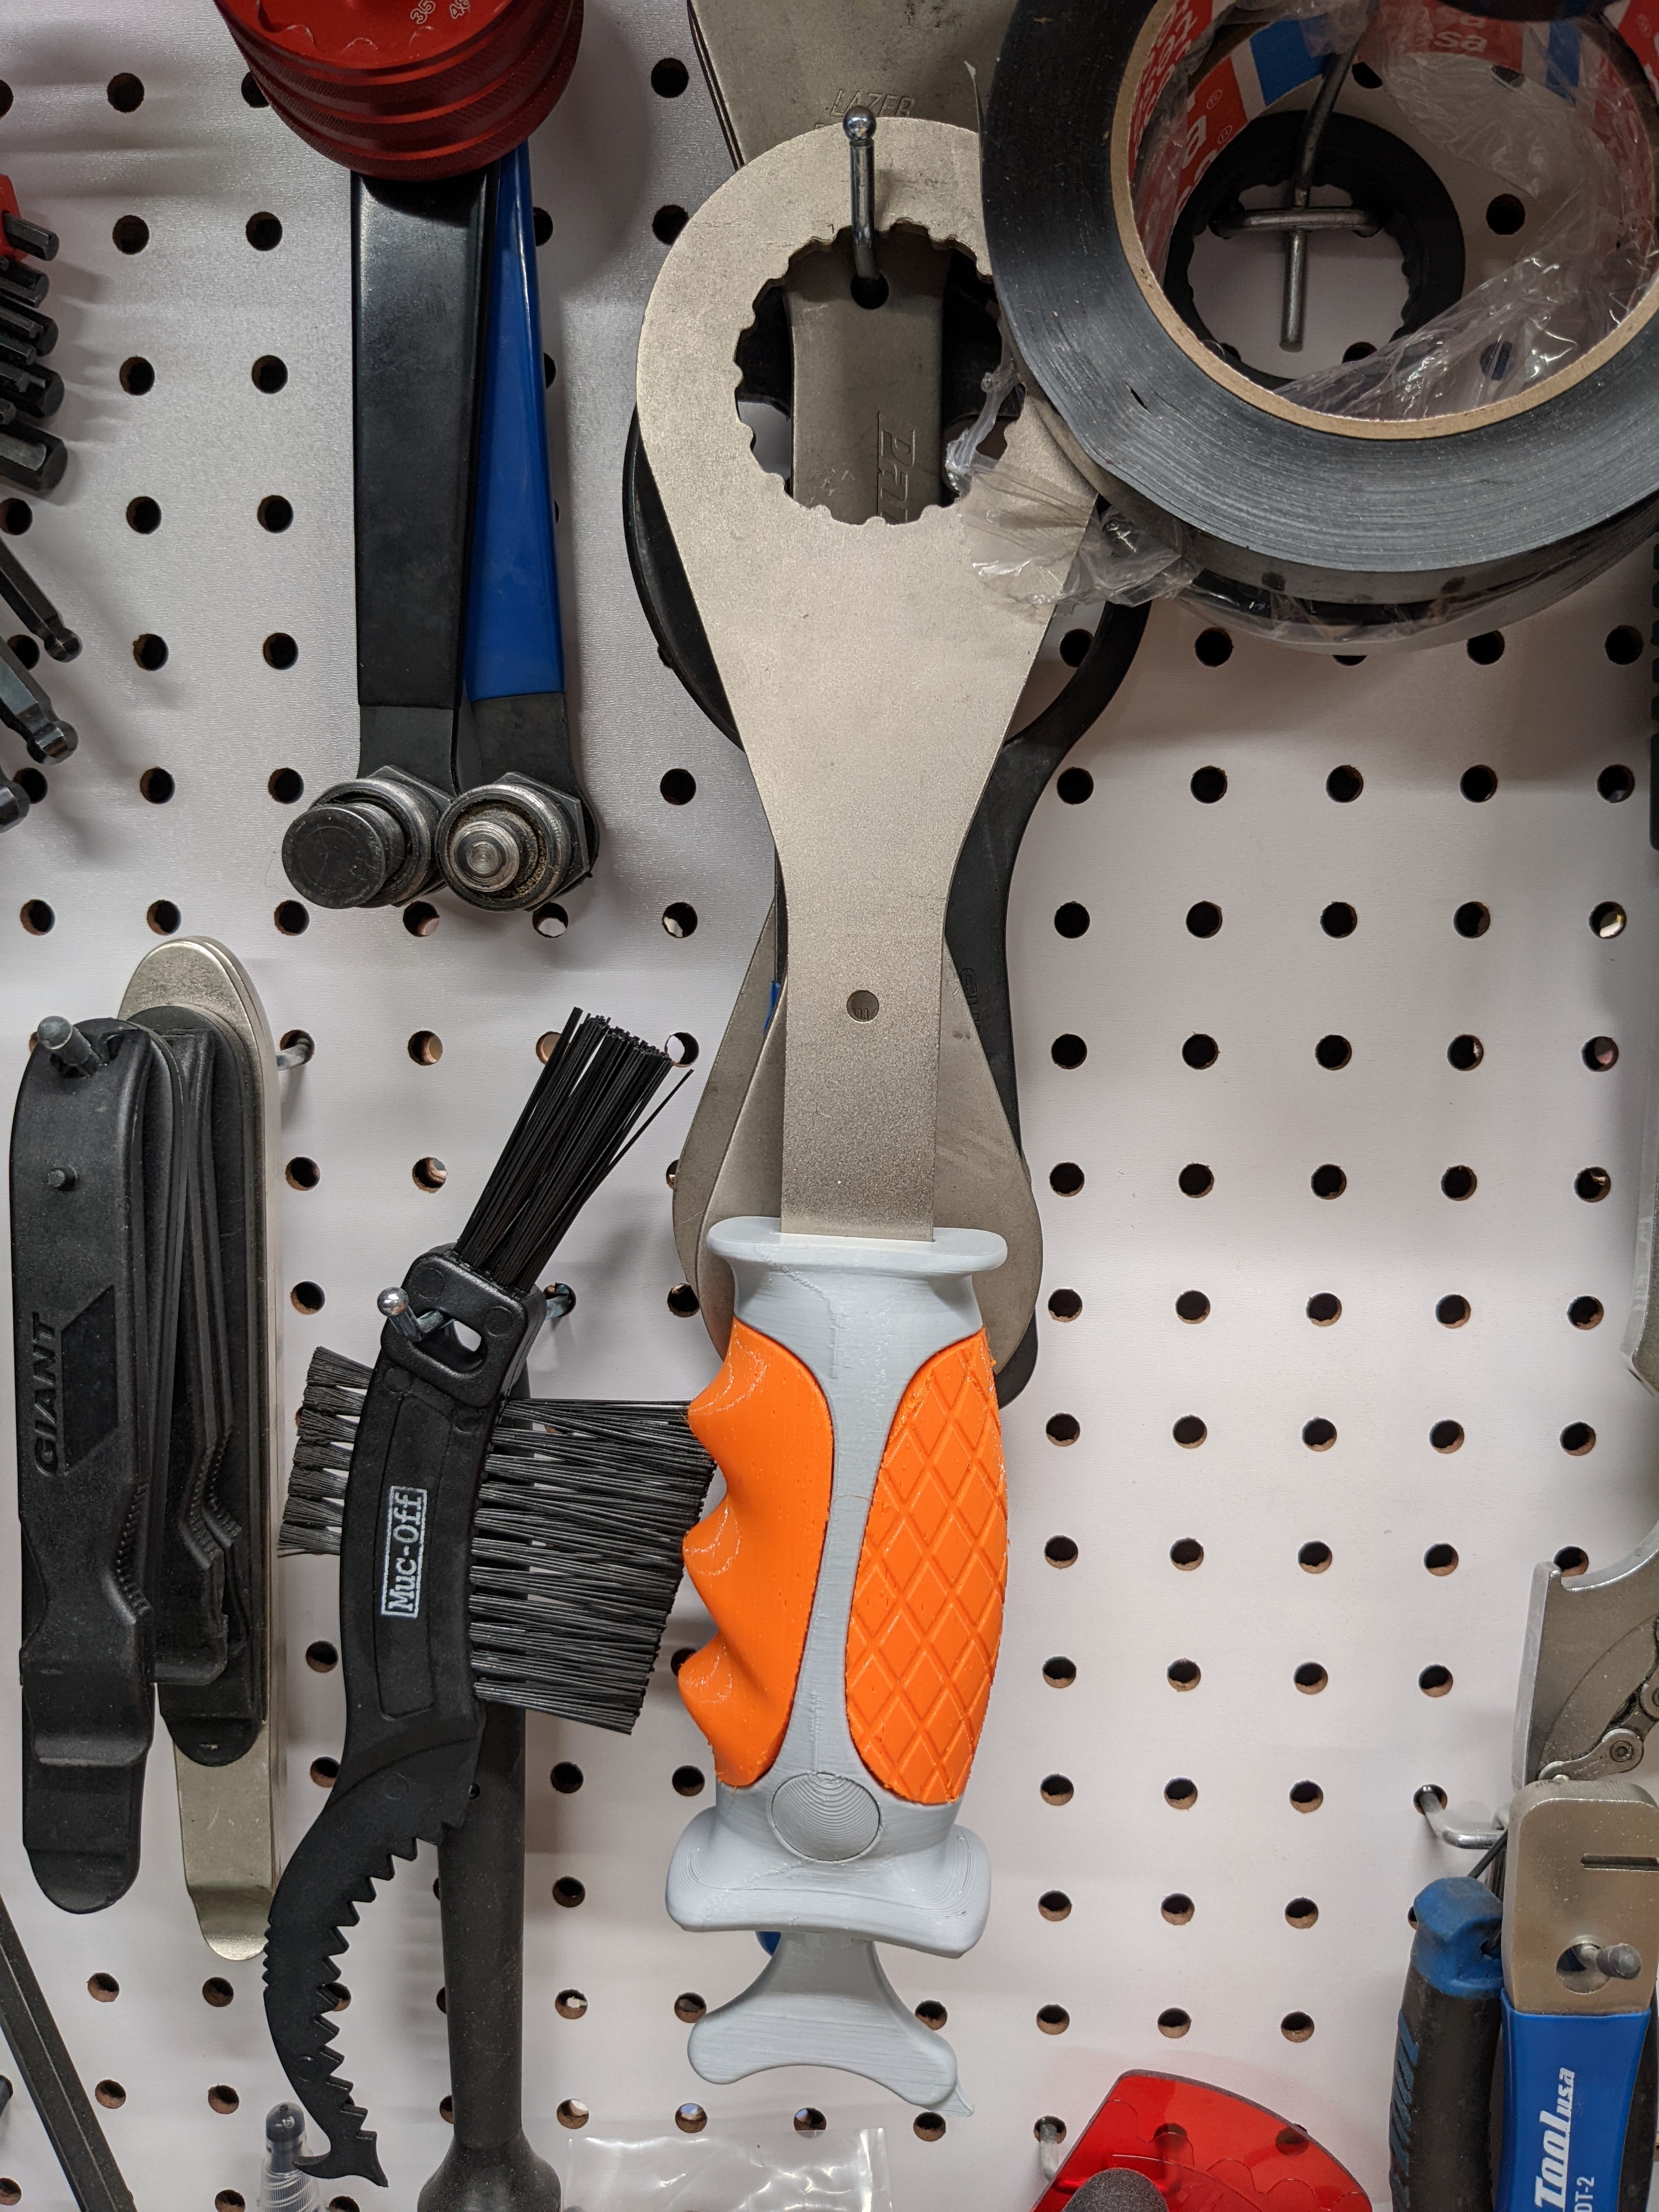
Project 2: Grip for Park Tools bicycle bottom bracket tool
This tool originally had just a bit of like shrink wrapped plastic over the handle of it. Bike bottom brackets are usually installed pretty tight and are often hard to get out so I wanted to improve the ergonomics of it by making a handle for it.
The handle body is printed with Sakata PLA and the grips are made with 3DPC house brand TPU. I went with TPU instead of my softer Filaflex because the I wanted the grip parts to have a bit more rigidity so that the molded over tabs on them stood a better chance of holding them onto the handle body.
The funny looking key on the back side of it is for installing/removing the crankset preload cap for Shimano cranks and is held into the back side of the handle with magnets
It is held on the the original metal tool using a keyed pin with a printed in place nut


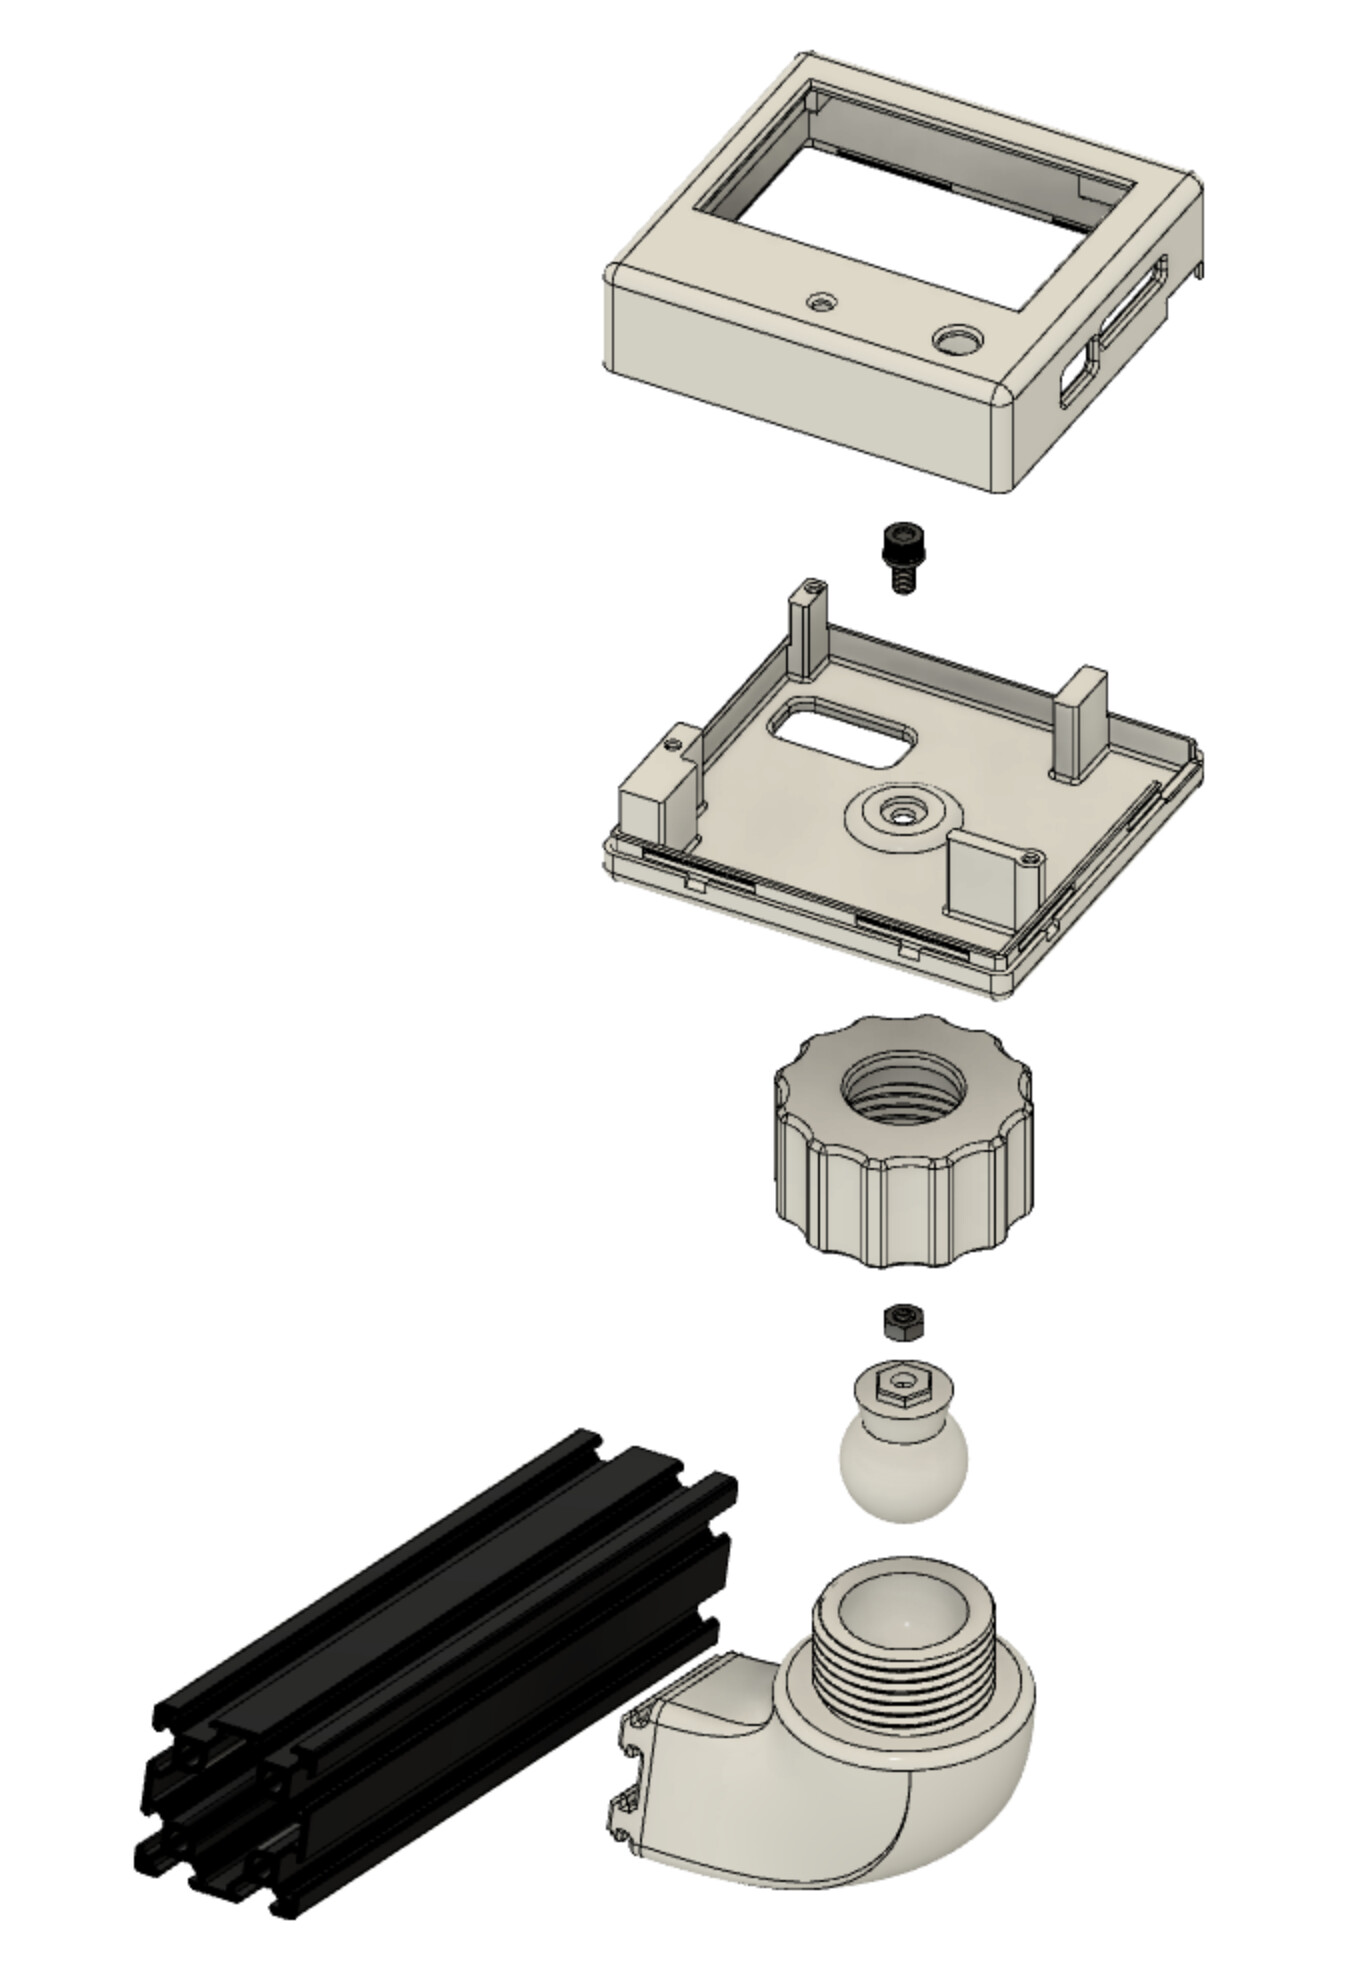
Project 3: Case for Bigtreetech TFT35 E3 V3 to mount onto and Ender 3 V2
I needed a case for my display and didn’t see anything that I really liked on Thingiverse (I didn’t look very hard) so I used that as an excuse to make my own. It needed to have ports for the SD, USB and WiFi module and I didn’t see many with all three. I also wanted to make it using minimal fasteners and have it use a ball mount to have adjustable tilt.
The case halves are snap fit together with little slots to allow them to be popped back open with a flat blade screwdriver. The mount fits super tight into a 4040 extrusion and the ball socket has about 30* of tilt I believe. It just gets locked in place by tightening the big 'ol nut on the mount.
Printed in Sakata PETG because it was already loaded into the printer and to try to make the snap fittings more durable. Also I thought that the clear would look neat with the encoder LED


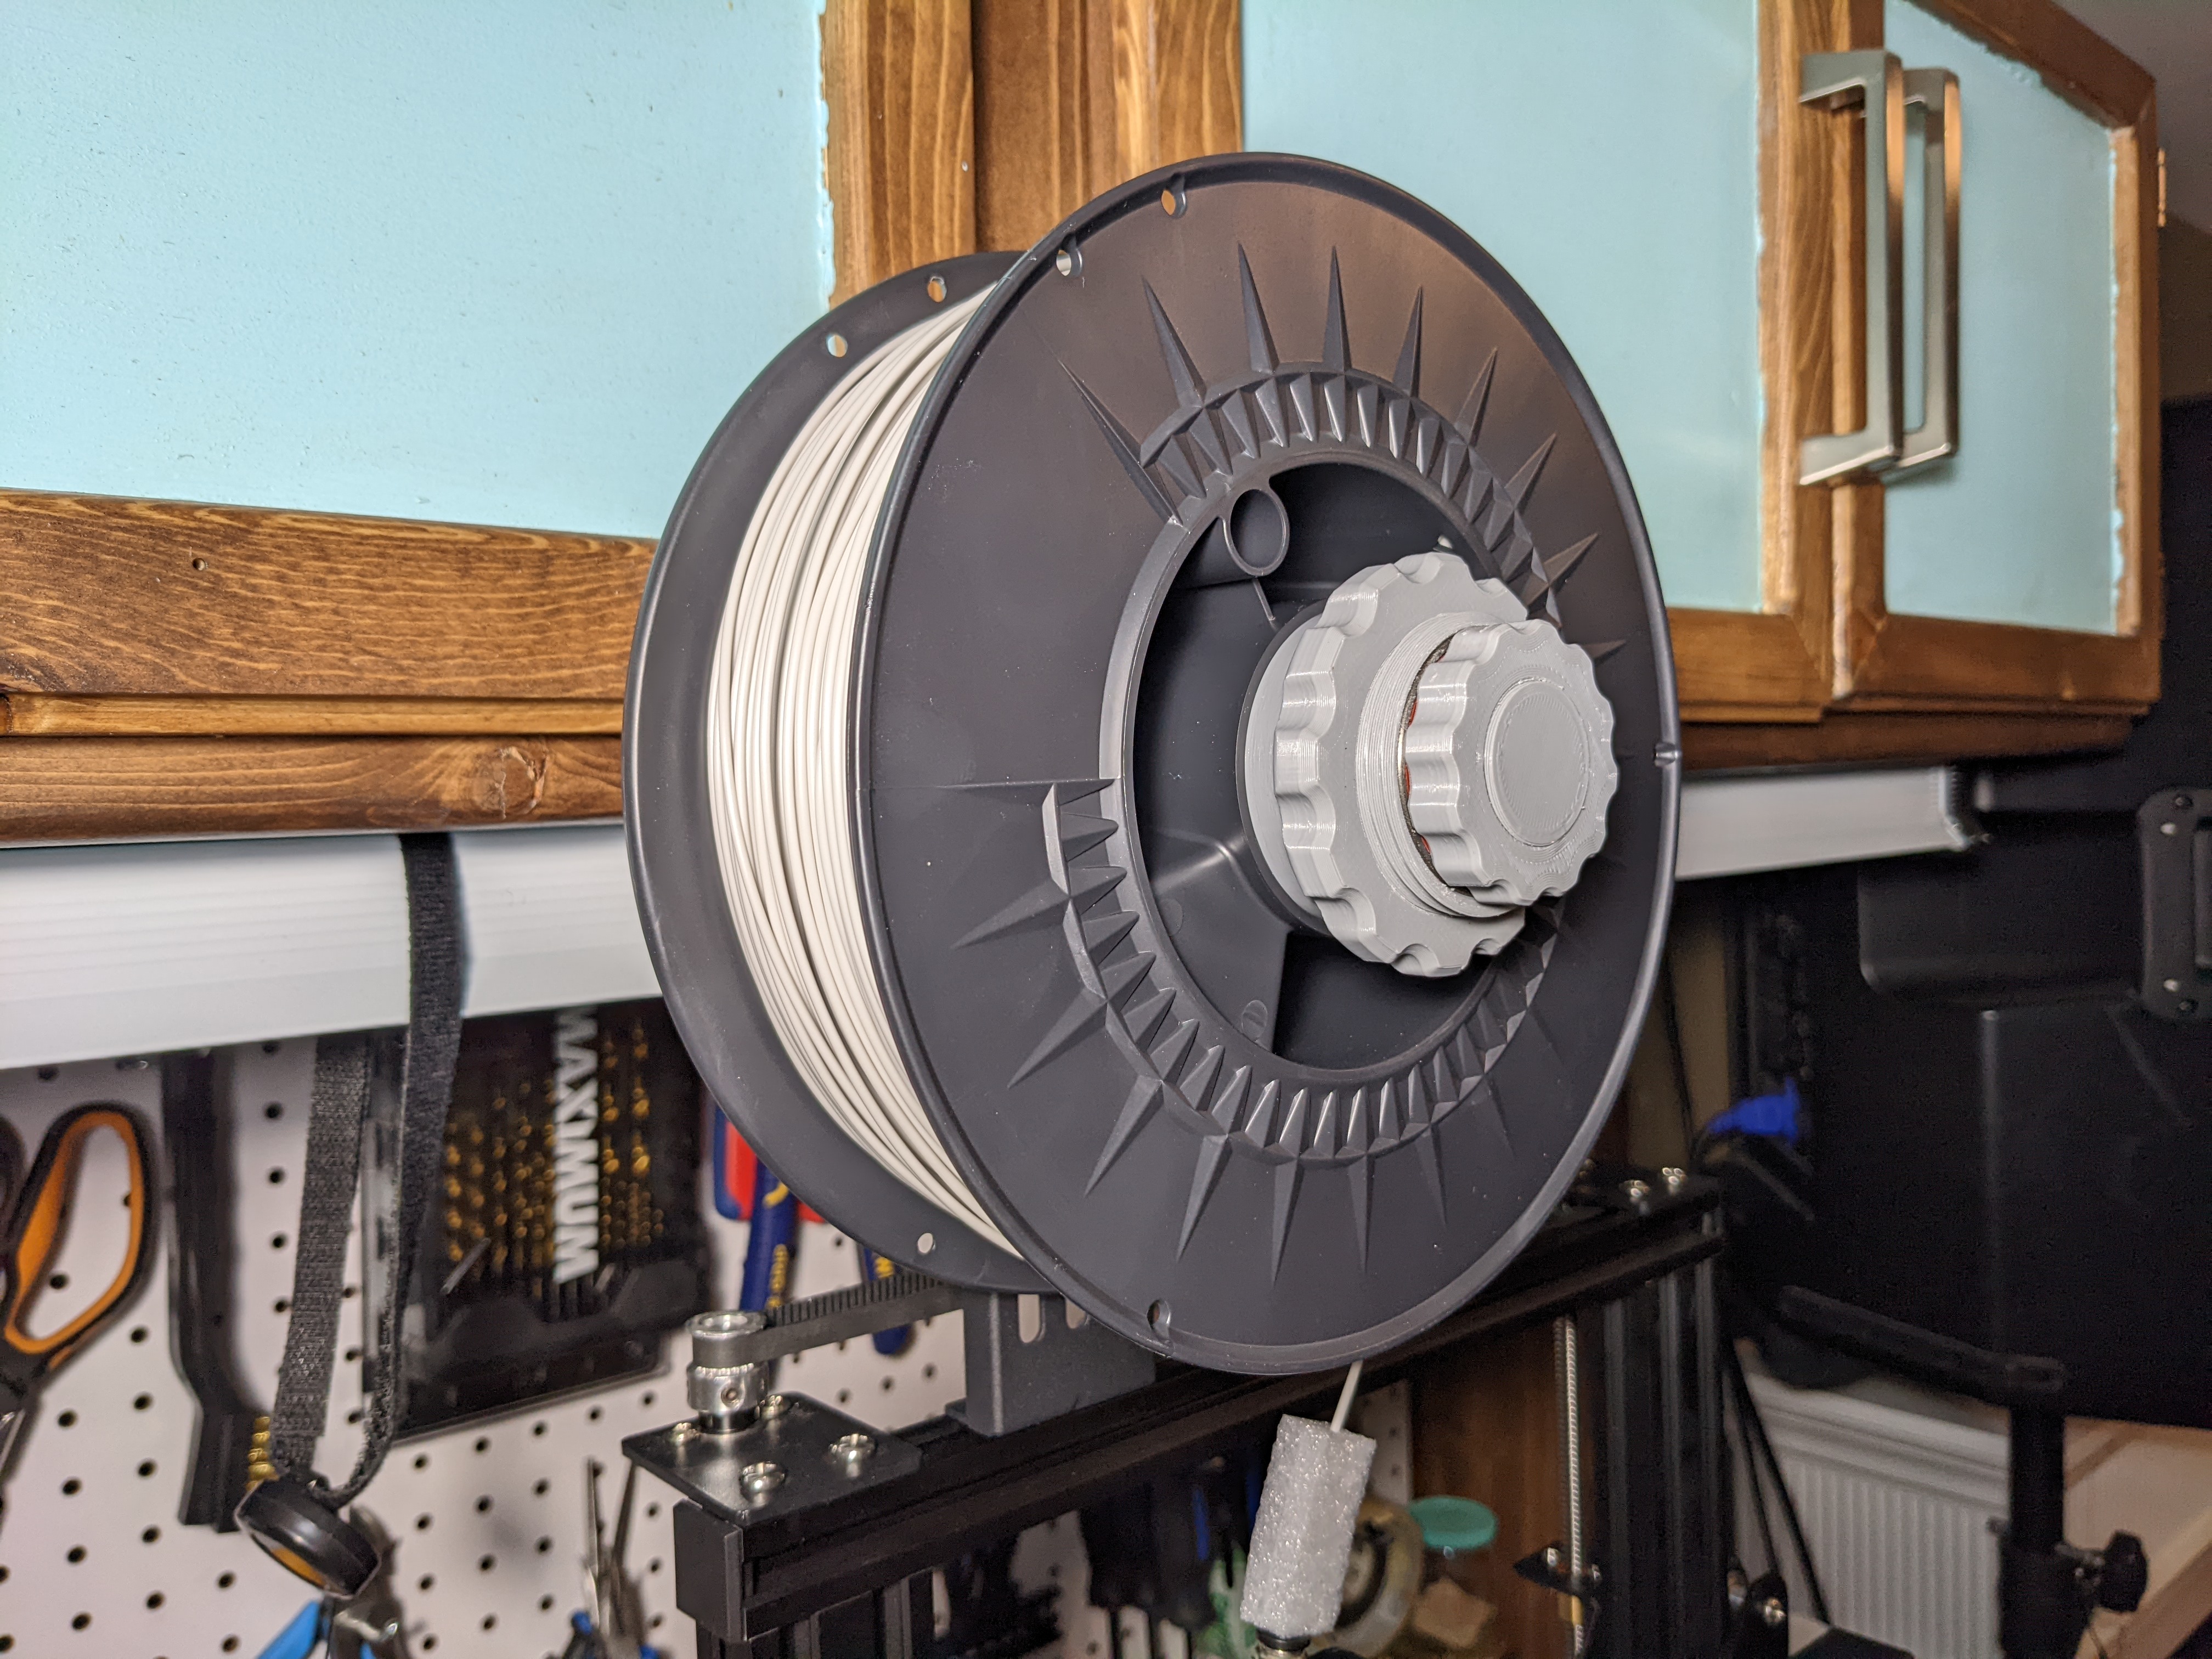
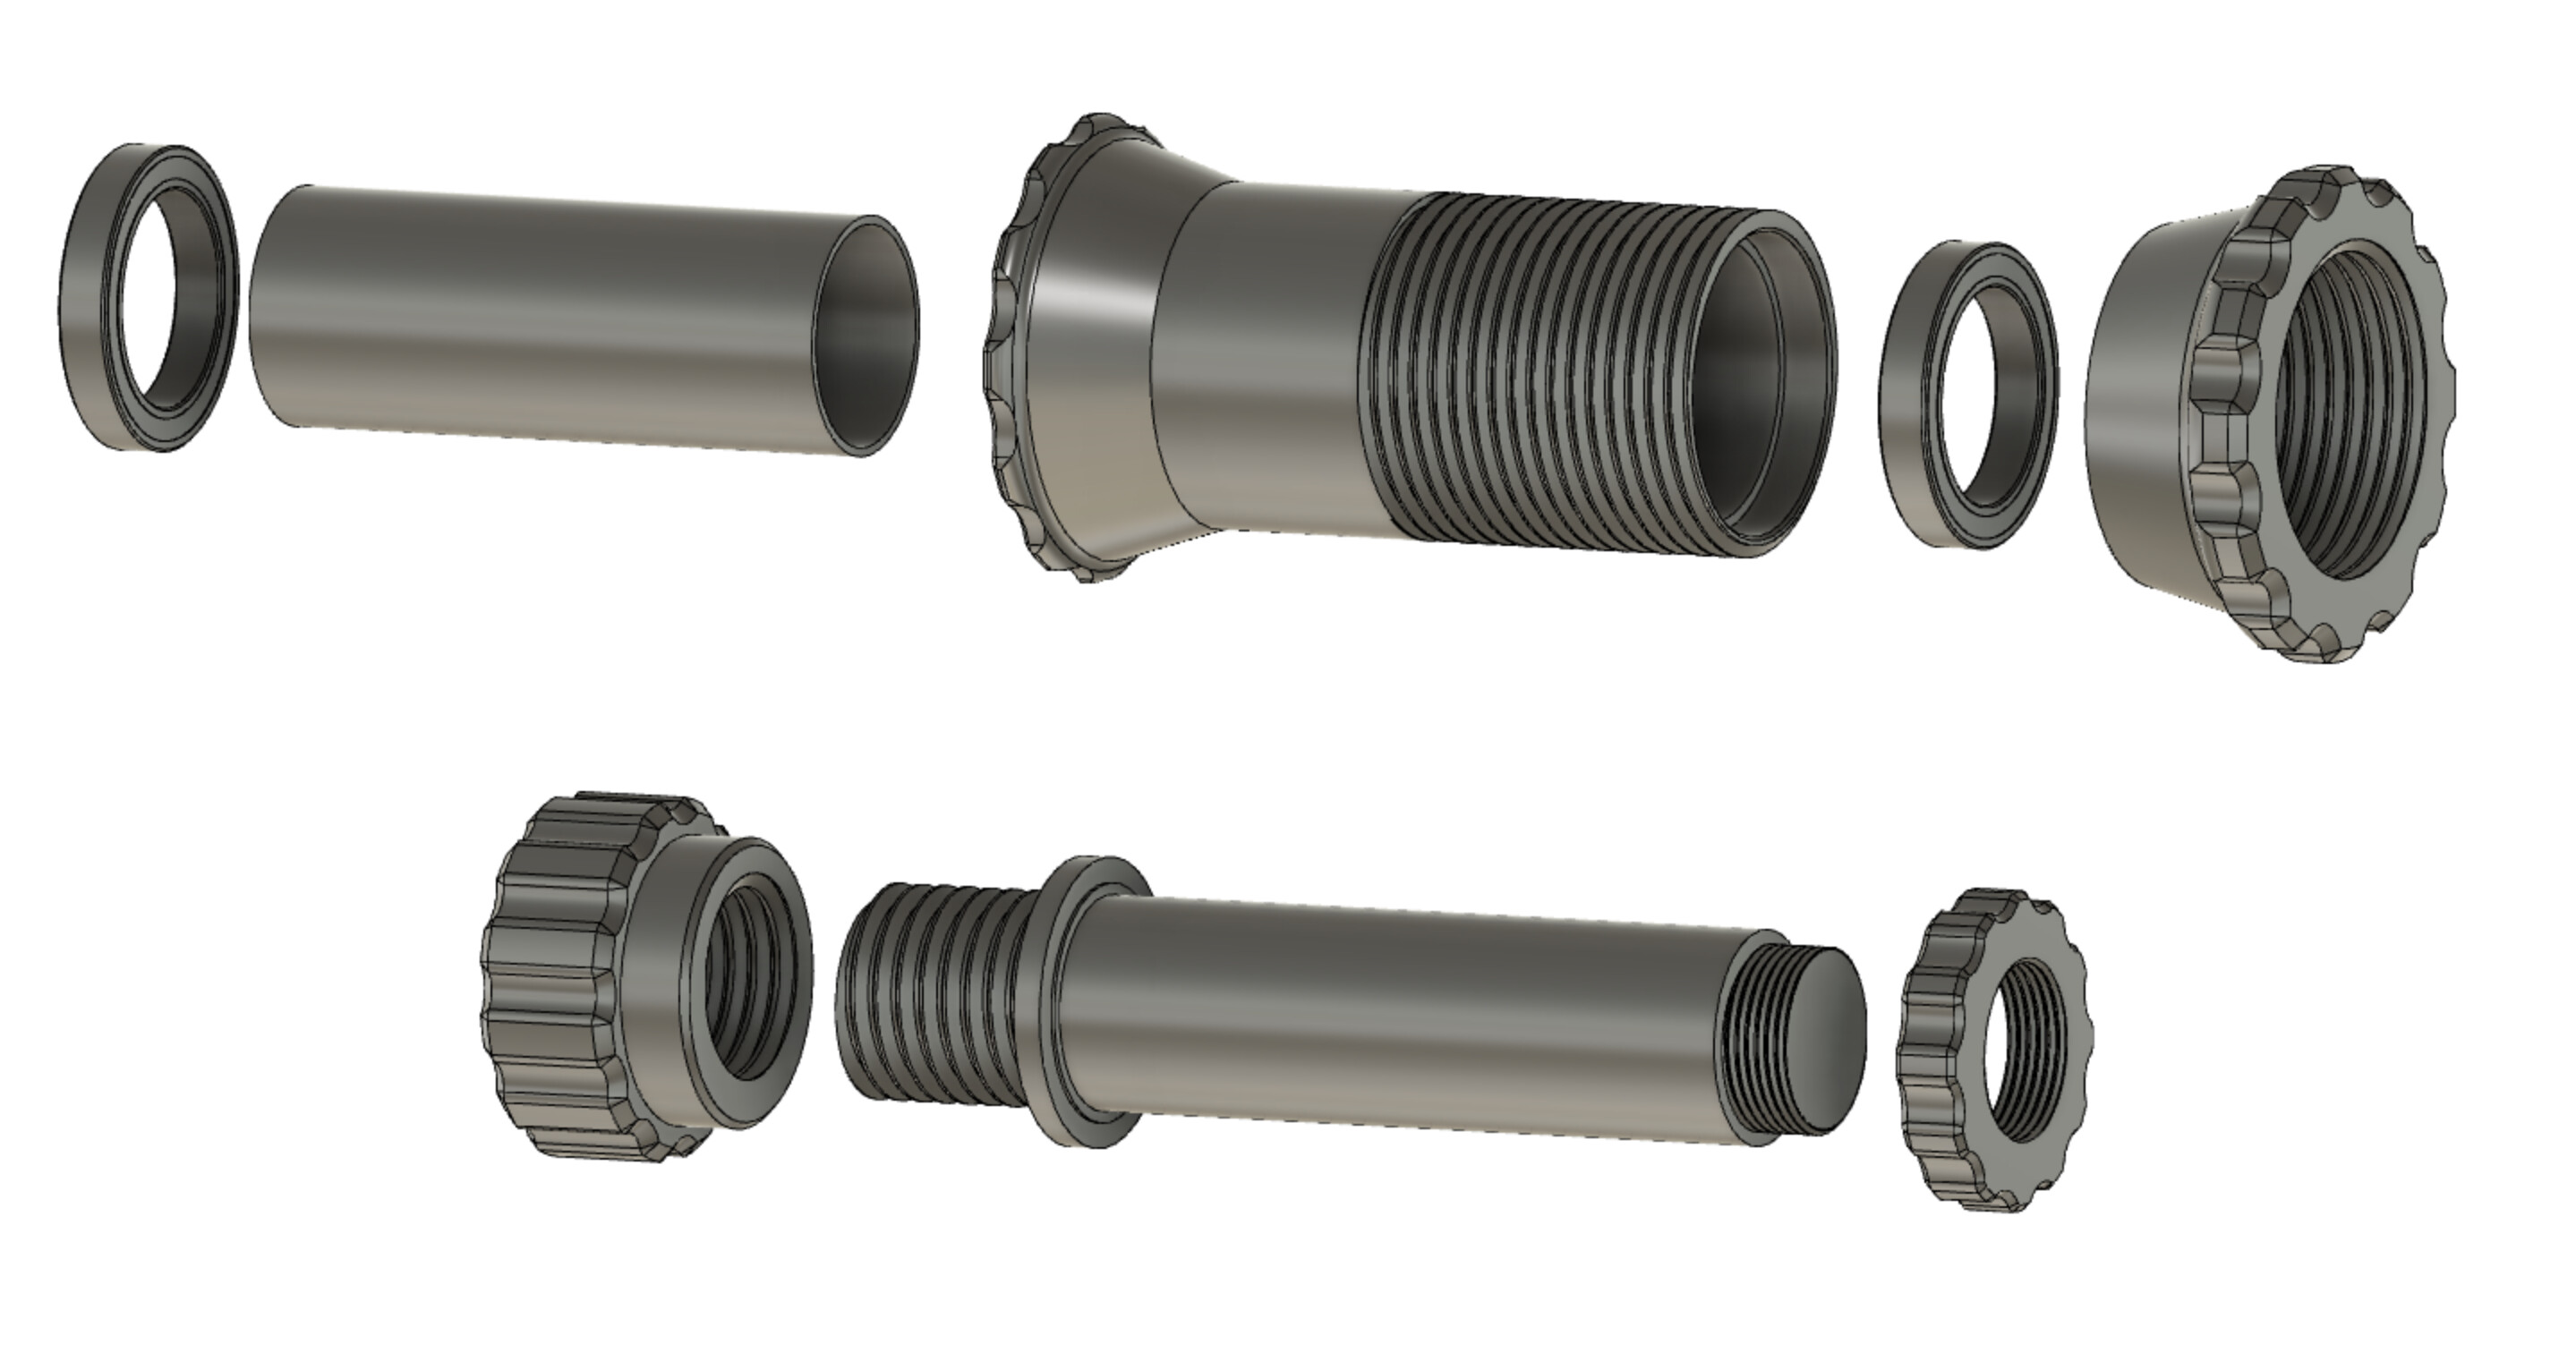
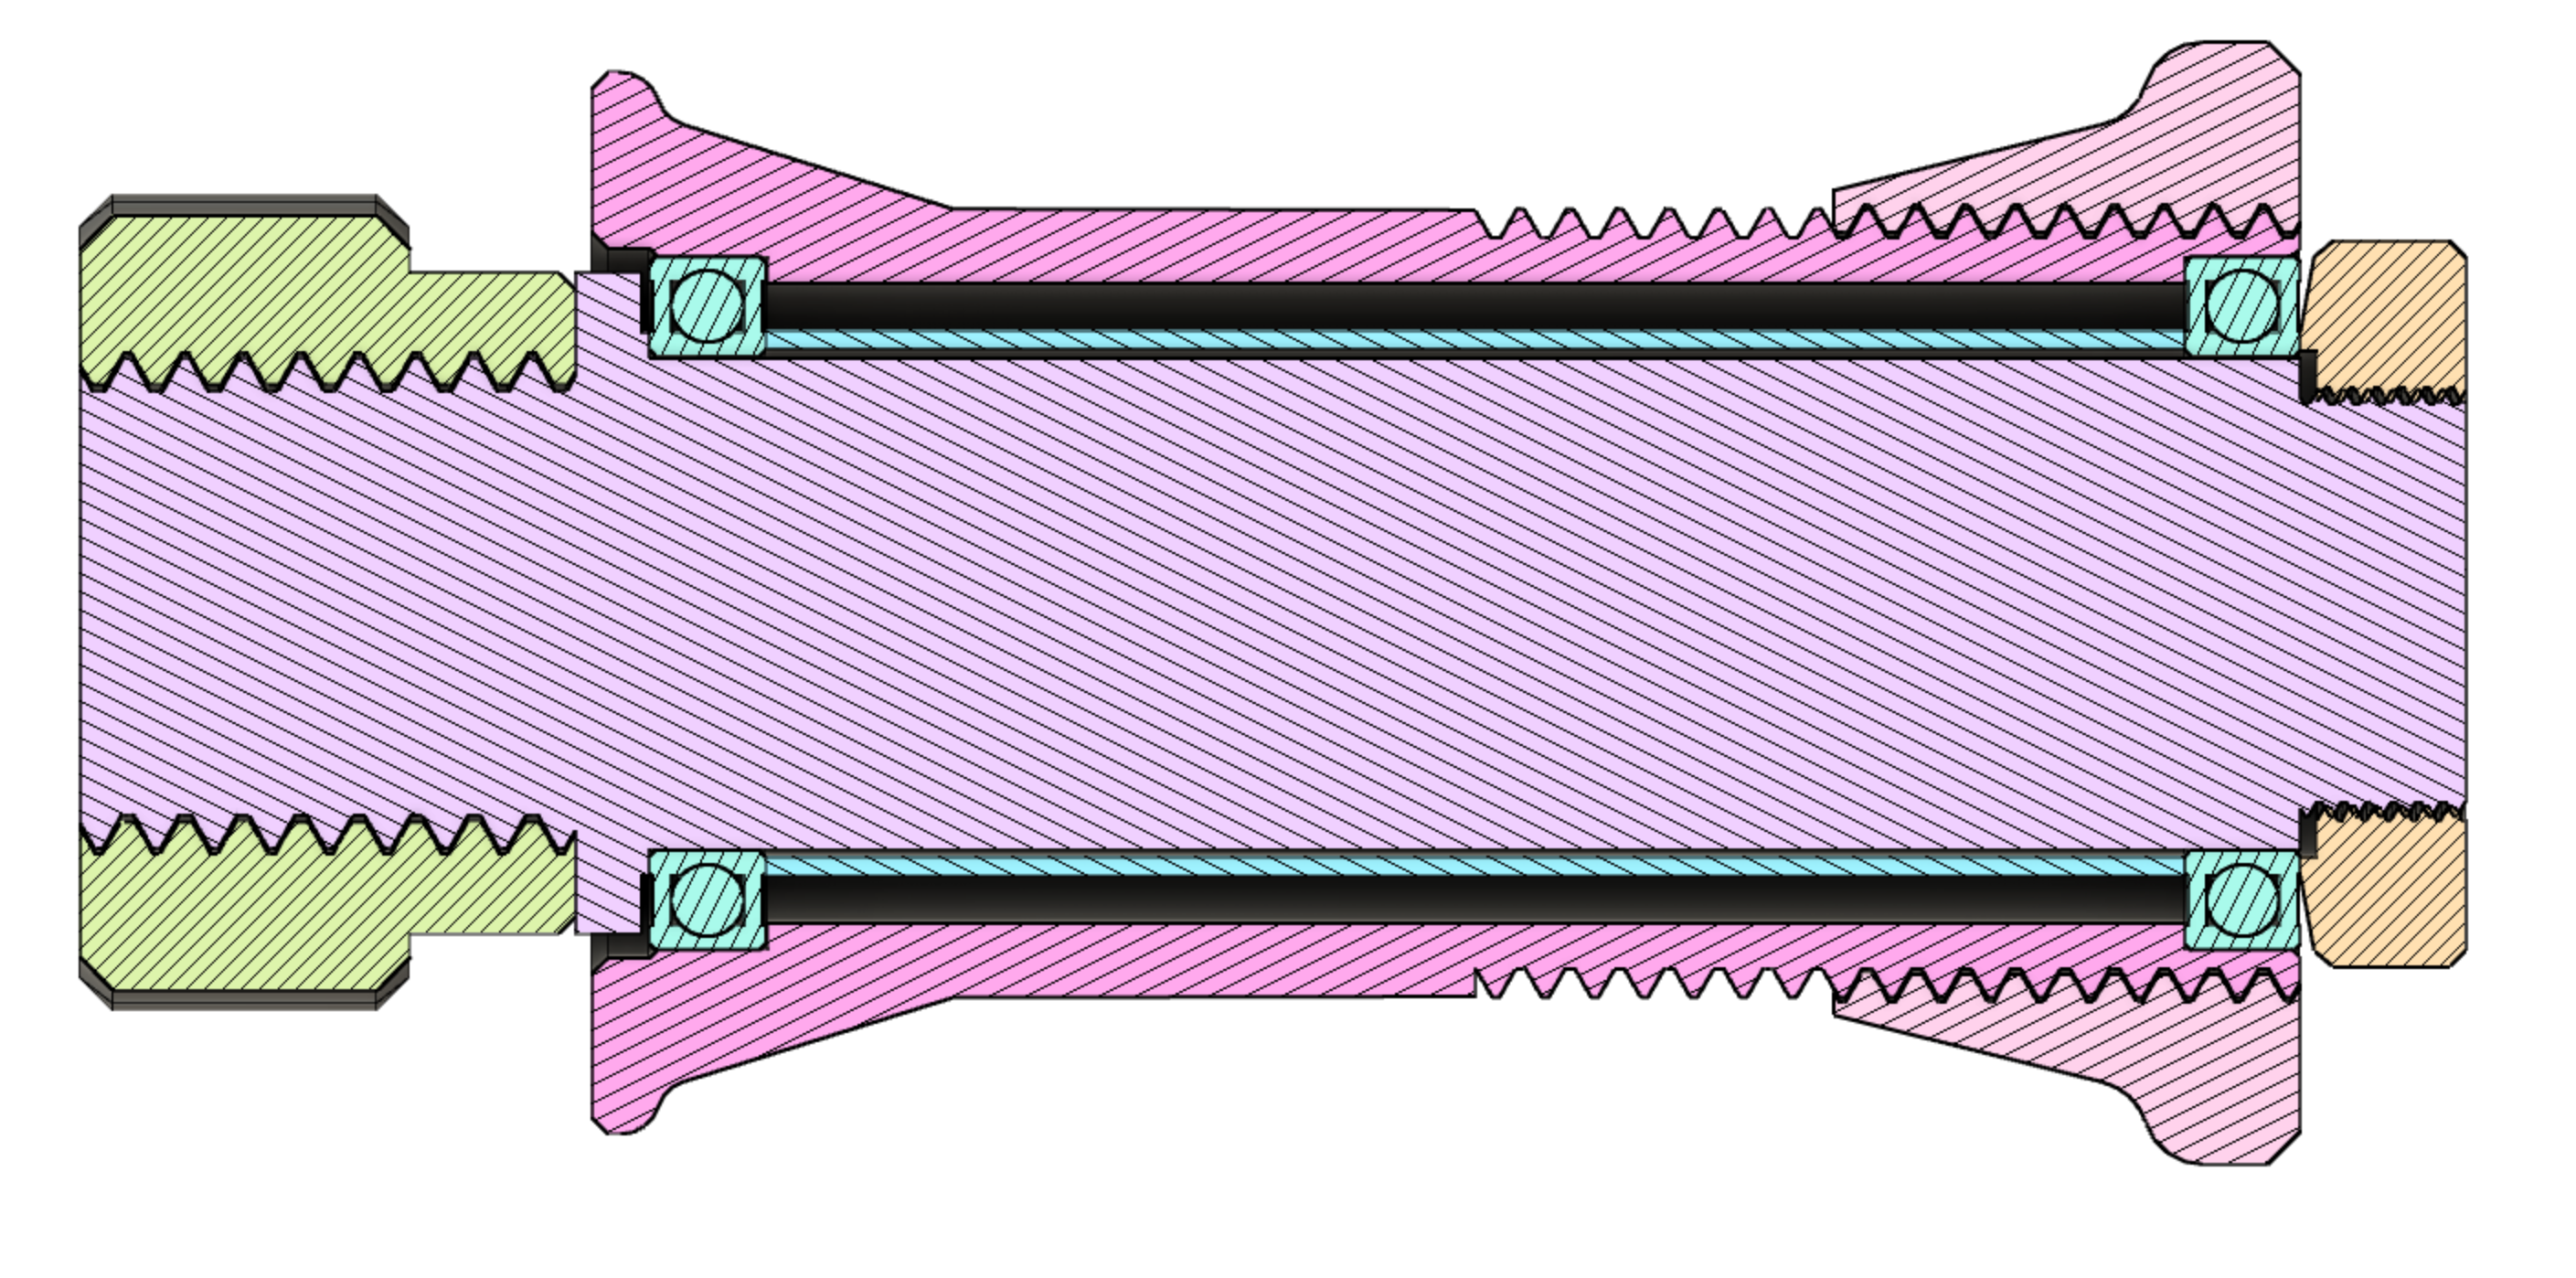
Project 4: Unnecessary spool holder
Watching the roll of filament flop around on the stock creality spool holding stick made me hurt a little on the inside. I decided to make an upgrade that would adapt to different width spools with different inner diameters and rolled around on some extremely overkill 6806 bearings that I had sitting around in my bike parts bin. I had made a more simplified version of this a year ago with a repurposed bike bottom bracket but it was kind of annoying to load and unload so I made this one easier to use but with more parts to initially assemble. This one also doesn’t use a very specific bike part and instead uses a common enough bearing so it is easy to reproduce.

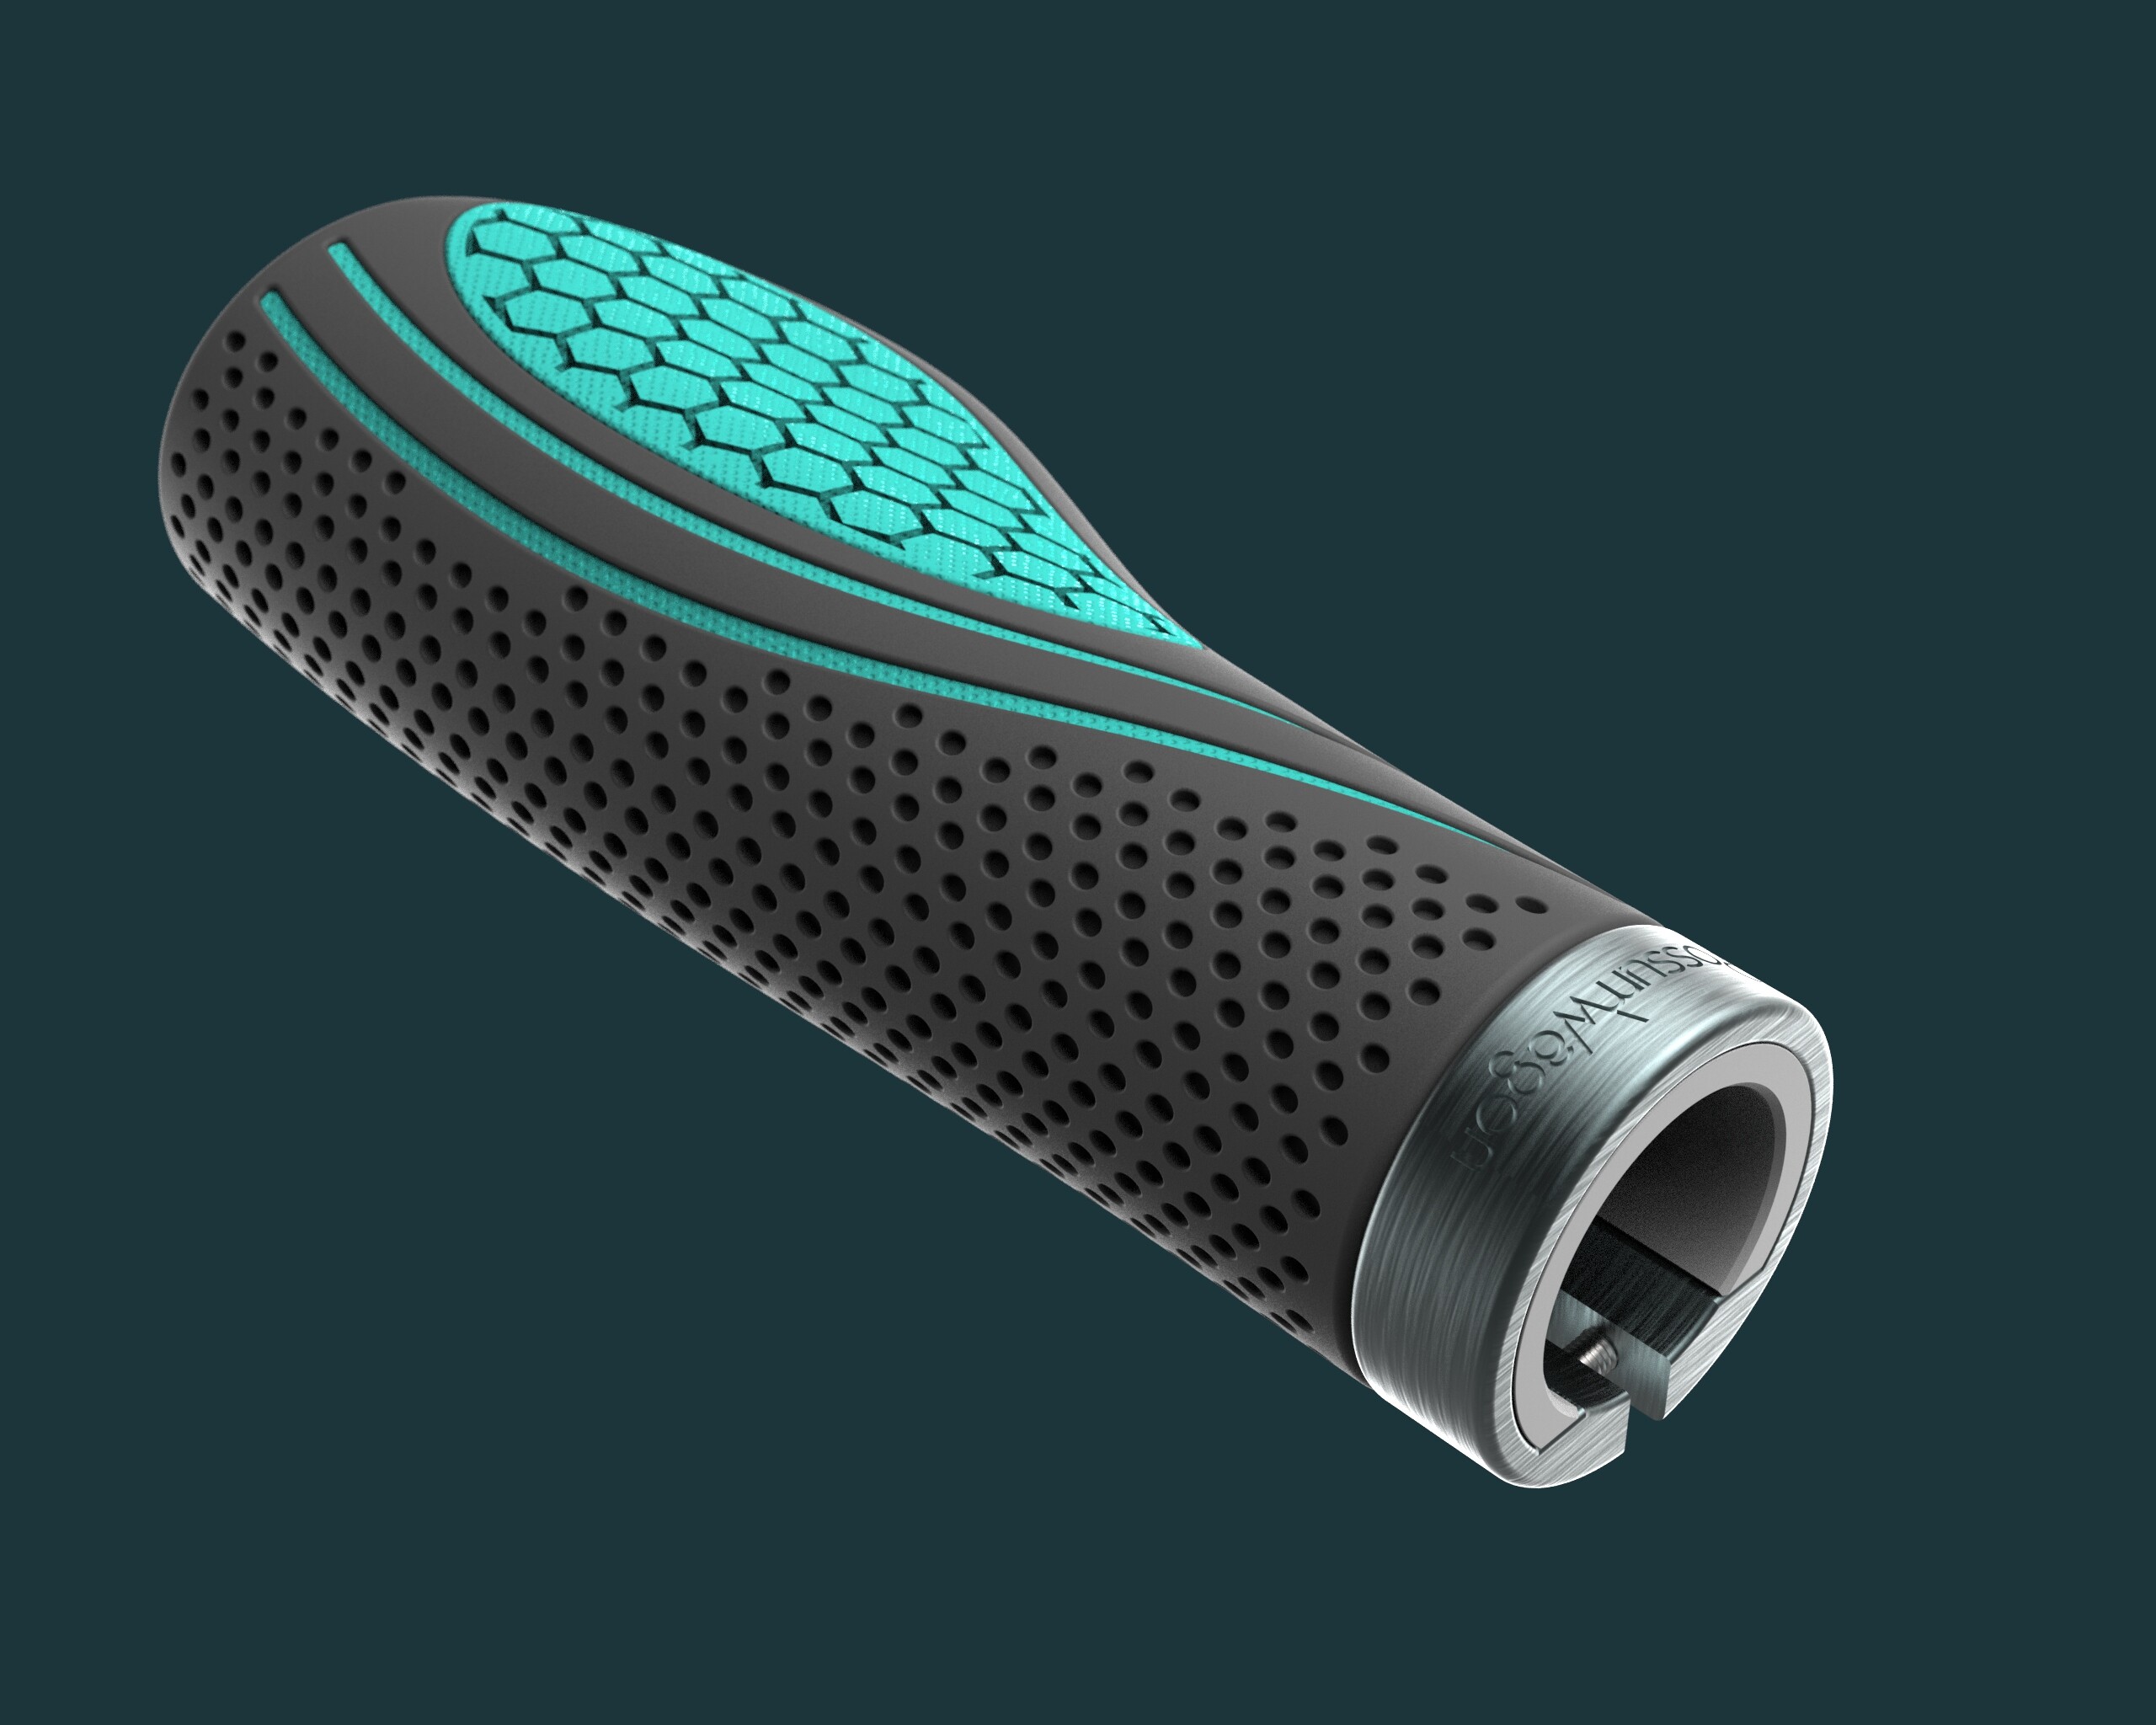
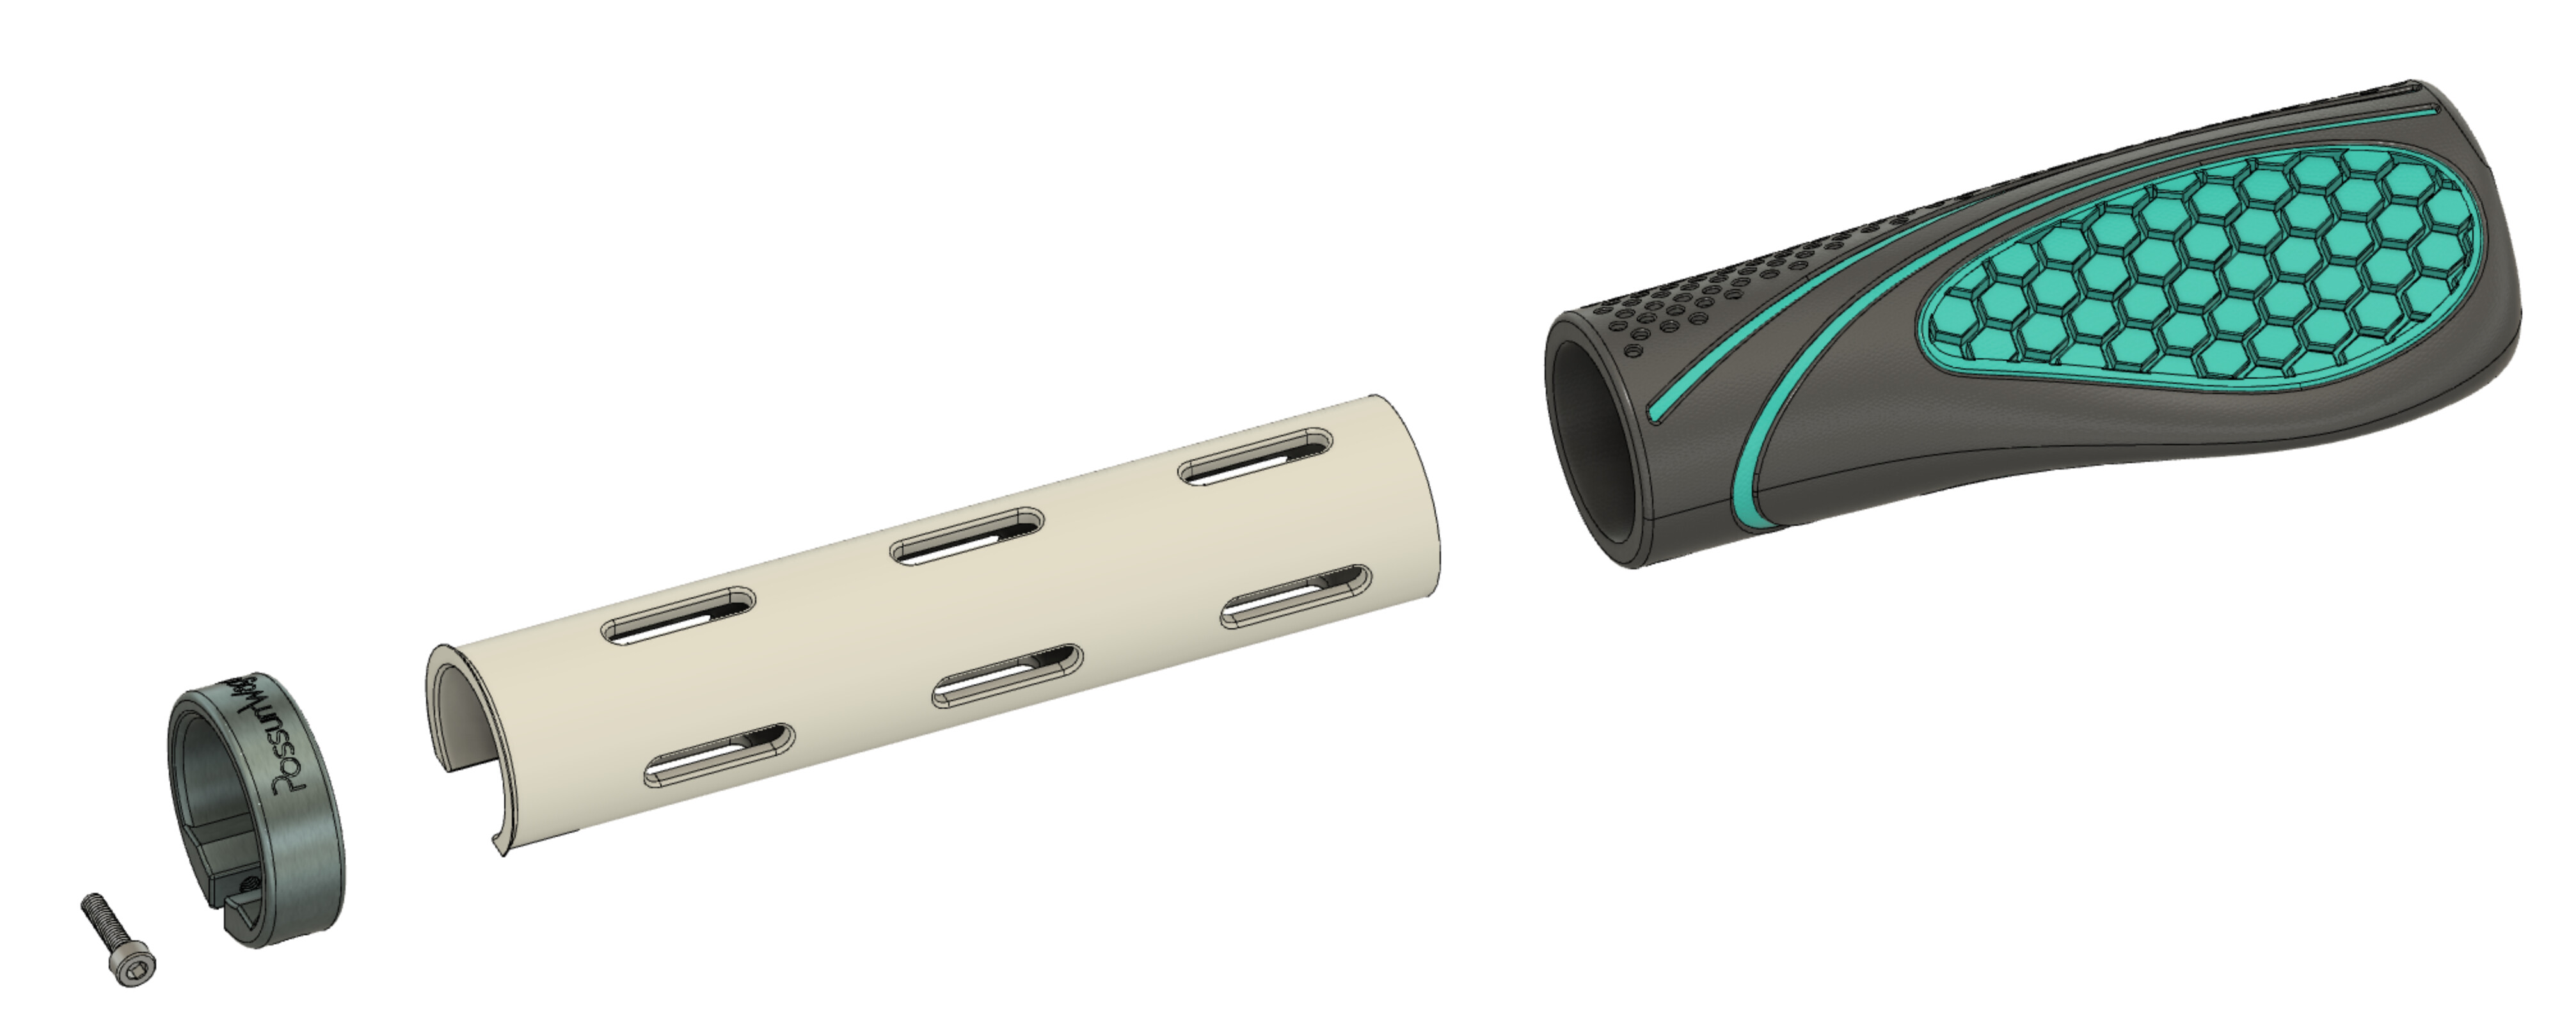
Project 5: Bike grip model (no print, just a modelling exercise)


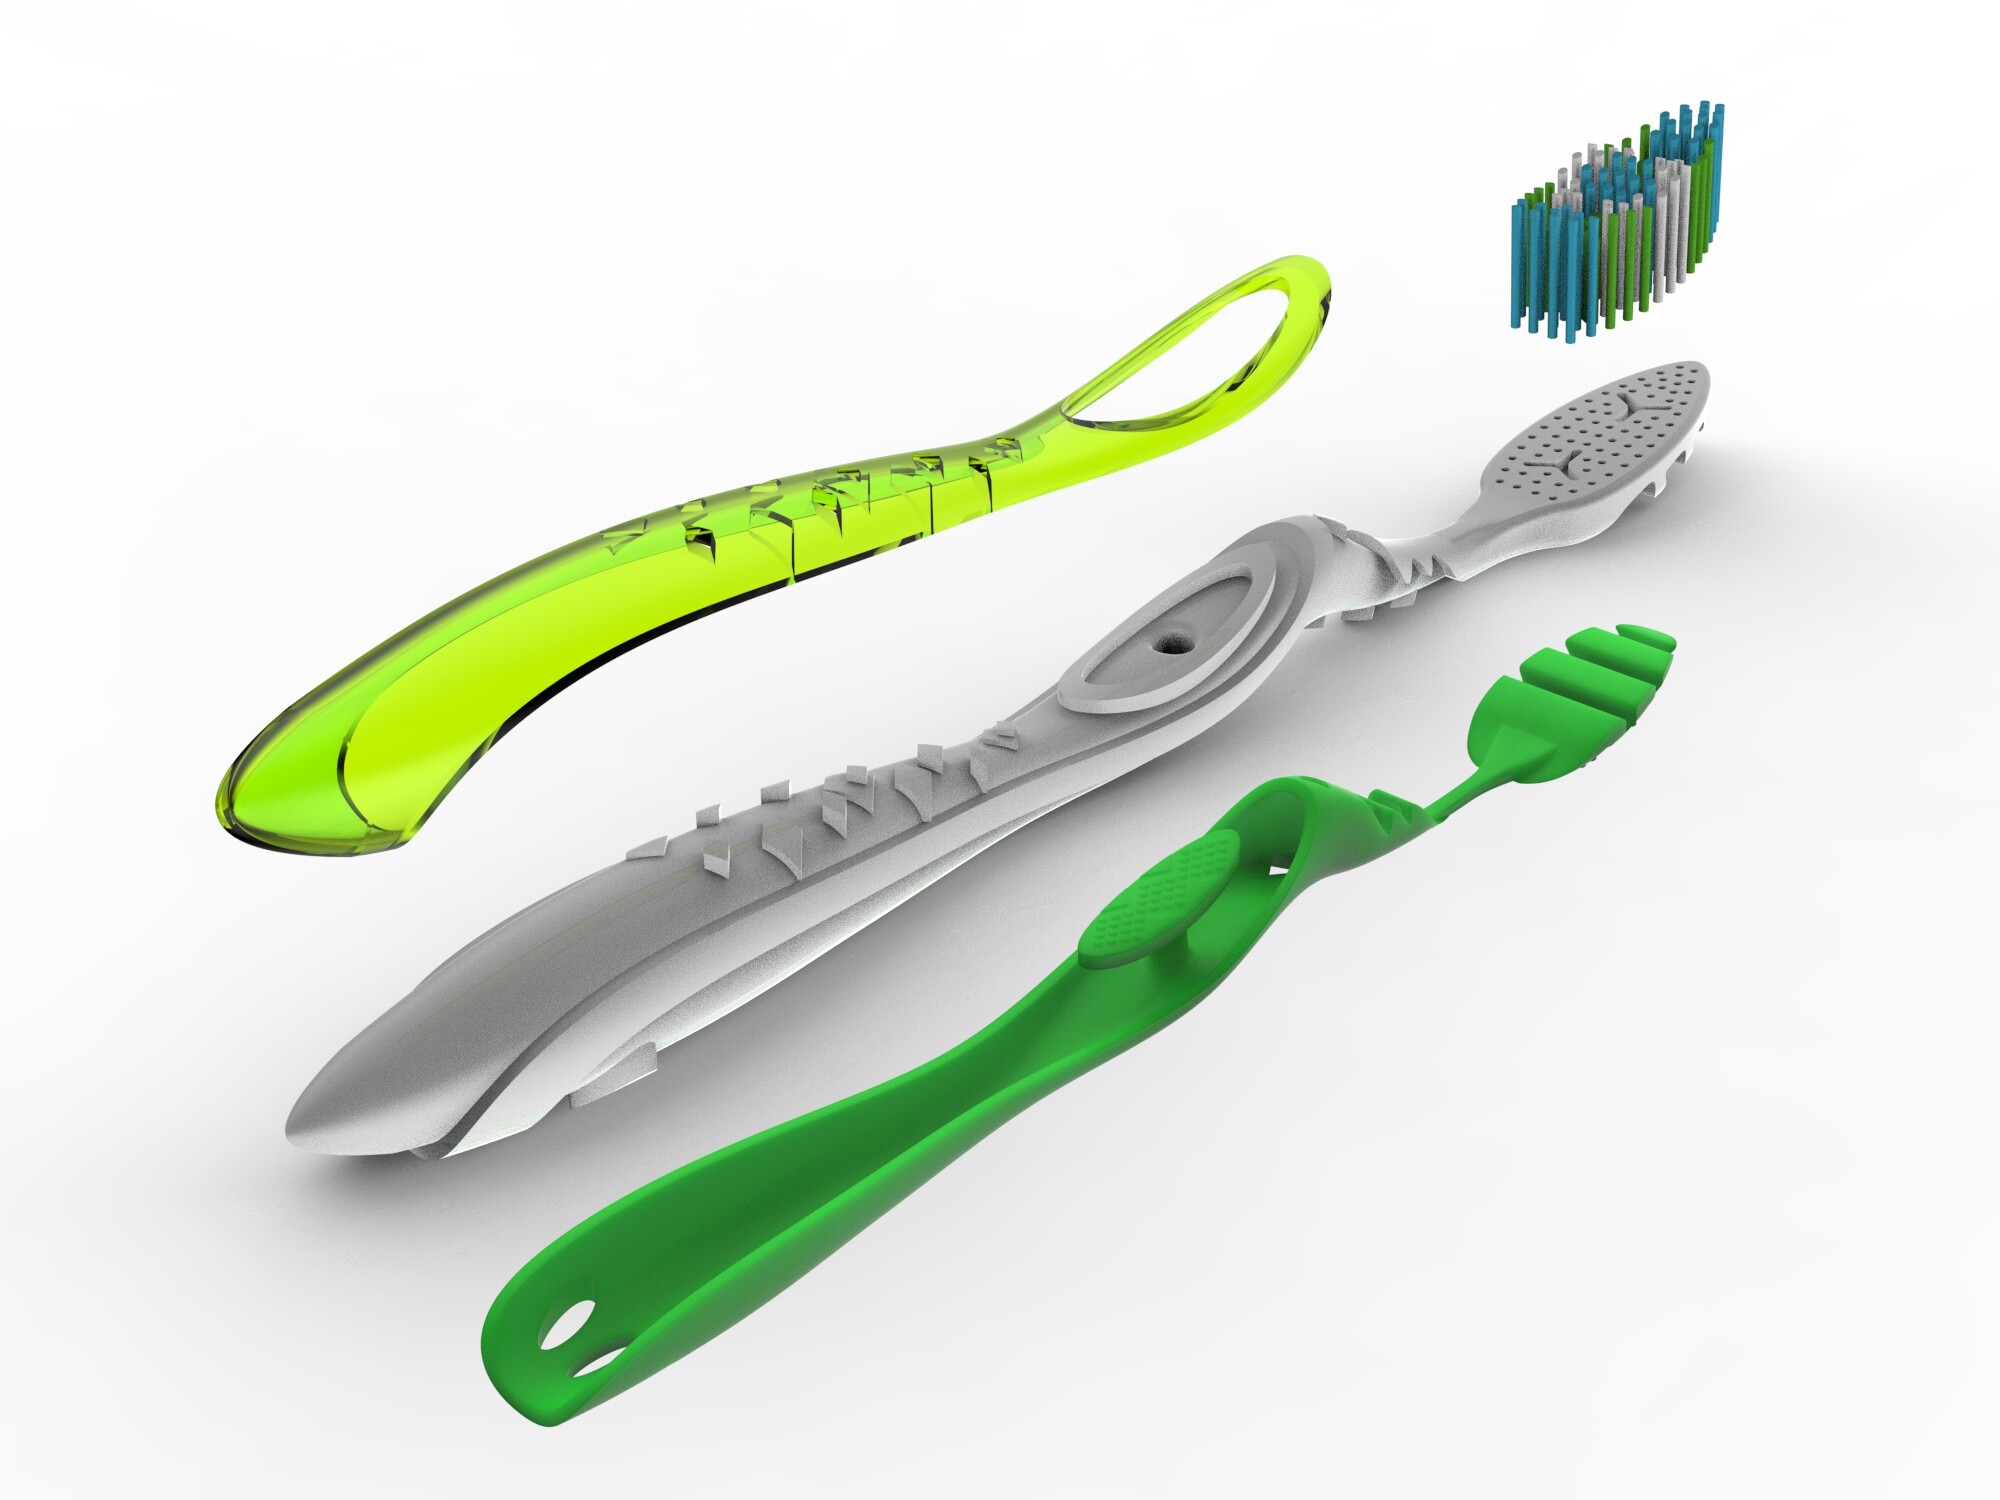
Project 6: Toothbrush somewhat reverse engineer (no print, just a modelling exercise)
I was trying to see if I could model a toothbrush by copying an existing one. It was a bit of a pain to do but I think I got there in the end.