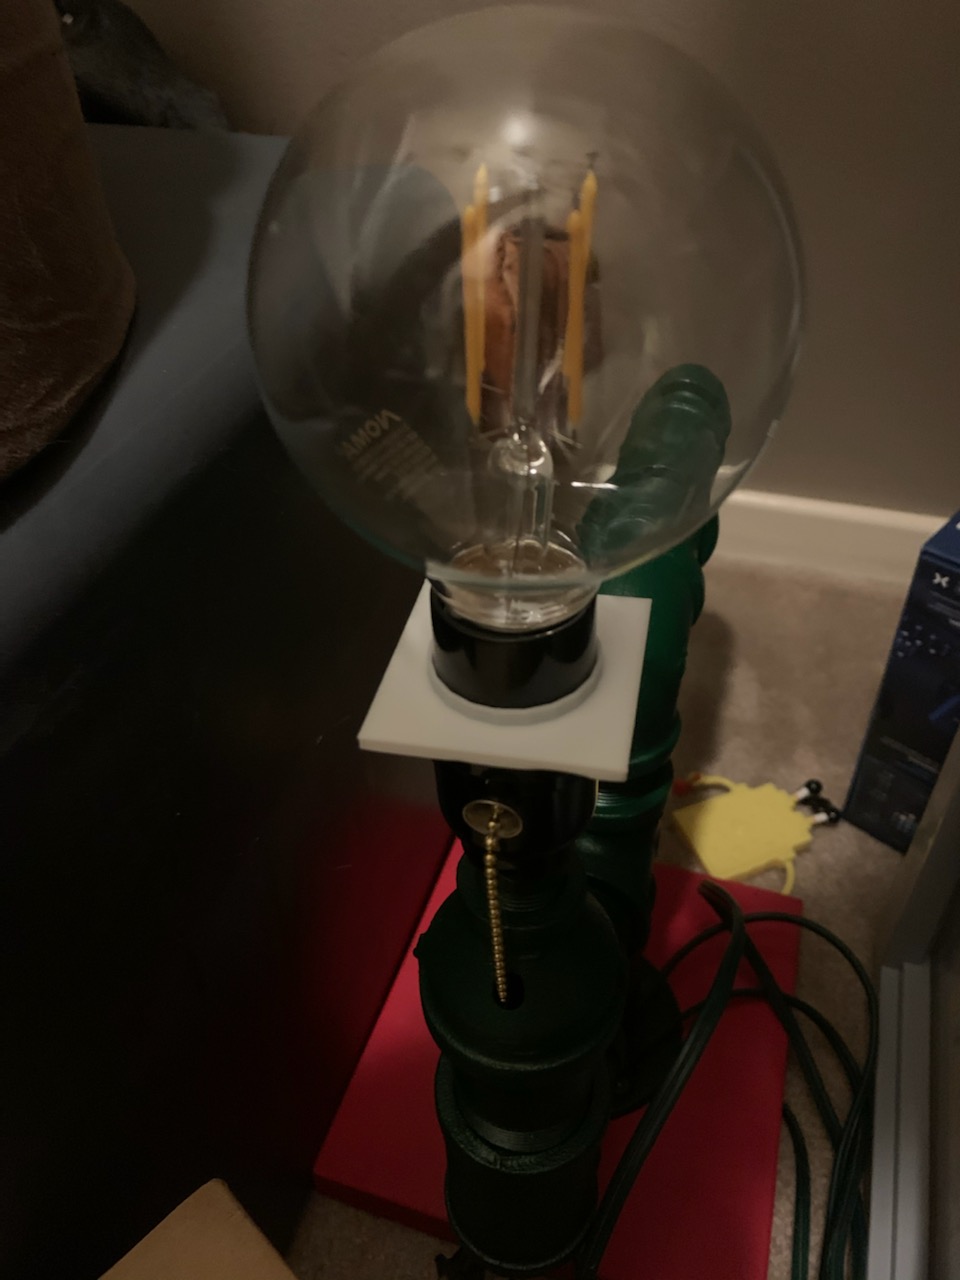
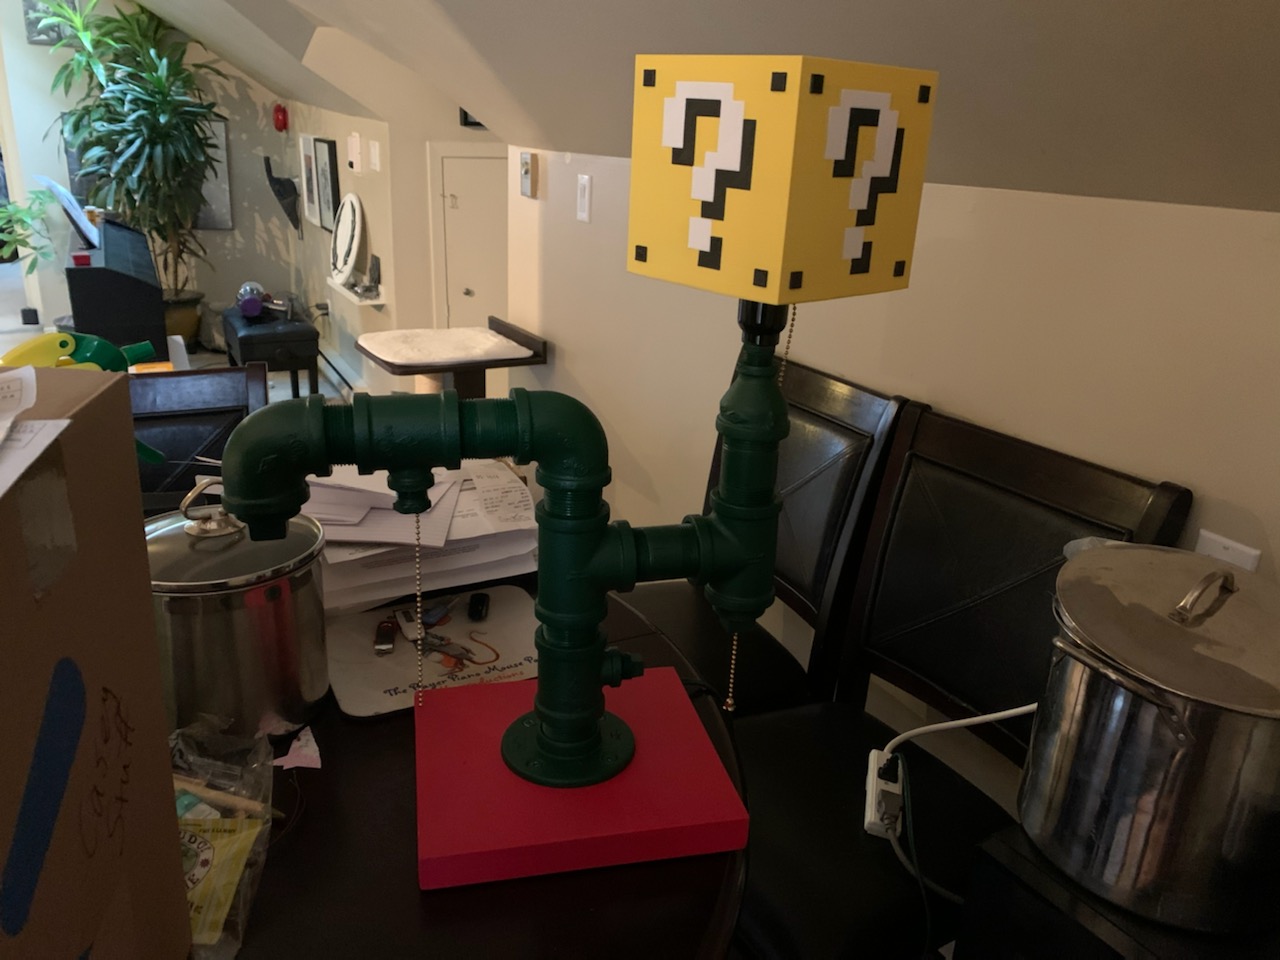
My dad has been looking for some creative outlets during covid, and has started building lamps from odds and ends he’s got scattered throughout the garage. I searched online for a few inspirations for him, and he showed up at my house a few days later with the following (disregard the messy table):

The base of the lamp itself is black iron pipe and is incredibly heavy, but it needs a fitting lamp shade to go along with it!
I had learned SolidEdge ages ago, but since I found out I can’t get a copy for MacOS I’ve been looking for a replacement. I’ve been using Tinkercad in the mean time, but it’s a bit of a chore to get it to do things I’m used to with my limited understanding of SolidEdge.
First thing I had to do was build a collar for the socket to hold the shade itself. It flares out a little bit as it goes down, so the weight of the lampshade will help push itself down and keep itself firmly in place.
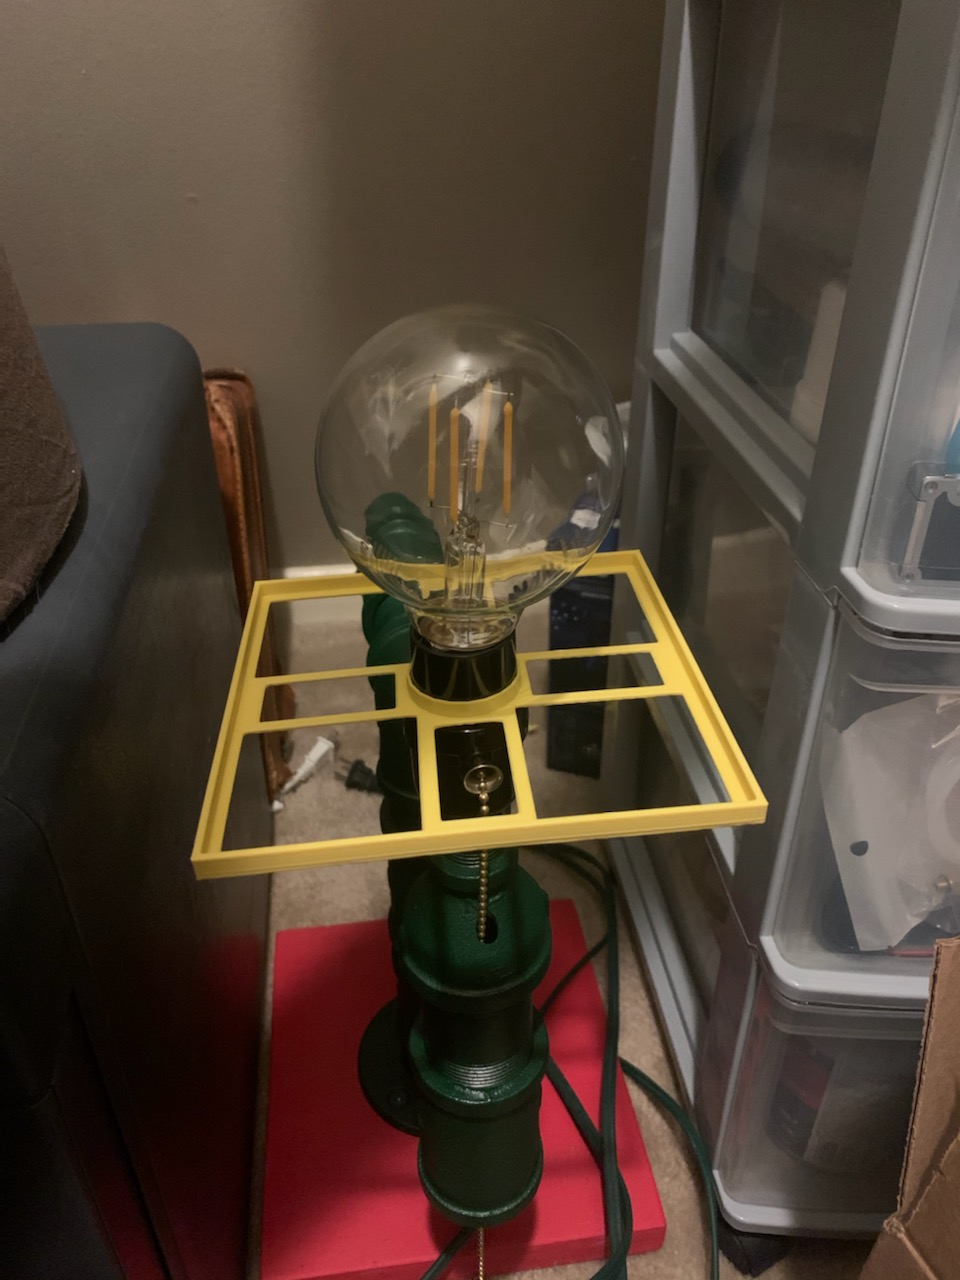
Once I had a size that fit, I built the bottom of the shade to test the size of the block and made sure there was suitable clearance for the oversized bulb.
Started printing. ~18h at 0.2mm layer height, 70mm/s speed.
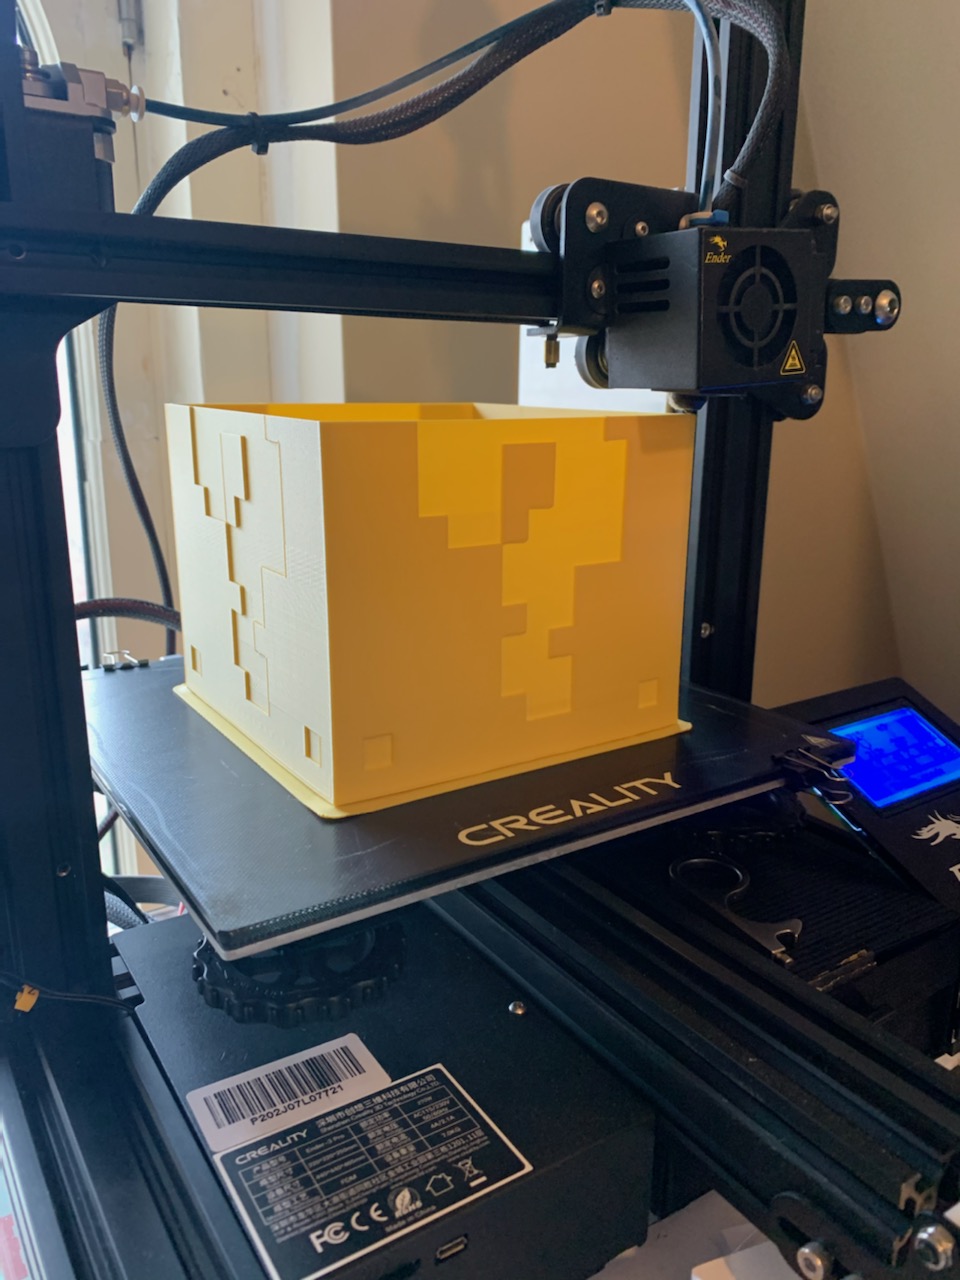
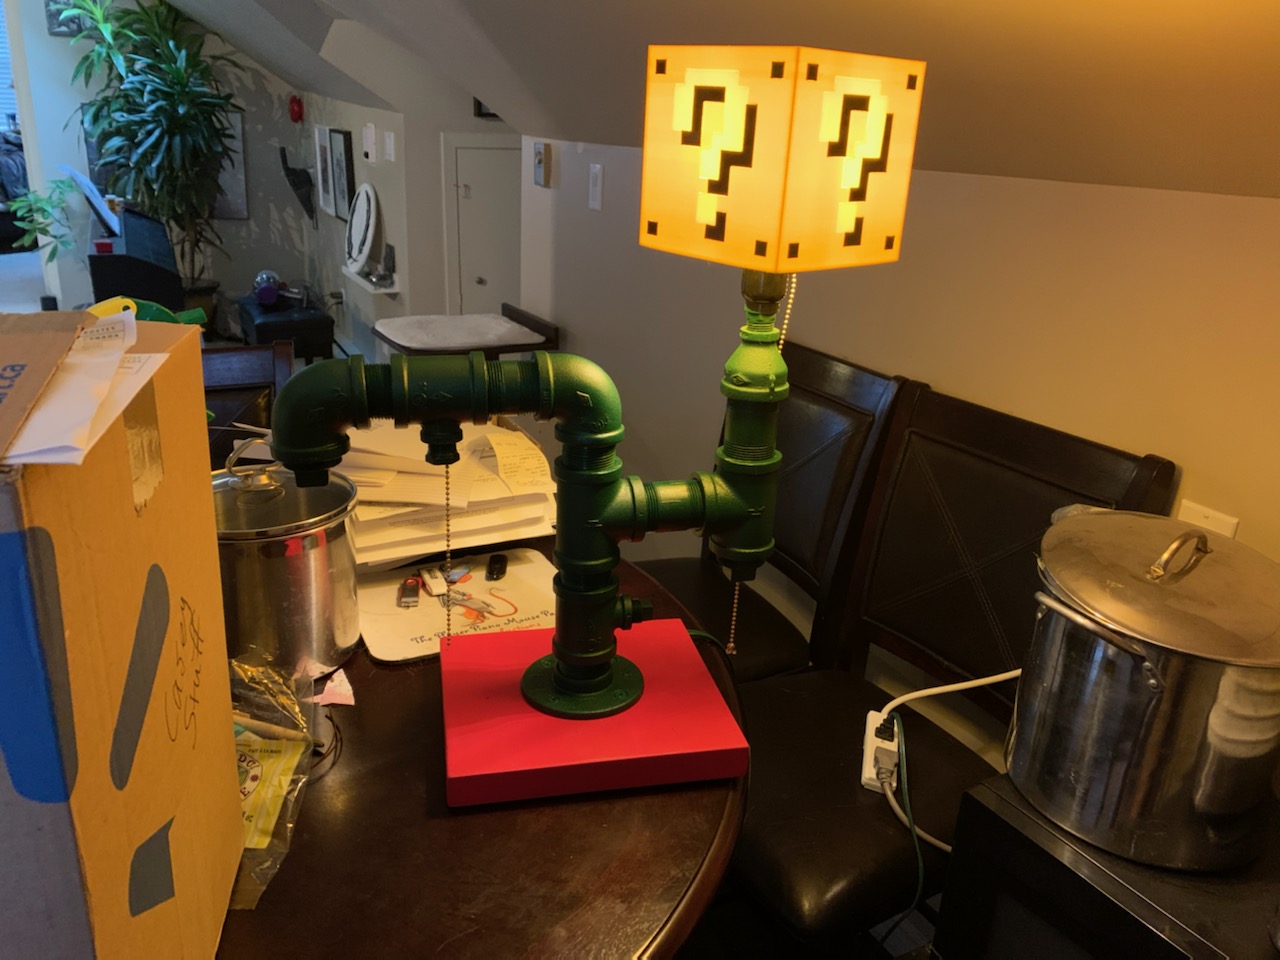
It ended up printing really well, and looked pretty good on its own. It had to be pushed further, though…
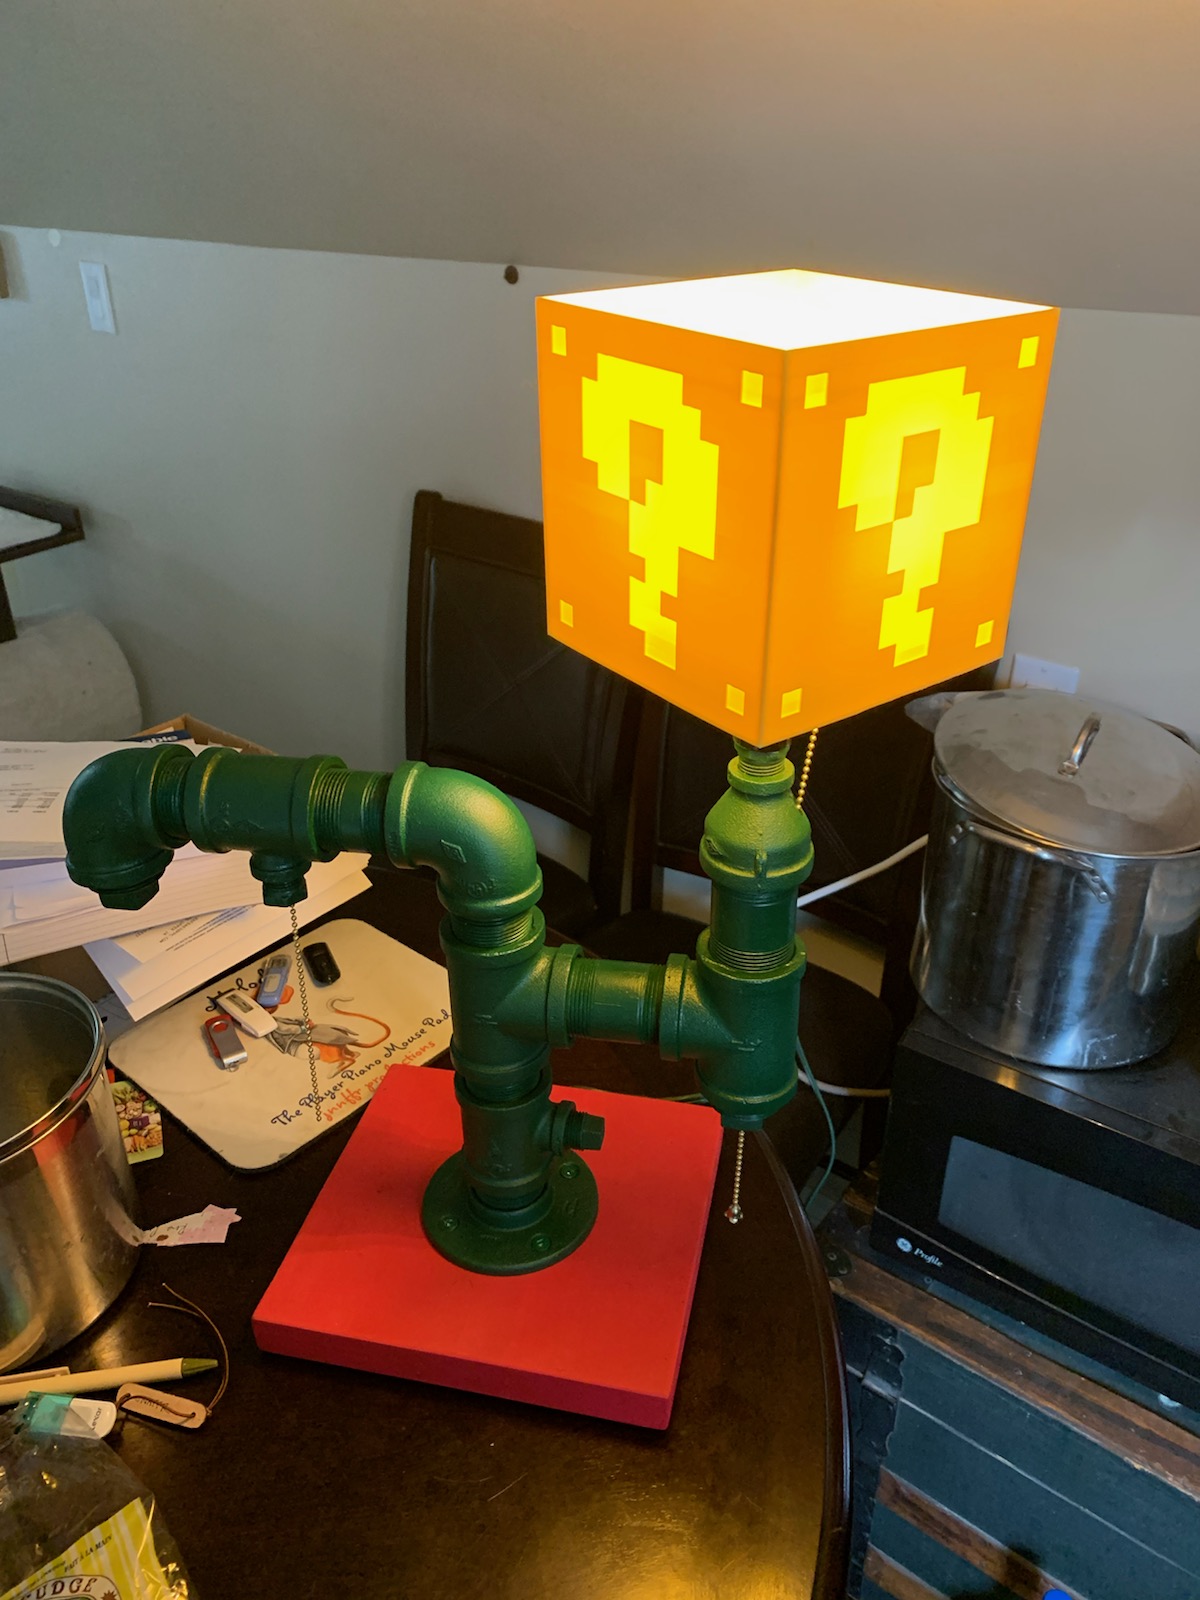
The original design of the question mark was as five separate pieces and glued in to the recessed part.
I ran in to a problem here, though, that I had printed the parts the same size as the recess. Further, the tolerances were slightly out so I had to sand each of the parts down to get them to fit. The issue was then that after sanding them, small bits of light would show through the cracks. Further, the now-dried glue is visible while the lamp is on. I’ve since redesigned the question marks to not only have a base sized a bit smaller than the hole (frustrating since Tinkercad doesn’t have an offset option) so they fit easily, but also so the entire question mark is a single piece. To do this, the majority of the question mark is printed in black with the top few layers printed in white - I have the machine pause when it gets to a certain height, at which point I swap the filament over to white and resume printing.

This has been my first major functional design; it’s pretty fun to be able to go from an idea to something tangible. It’s also pretty cool to be building projects with my dad again - haven’t done anything like this since the typical childhood birdhouse project.
Next steps are to install the new question marks and check for light bleeding out of the recess around it, and finally get a more permanent installation solution than supergluing the two pieces together (though that should be pretty permanent!).
Questions? Feedback? Thanks for reading!
