A10M Purchase to Productive

I’ll drop this here, in case it helps anyone in the future.

I bought a Geeetech A10M on eBay for $250. Came new, unopened box, but I kinda suspect it was one that didn’t pass the QA from the factory, as it was missing the board pins and the entire second hot end fan. After that was noticed by them I suspect build quality went down…
True to what I’d heard, it is a high effort / high reward printer, because it took a while, but I am happy now.

Biggest issues -
Missing fan and pinouts
Build quality
Backflow discs cause problems
Loud fans

Anyway, here’s what I wanted to/had to do.

Check all Bolts, Alignments, & Tensions. Many were not OK.
Add;
BL Touch
Glass bed
Insulation for bed (foam from packing Box)
Kill switch
5V power block
OctoPi
Camera
LEDs
Foam rubber feet
Screen dimming shield printed from 2mm thick transparent red PLA
Small printed blocks to link the spool holders together for stability
Intake shield to main board fan (Cut out diameter of fan first)
Exhaust wire ring screen to PSU fan (Cut out diameter of fan first)
Copper heat sinks on board main chip and stepper drivers (possible cause of missed steps?)
Pins for second hot end fan(since they were missing)
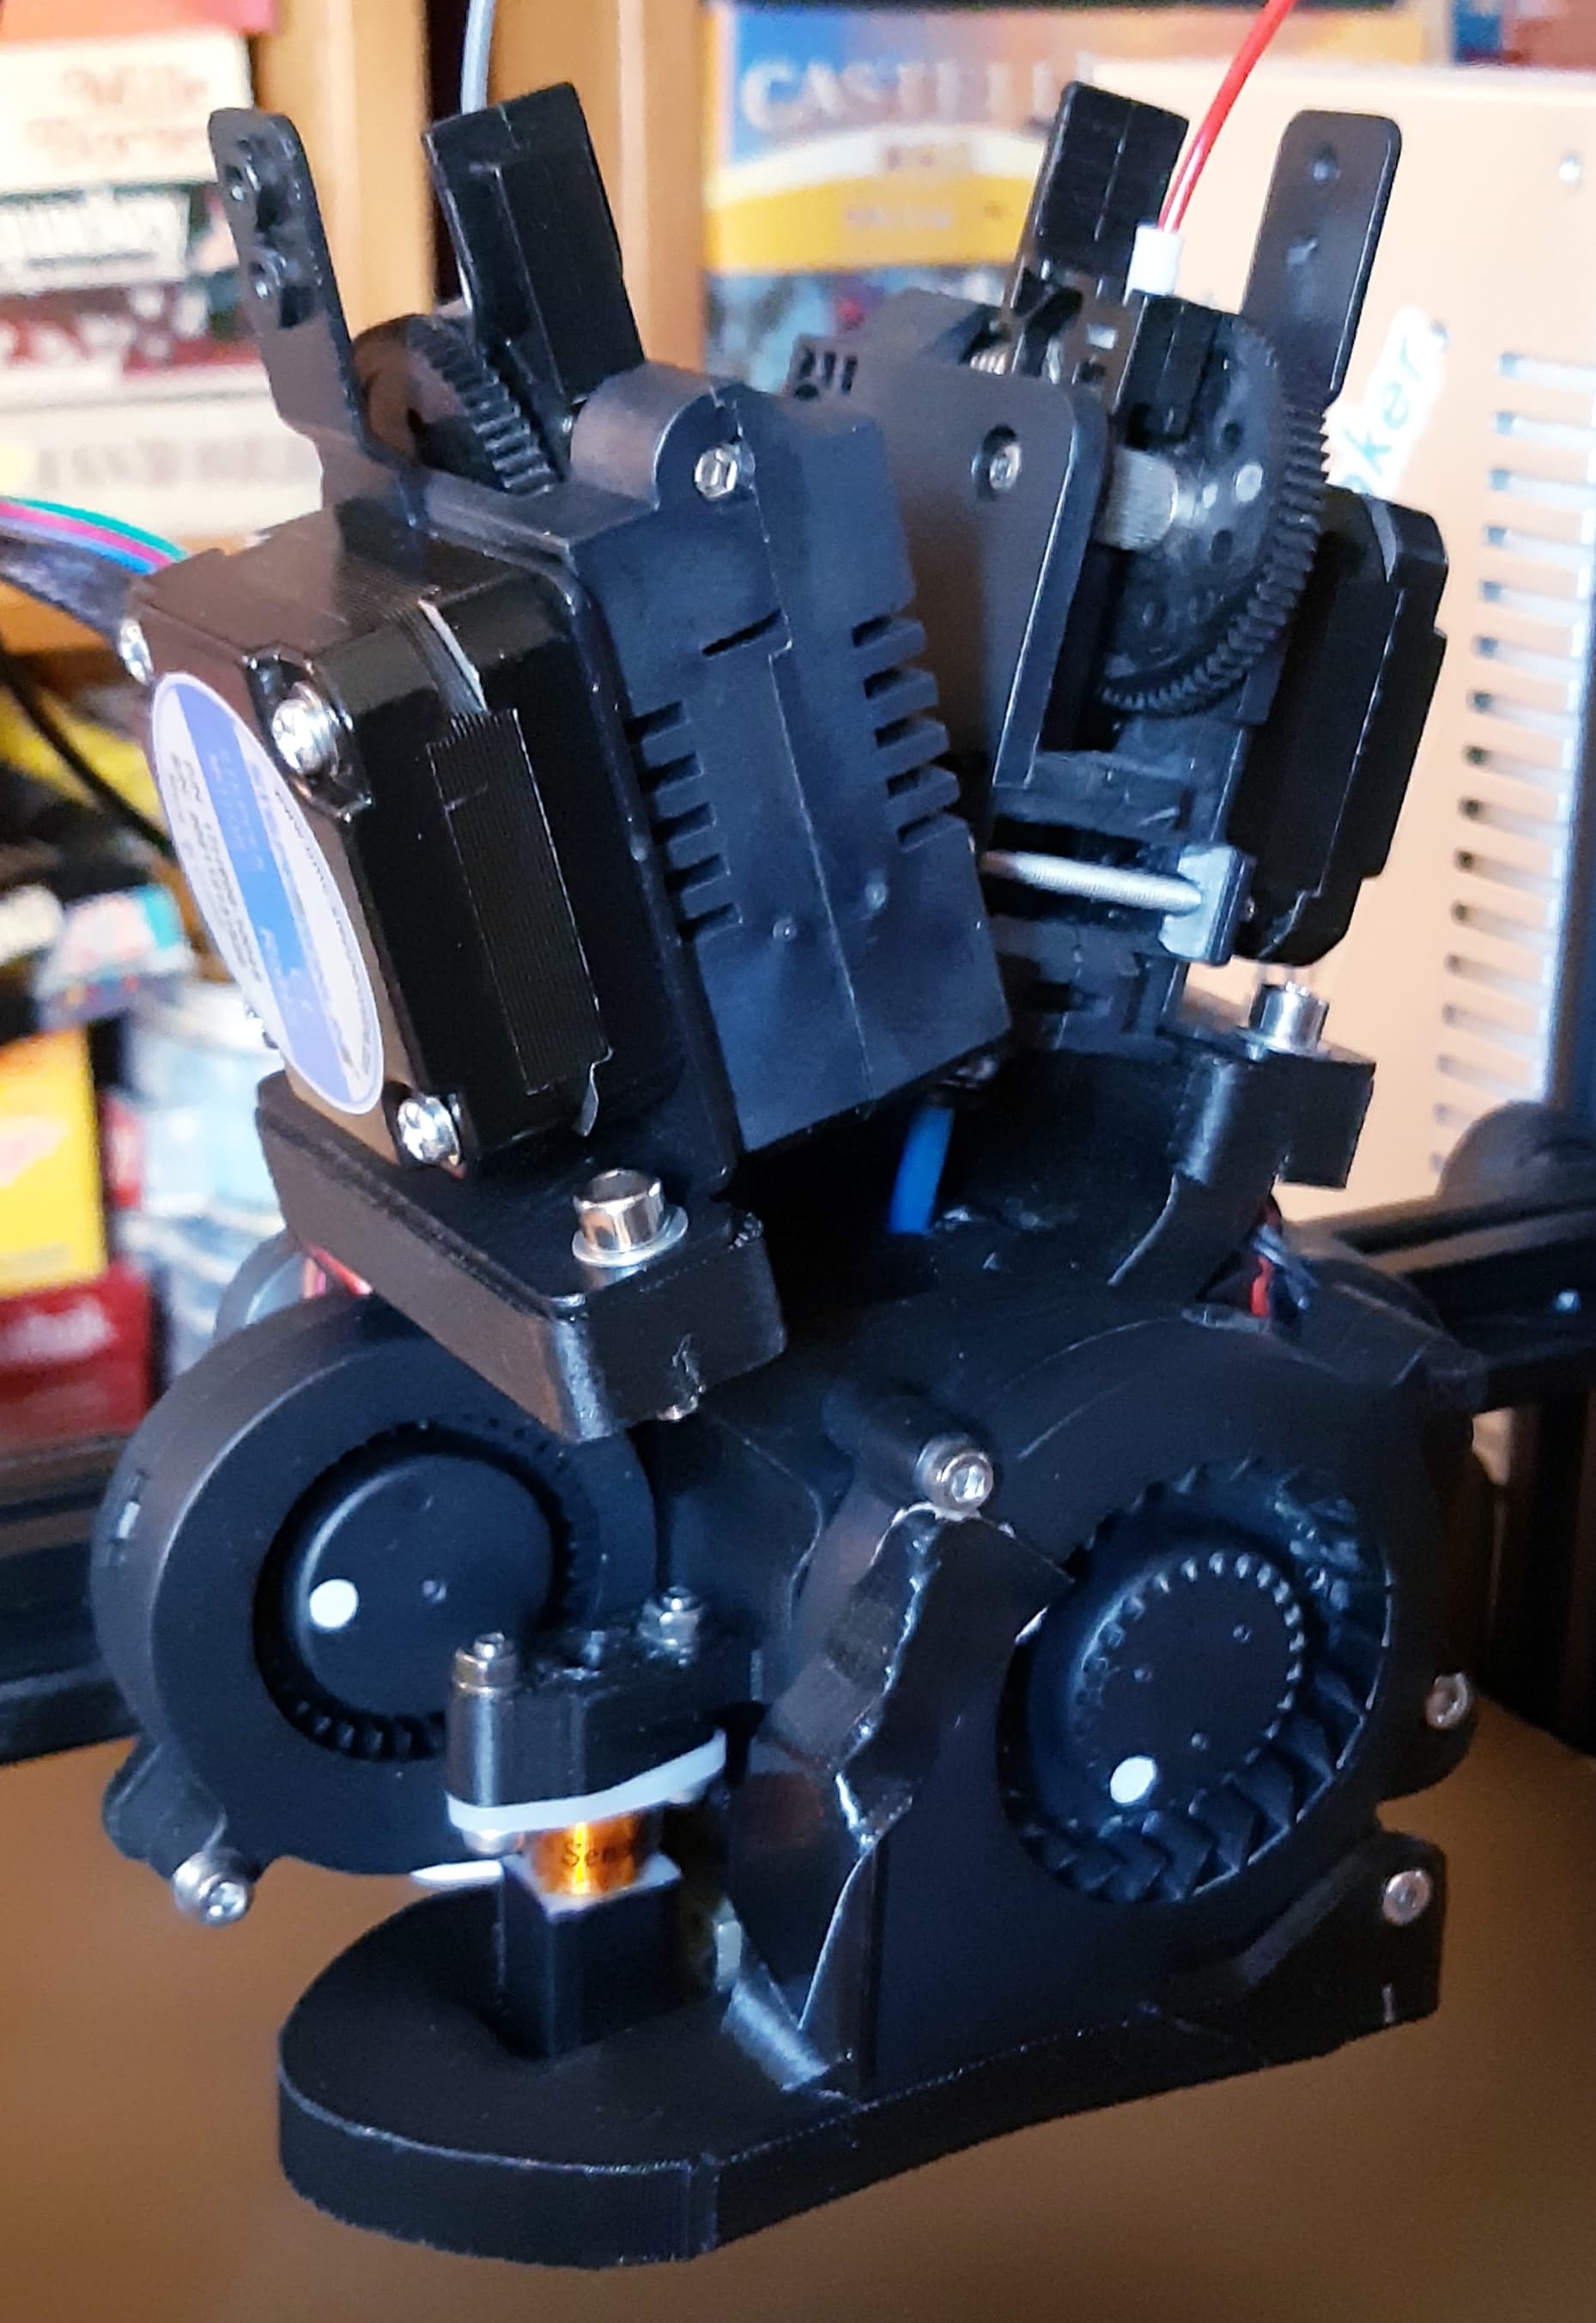
Second hot end fan (actually replaced both with quieter LED ones, one blowing in the other out)
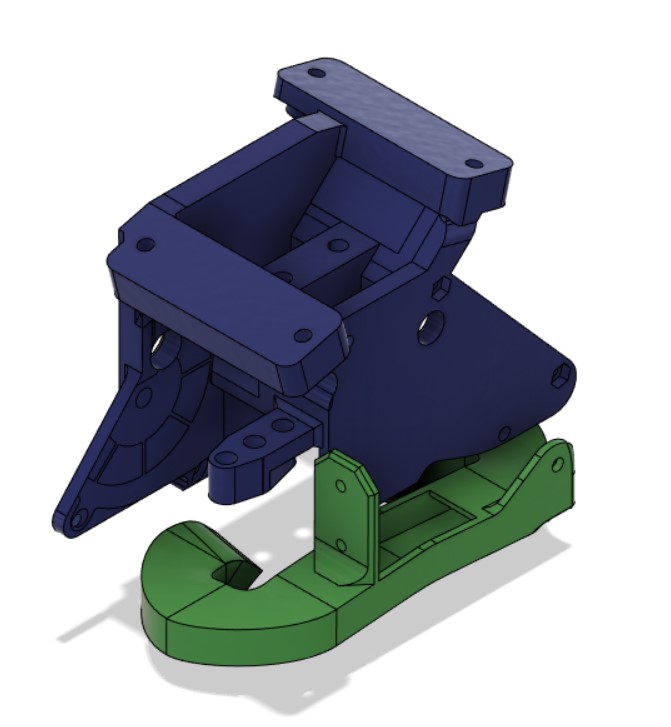
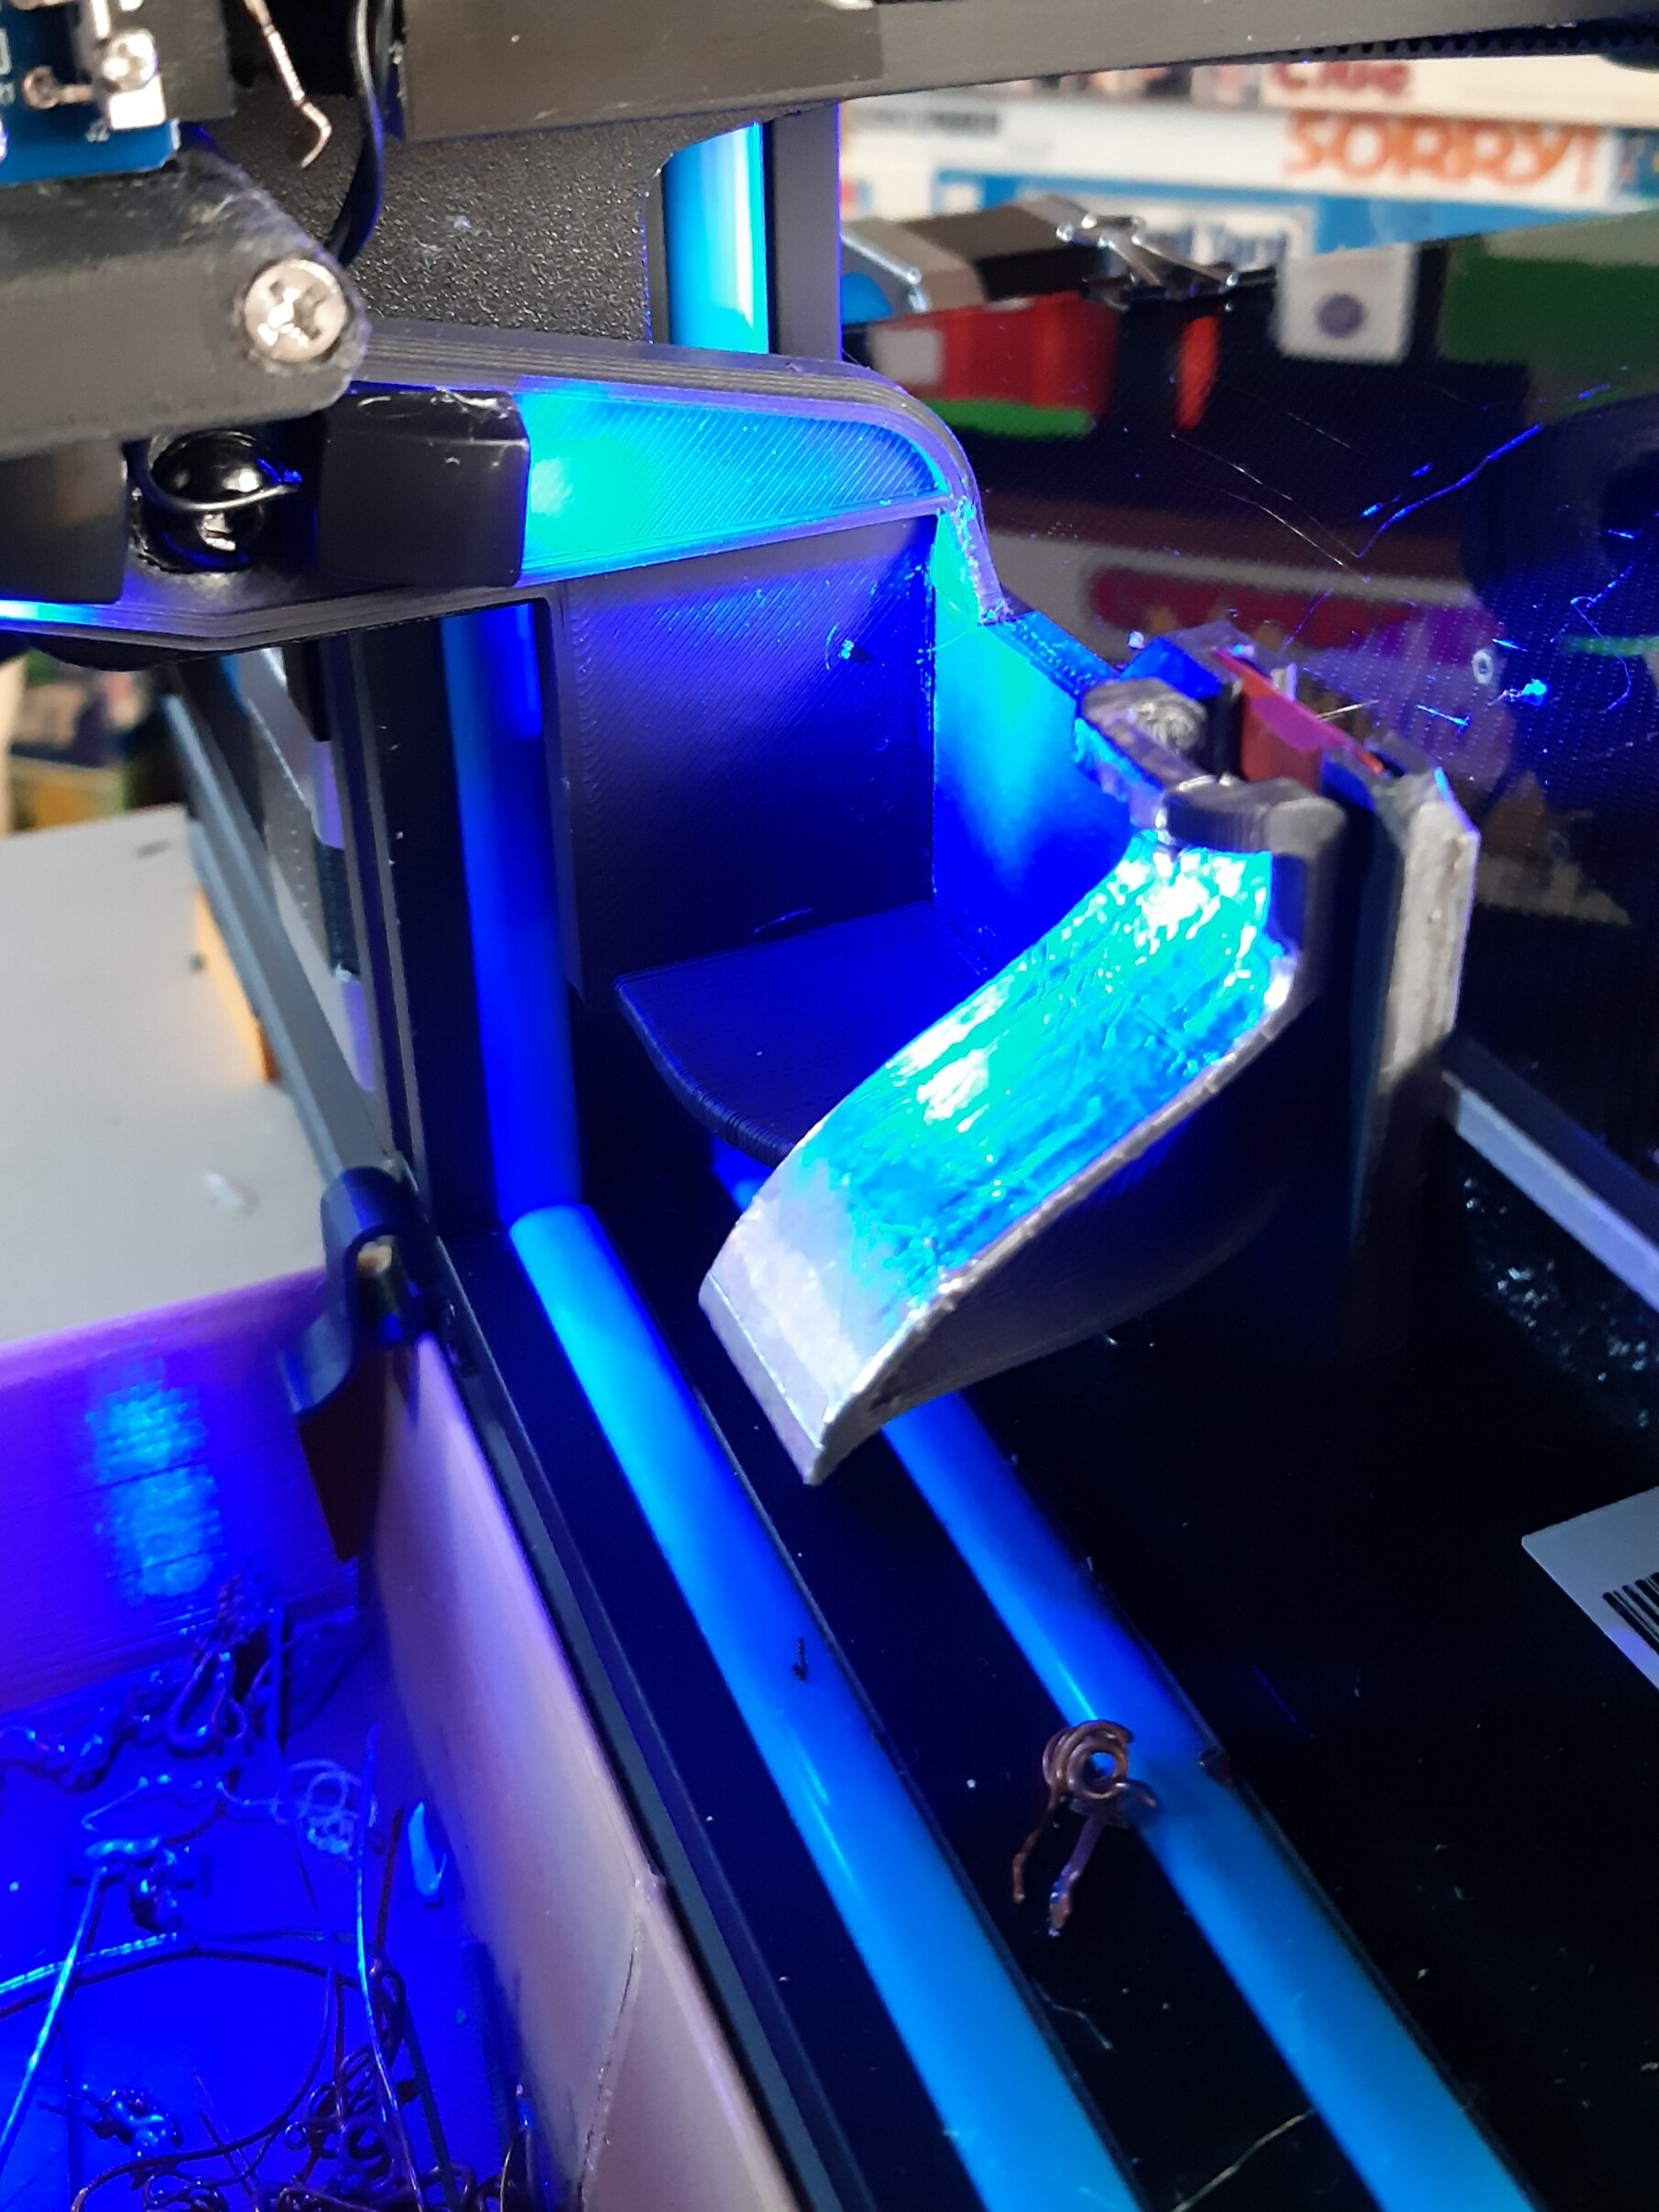
Purge bucket assembly
Nozzle purge G-Code for colour switch and pre/post purge of second nozzle even when not in use

Change;
Idler wheels on bed (were loose bordering on defective)
Marlin to 2.0.9.1 (K 0.95, Accel 700, Junct 0.04, Retract 4mm)
Part cooler fan duct to allow more air flow
Resistor PSU fan down to 12V (9x2K resistors in parallel) to reduce noise
X-Stop mount to allow -12mm for Purge Bucket/Slide
Shave 0.5mm off the tube at the extruder gear on the idler side. It was not allowing the idler to get
close enough to the gear to get good pressure on the filament.
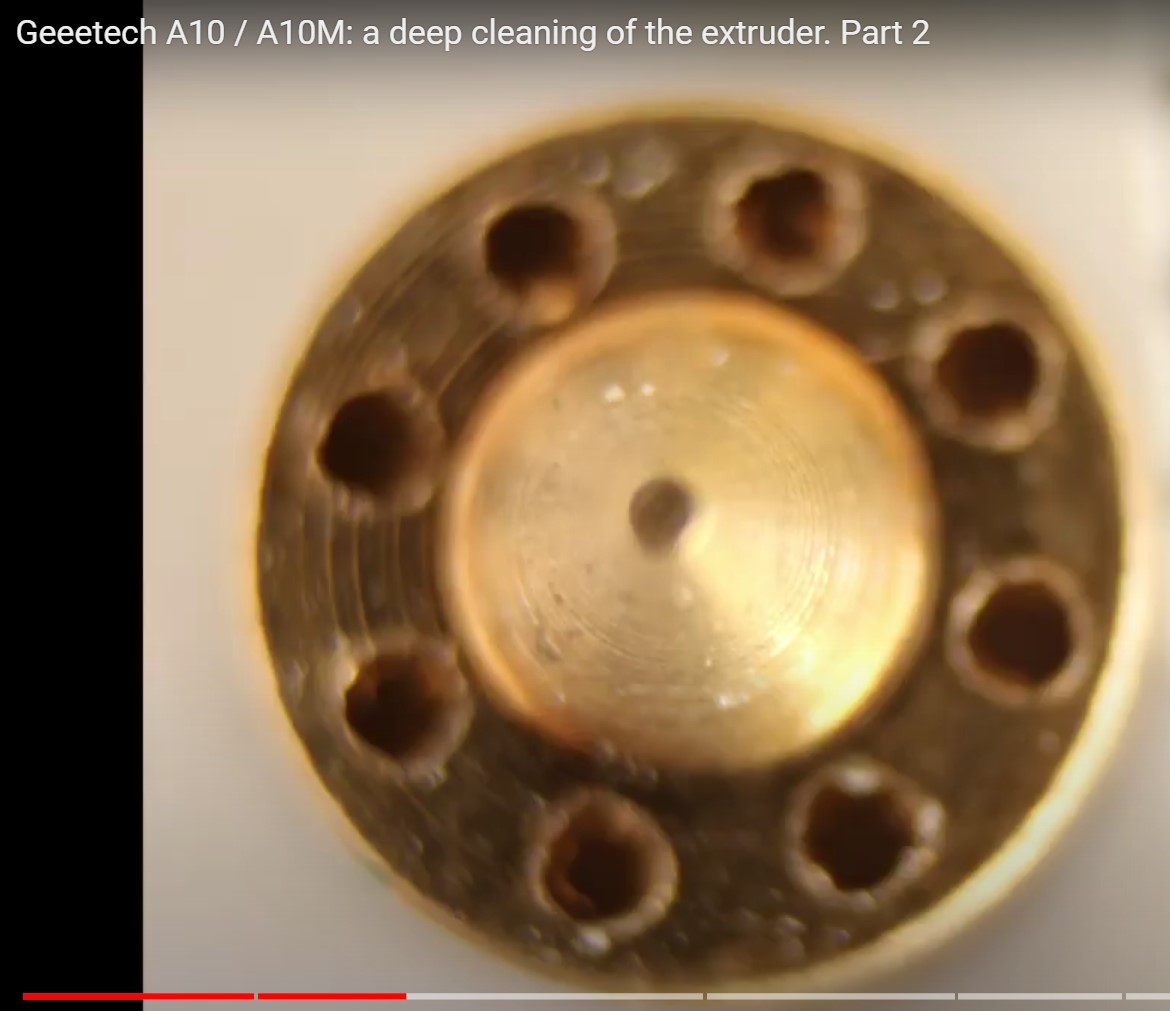
Remove back-flow discs in hot end. They get clogged, stuck partially open, generally cause
pressure problems, and don’t do their job anyway. Printed once with no filament in #2 - massive
backflow clog 50mm up the Bowden. Added small aluminium donut discs to fill the void left with
the discs removed. Lesson Learned - Always have filament in other extruder, and purge before &
after all printing.

https://www.thingiverse.com/thing:4980322

2 Likes

hey @mobiobi thank you very much your summary, very nicely done. A very good guide for anyone looking at this machine .

Yeah, thanks.
Actually I’m fairly sure that the sparkly, smokey additive bits in the Hello3d Magic Coal that clogged the backflow discs.

What is a backflow disk?

With this being a mixing extruder, 2 Bowdens into one nozzle, the idea I think is/was to have a one-way valve at the bottom of each heat-brake, to stop pressure/filament from backflowing up the non-active tube. The pics show the little disc with the tip of the ‘cap’ pointing up the Bowden.
I think they might work OK initially and maybe for a long time if you don’t have anything crazy in your filament, like carbon, or sparkly metal, etc. For me, on second disassembly, they showed wear on the outside surfaces, and seem to be getting stuck half open, letting backflow pressure anyway and limiting forward flow.
I’ve removed mine and am printing along happily now, making sure to keep the other tube loaded with filament, and have a purge cycle both tubes at the start, and for the non-used one at the end of the print. That purge extrudes almost pure liquid filament that’s been cooking in the other side of the hot end for the whole print. This seems to work well, and I’ve had no clogs since I did this.

Screenshot 2021-10-12 215119
Screenshot 2021-10-12 215247 !


!

1 Like

Thank you for that. So that’s the internals of a 2-in-1-out extruder? I have one but I’ve never mounted it.

Well this is Geeetech’s version anyway, which I assume is a close clone of others, so probably, yeah.

The Next Phase, the TPU.

Actually, I’m happily surprised at how well this went. Standing on the backs of giants, like theses guys,

and

https://teachingtechyt.github.io/calibration.html

I went through the process, Flow, Temp Tower, Retraction Tower and am still pushing up the print speed , 30mm/s and maybe even higher.
I made sure my extruder idler gear could get close enough to the drive gear to keep working with the squish of the TPU through it, and this A10M actually has a very close fitting filament inlet pipe at the drive gear, which is where most of my problems on my last printer were.

50C bed temp. Actually flipped my Official Creality Silicon Carbon Build Surface Tempered Glass Plate wi – 3D Printing Canada back over to the correct side for this, since I learned dish soap and warm water only, air/sun dry.

Flow up to 114%(to account for the different radius of drive, due to the squish)
Temp 220C(the middle one)
4mm retraction(Lin Adv), second from the bottom. 40mm/s retraction, 30mm/s deretraction.

1 Like

hey @mobiobi

Thanks for the video post, that is amazing. I love seeing videos like this that I can learn stuff from.

Highly recommend for everyone to have a look at.

Really nice work. I’m slowly switching my A10M to a ceramic printer (Eazao Ender 3 kit) but if (when) I switch it back I’m going to incorporate some of your upgrades.

Ah, cool! Since my last post, I’ve swapped out the hot end fans for two 4020s, mounted on the outside of the cage, and added some different LEDs

nice job, the LEDs are a nice touch, I keep a flashlight close to the printers so I can see if I need to.

I put this on Reddit, but I’ll throw it here to, in case anyone needs it in the future

Two colour Gradients in Marlin from the LCD Menu

I had trouble finding clean info on exactly how to do this and what all the settings meant, so thought I’d leave this here, in case it helps anyone.

A “V-Tool” is a set ratio of flow from your two extruders, anywhere from 100%-0% to 0%-100%. This will not change until you change it or power cycle your machine. You probably have V-Tools labeled 0 through 15, though I’ve only ever used 0,1,2 & 3

If you see “Alias V-Tool”, it is where the current gradient mixed percentage is stored. Seems to be happy set at -1. “Toggle” and “Reverse Gradient” do just what they say.

Unless you change it (like for custom pre/post purge GCodes) you’re printing on V-Tool 0, so you can play with the percentages on it and it will change your print.

If you set a gradient that is not both starting and stopping at 0.0, you are printing a gradient from whatever your start height is to your end height. To turn the gradient off, set both to 0.0.

You can tell if you are in normal “Mixing” mode with the “Mx” on the front screen, or “Gradient”, with “Gr” showing. Just normal straight printing of your first colour is actually still a mix, it’s just 100%-0%.

Here’s where I use V-Tools 2 & 3. I have purge codes set up on V-Tool 0 and 1 for pre and post print, so I leave those at 100-0 and 0-100. I set my gradients start and end percentages in 2 & 3 so I don’t mess with those.

My print happening right now,

I power on,

Input my V-Tool settings, V-Tool 0 stays 100-0, V-Tool 1 stays 0-100, V-Tool 2 set 60-40, V-Tool 3 set 0-100

Load and hit print

Let my custom purge happen

Set my gradient from start 0.0 to end 135mm

Look at info screen confirm I see the “Gr” showing

Let me know if it’s unclear or I missed anything. Hope it helps.

r/3Dprinting - Two colour Gradients in Marlin from the LCD Menu

r/3Dprinting - Two colour Gradients in Marlin from the LCD Menu

r/3Dprinting - Two colour Gradients in Marlin from the LCD Menu

K, all the way to a Dual Direct Drive mod now.
So it seems like mixing hotends have lots of backpressure caused by the not straight filament path, 90° cornres, etc. Went to a direct drive to minimize the backpressure, and the negative effects that backpressure has on the tubes and extruders. Also to remove the tube end connectors and make them easier to service.

https://www.printables.com/model/167100-geeetech-a10m-direct-drive-conversion


1 Like

the strangest Christmas tree I’ve ever seen

1 Like

Holy, that looks like it’s not friendly, Total respect for putting that together.

It’s a bit of a Machine, but it’s actually working well so far. Exceeding expectations.

3 Likes

What the heck, really i didnt think i would come across my own video reading about 3d printer and the A10m to be exact. That youtube video you linked i made when i first bought my A10m. Thanks for the linking my video and the bit of traffic it made.

Where is this “V-Tool” hiding at im not sure i have ever seen that on my A10m or not, although its a single color convert it going back to 2into1 as i also have an ender and why have 2 machines that do the same single color

Nice! I’m running Marlin 2.0.9.1, set it up from scratch for this machine. The V-tool thing is in the Mixer tab, which is only there if you have it turned on in the Marlin code.