I wonder if 3DPrintingSpace is having a problem as neither the photo on this post nor the one from your previous post would load, and I know I’ve seen the previous post’s picture. That issue aside…
- can we assume it homed correctly?
- if you keep the print head clear of the bed, can you move both the X and Y axis from the control panel in both directions? If not, you may have loosened a stepper motor cable while doing your other repair.
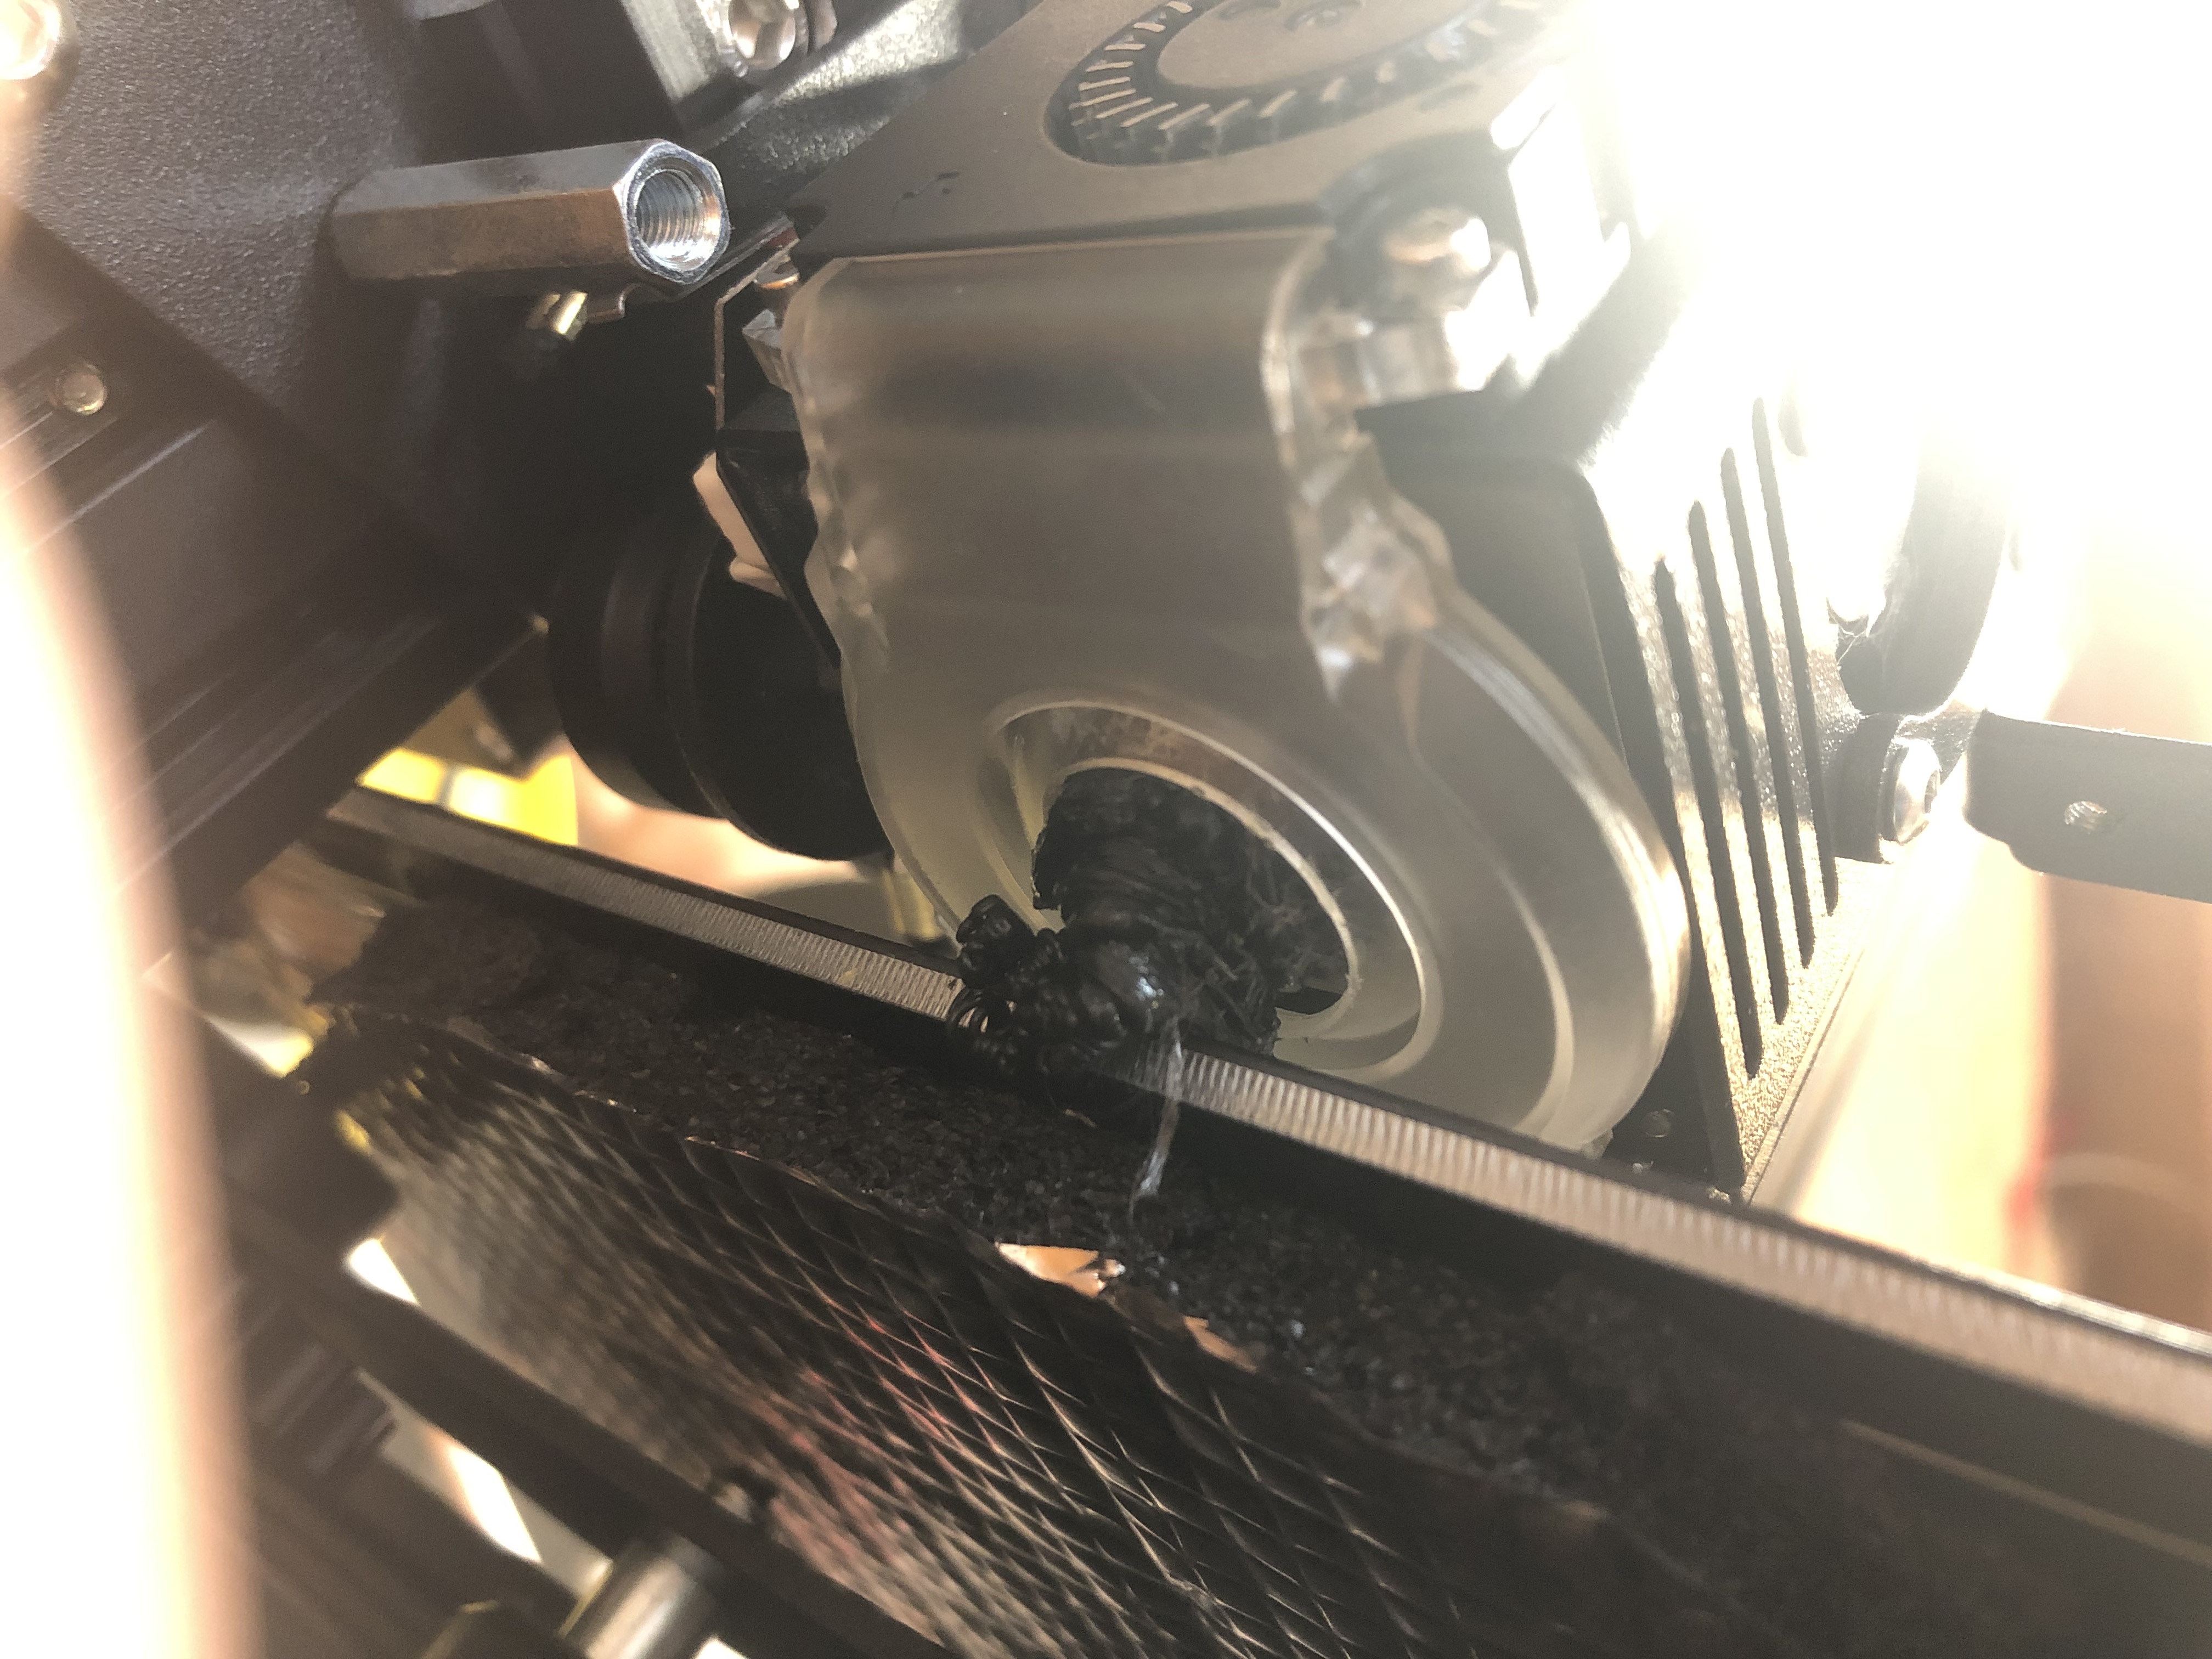
- When you describe the hot end as “caught” o the side of the bed, do you mean the tip had gone over the edge and was physically scraping along the side. You say there is a trail of filament; is the filament being deposited on the bed or in free air over the edge of the bed?
If the filament is being spit out over the edge because the nozzle is hanging over it, it means that, during reassembly, you’ve somehow managed to lengthen the hot end. Maybe the heat break is screwed too far into the heating block and is preventing the nozzle tip from being screwed all the way up such that the tip is now positioned lower than it originally was and can’t clear the build plate.
Presumably, you’ve followed the hot-end reassembly instructions carefully. Remember: the fact (if I’m right) that the tip is hanging lower than it was before might not indicate that your reassembly was incorrect; it might indicate that the previous assembly was faulty which would also have contributed to the blob you experienced.
So, to fix it; if you were careful in reassembling the hot end and all the pieces butt up against each other tightly such that there are no leaks, then we just need to set your Z-offset to a new position to reflect the current location of the nozzle tip. There are a few ways to accomplish this.
- My preferred method is to adjust the point where the limit switch is triggered. I can’t remember what printer you had and the 3DPrintingSpace page won’t load, so my answer is going to be more generic.
The build surface, be it magnetic, glass, spring steel, whatever; sits on an aluminum platform that in turn sits on 4 spring-loaded screws that hold it above yet another platform that is itself attached to a lead screw. On my Ender 5Pro, that’s the Z-axis lead screw. On and Ender 3 et.al. it’s the Y-Axis lead screw. The point is, that lower platform does not have fine adjustments in terms of height. On the 5Pro, as the bed is raised, that lower platform has a screw that can be adjusted up and down to trigger the Z-axis limit switch. On and Ender 3 (I don’t have one) I think the limit switch might be attached to the frame near the base of the gantry.
So, first off, tighten all the bed-levelling screws in the corner of the bed all the way. Then, either by using the control panel or by turning the Z-lead screw manually, bring the nozzle tip close to the bed. You’ll want to leave enough room to pass 3 or 4 sheets of paper under the nozzle while scraping the nozzle slightly.
Now you want to adjust the triggering of the Z-axis limit switch. On the Ender 5Pro, there’s a screw on the lower bed platform that can be turned to raise or lower the screw head. You want to start with the screw all the way down. Put an ohm meter on the Z-axis limit switch (or listen carefully for the click) and then slowly raise the screw up until the limit switch is triggered. That’s the coarse adjustment and gets you to within a few sheets of paper’s worth of where you ideally should be.
Tell the printer to auto-home. That will put the nozzle tip where the new Z-limit is. Disable the steppers and move the print head to the middle of the bed. At this point, use a sheet of paper or a feeler gauge and adjust the 4 corner bed screws, turning each a 1/4 turn at a time until the nozzle tip is just touching the paper or gauge. Repeat at each of the four corners and again in the middle until proper height is reached everywhere.
You can also fine-tune the height with the control panel and then note what ever Z height it reports when you have the nozzle at the correct height according to your gauge. You can then save that height as a Z-offset.
I personally prefer to do the alignment entirely through hardware, rather than using the Z-offset (software) method. No matter what firmware changes you make to the printer, correctly aligned hardware will always be correctly aligned, but if you use Z-Offset to compensate for a hardware misalignment, that setting could be lost in a firmware change and you’ll have to remember to reset it every time you make a change. Do it once, carefully, in hardware and forget about it.