So I have my Ender 3 V2 and I’ve settled on a few things I want to get. What I want to do is run it by the smarter more experienced people here to see if there’s something missing or something I can do without.
My goals are to print mostly in PLA and mostly fun models (for example stuff off of print the world), and practical items (clips, hardware for furniture, storage items etc). I eventually want to be able to print more interesting filaments (glow in the dark, wood filaments etc)
Do I need an enclosure? I know I don’t necessarily need one for printing PLA but what about other materials?
Do I need Octoprint? probably not, but resisting the urge to get it because “oh cool look at all the data”
What do I need for filament storage? I am kind of paranoid about accidentally ruining filament but I’m not sure how to store filament, or if it should be in a airtight box and feed from there. If i need some sort of storage I’d like it to not cost an arm and a leg
How long have you been 3D printing? If you truly are a noob, my strong advice would be to do NOTHING upgrade wise for at least 6 months. Get used to the printer. Learn it’s nuances. Over that period of time, things will start to degenerate and you’ll need to learn to tweak things.
Time and time again, I’ve seen noobs jump in, make all kinds of changes and then, when things go wrong, chase their tails blaming this mod or that mod for their troubles when they hadn’t even learned what’s “normal” for their base printer yet.
The bottom line is, the more variables you change, the harder it is to diagnose a problem. Learn how the base printer behaves as it undergoes normal wear and tear. Learn what the symptoms of that wear and tear are and how to address them. Once the printer is broken in, and you can tell what normal problems look like, THEN start making changes, one at a time, and run the printer for a week after each change. Then, if something goes wonky, you can tell whether it’s another wear related issue or something caused by your upgrade. It’s so much easier to diagnose and fix when you separate out the wear related problems from the upgrade related problems and limit the upgrade related problems to one item at a time.
By the way, just to be clear, you CAN safely do things like print cable guides, frame braces, bed supports (Ender 5 PRO) and other stuff that doesn’t actually effect printing. Just don’t go changing firmware, hotends, extruders, build plates, etc.
On my machine I added the bed supports, cable braces, lighting, extuder and Z-axis knobs (so that I can visually see how they’re behaving, channel covers, tool holders, parts bins, display panel covers, Raspberry PI enclosures and camera cable management. None of these things impacts printing directly.
I think you have a good list there, nothing you have mentioned requires an enclosure but I will mention usually when I print filled filaments (glow wood and metal) I usually go upto a .6 over the .4, will get much less jams and the quality is almost as good
No matter what you upgrade do only one upgrade at a time, if you do a couple and something goes wrong what caused the error or problem. Just do the upgrades one at a time and use it for a bit and confirm its working properly.
I have done some prints at my local makerspace, it’s actually where I learned how to 3d print things.
I guess I’m not a total noob, I know why I want the upgrades I want and what they’re supposed to do. I’ve done my research and picked these upgrades thoughtfully and not on impulse.
Oh yes, I didn’t think you were being impulsive. I’m just trying to point out that people get overly excited and change too many things at once and having multiple variables to debug makes things exponentially harder.
First thing I would up grade is the yellow springs, then print with your printer for awhile before changing anything else.
I wouldn’t recommend XS tubing, I only use the TL. If your filament gets a little out of spec it will jam in the XS tubing because of the super tight tolerance.
Since no one else seems to have noticed, the physical bed size of the Ender 3 is 235x235. I would stick with your glass bed and maybe later upgrade to a flex steel plate. Creality makes a good one (have it on my Ender 3), there is also Wham Bam which works great but is more expensive.
You don’t need an enclosure to print PLA or PETG, but make sure draft aren’t hitting our printer or you will get failed prints.
Octoprint is great if you are doing long prints and you are out of the house for a long period of time and you want to keep tabs on the print.
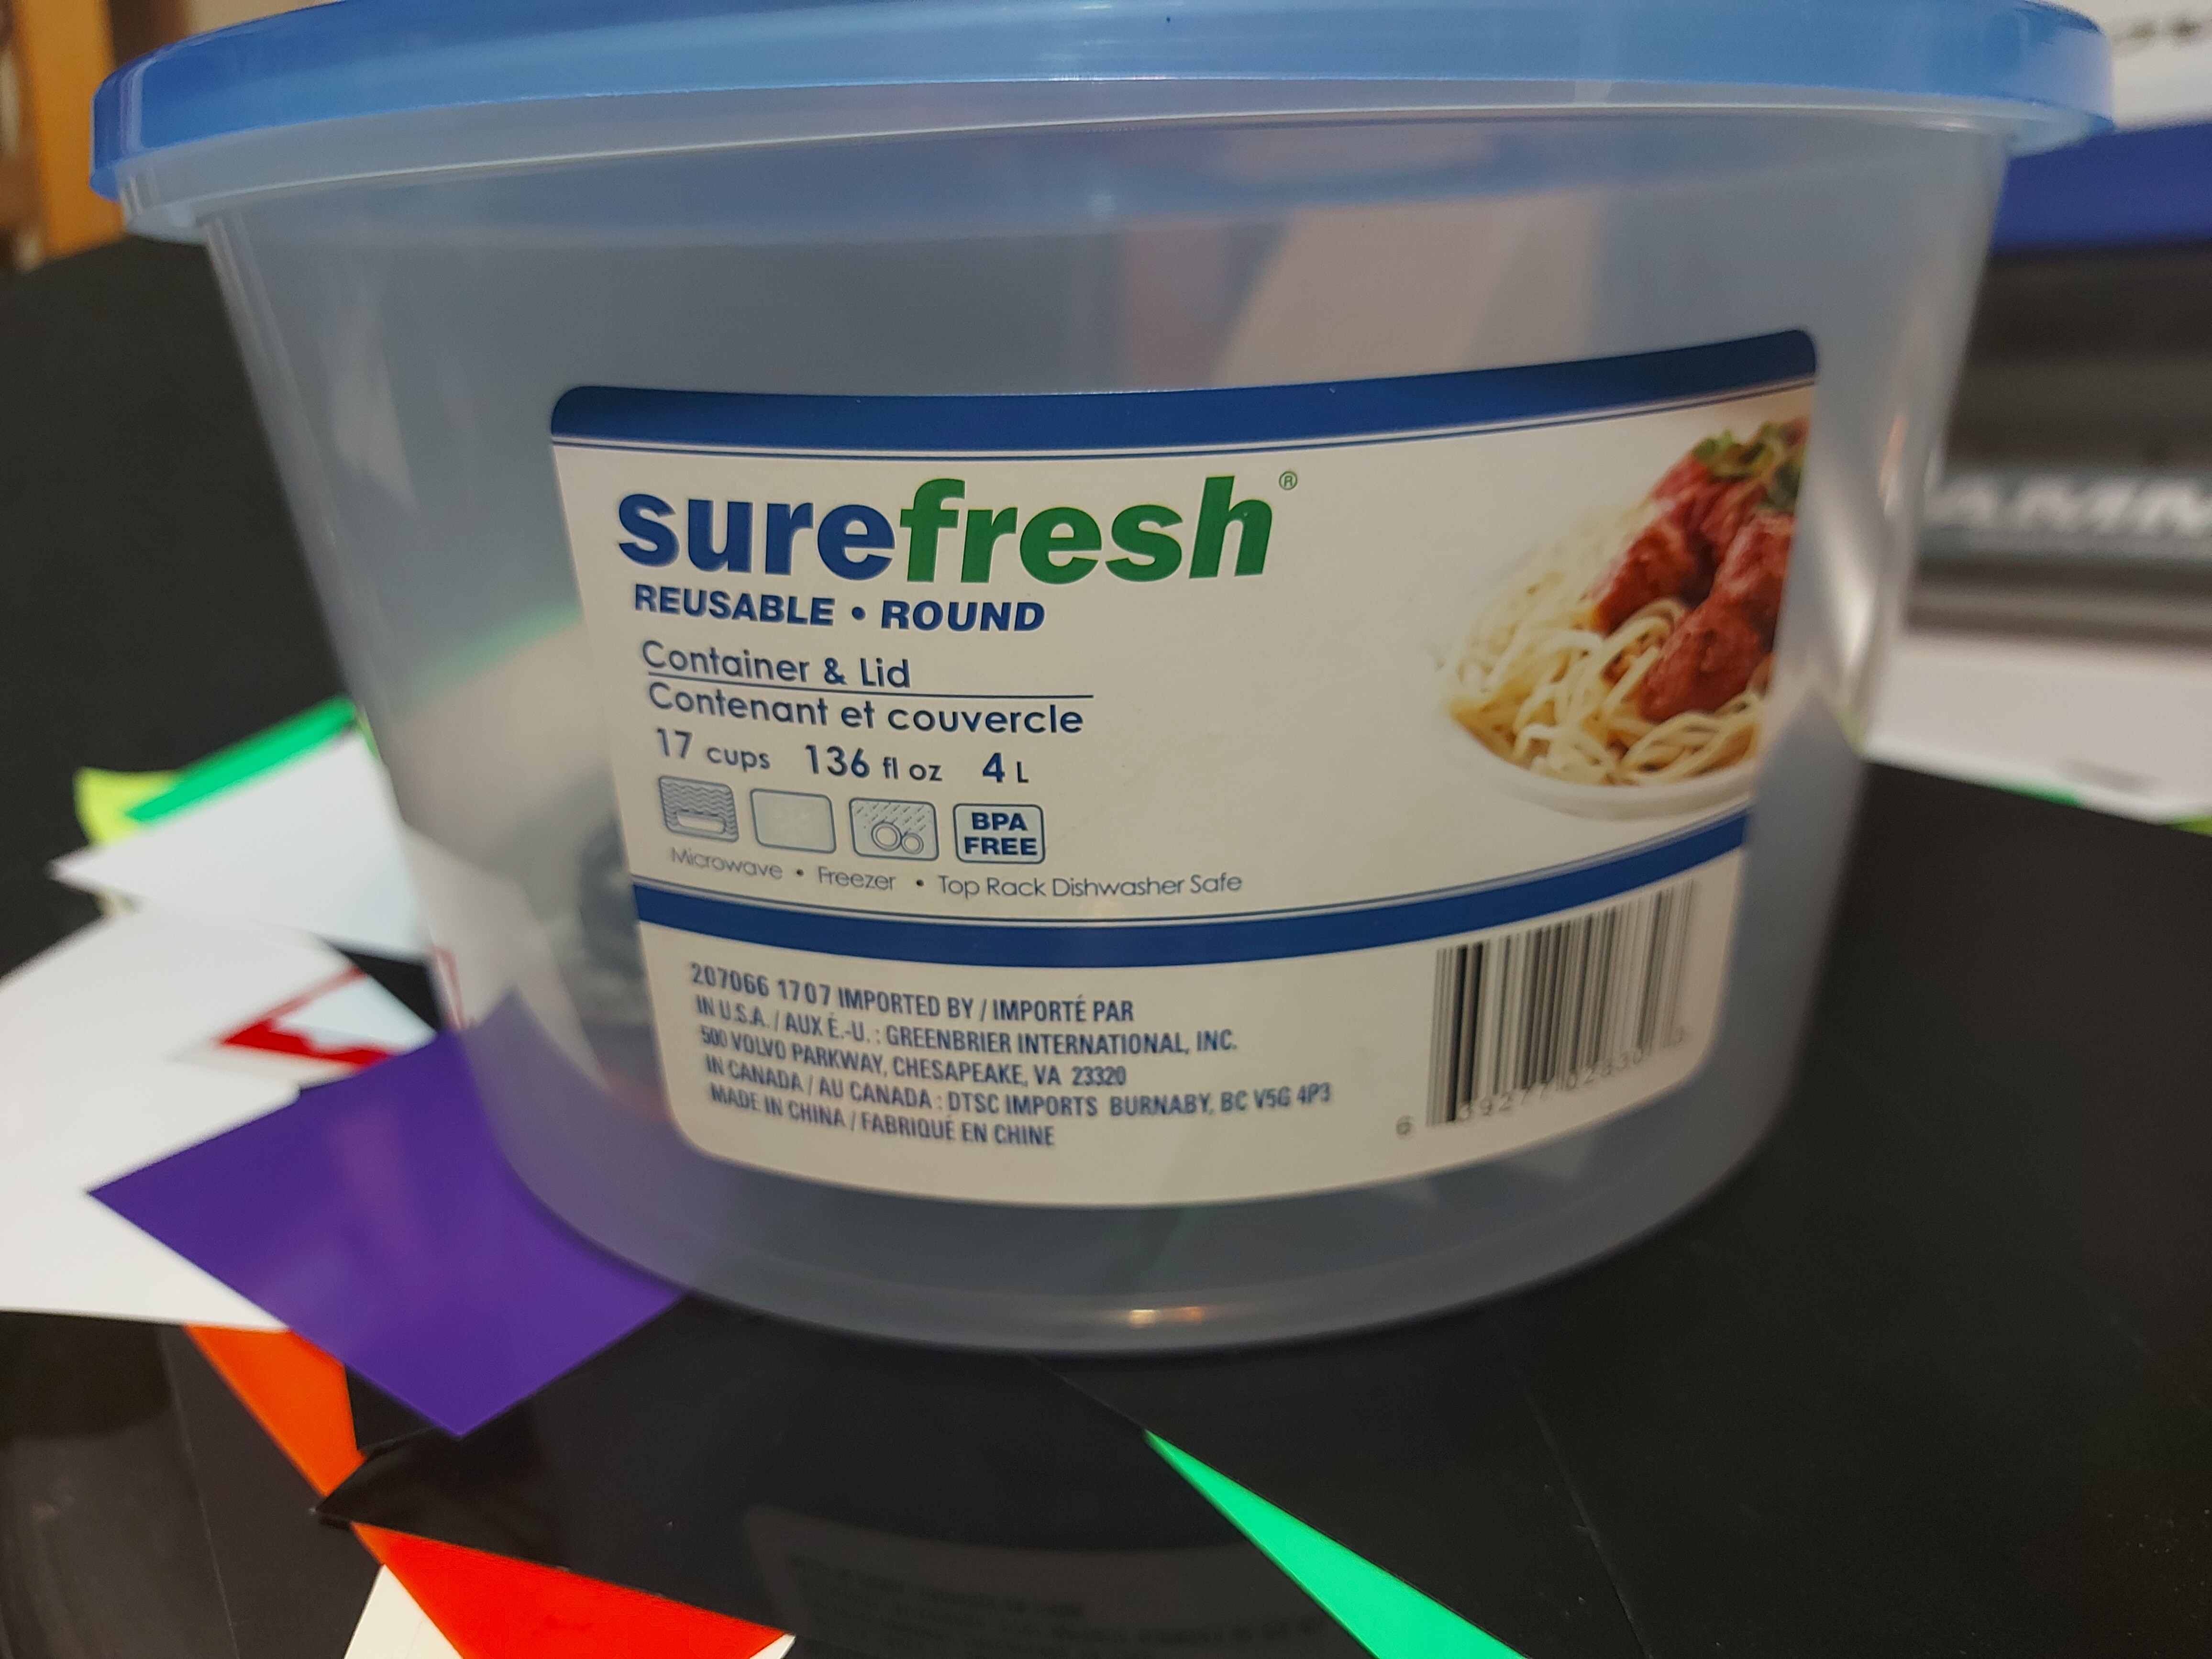
For filament storage, I use round plastic containers from the dollar store. I put some desiccant packs in the bottom, throw in the roll and put on the lid. I have about 25 of them stacked up in piles.
I upgraded my springs and the extruded from
Plastic to metal and well as the Bowden tube. I haven’t had to level my bed since and the filament moves so much better now. Also got some new nozzles.
During the winter months in my house I worry about the same issue regarding humidity vs filament as we run humidifiers. These Ikea 395+ 10L boxes keep the humidity at about 20% as I have also put Silica Gel pellets hanging from the back to help with this issue.
Thingiverse: Desiccant Bin for Filament Dry Box by gman10192
I don’t suggest this one as it gets in the way when removing filament in and out. My print the lid wasn’t tight enough hence the velcro strap…but it looks cool.
And here is a link to the Silica I puchased. 2lbs is alot!! buy 1lbs you could fill 6 silica boxes above.
Amazon: Indicating Silica Gel Pellets
On both my printers… First thing I purchased was a BLTouch, next instead of an All Metal extruder, I would recommend a geared extruder. The BLTouch removes the need for better springs, just tighten them up.
Capricorn PTFE is a great purchase.
Octoprint, is for me, a valuable addition. It allows me to update firmware remotely, monitor my prints from anywhere on my phone (use a VPN), helps with getting bed very close to level while having the springs tighten down well (bed visualizer Plugin). It can be place on an old laptop, or like me… A pi 3 and above.
These are just my opinions, I have both a heavily upgraded printer, and one with only the BLTouch.
But why do you tighten them all down? Wouldn’t that just be making the bed level but not making it level with the print head? Also when I tighten all of the screws down it’s not level with the print head because of this causing all the sides to be lower than the corner that has that heat support thingy. Need help I can get my bed level enough for the bltouch to do its job correctly.
You need to start to get the bed level before the BL touch will be useful. My advise is home the printer and disable all the steppers and do a full manual levelling before you go further. Withe the steppers off you can just move the axis around manually. Stronger springs will assist in holding the bed aligned longer.
I would never suggest modding a printer until you have printer a few KG of material.